How to Butcher and Truss a Lamb Loin Roll Ready for Roasting
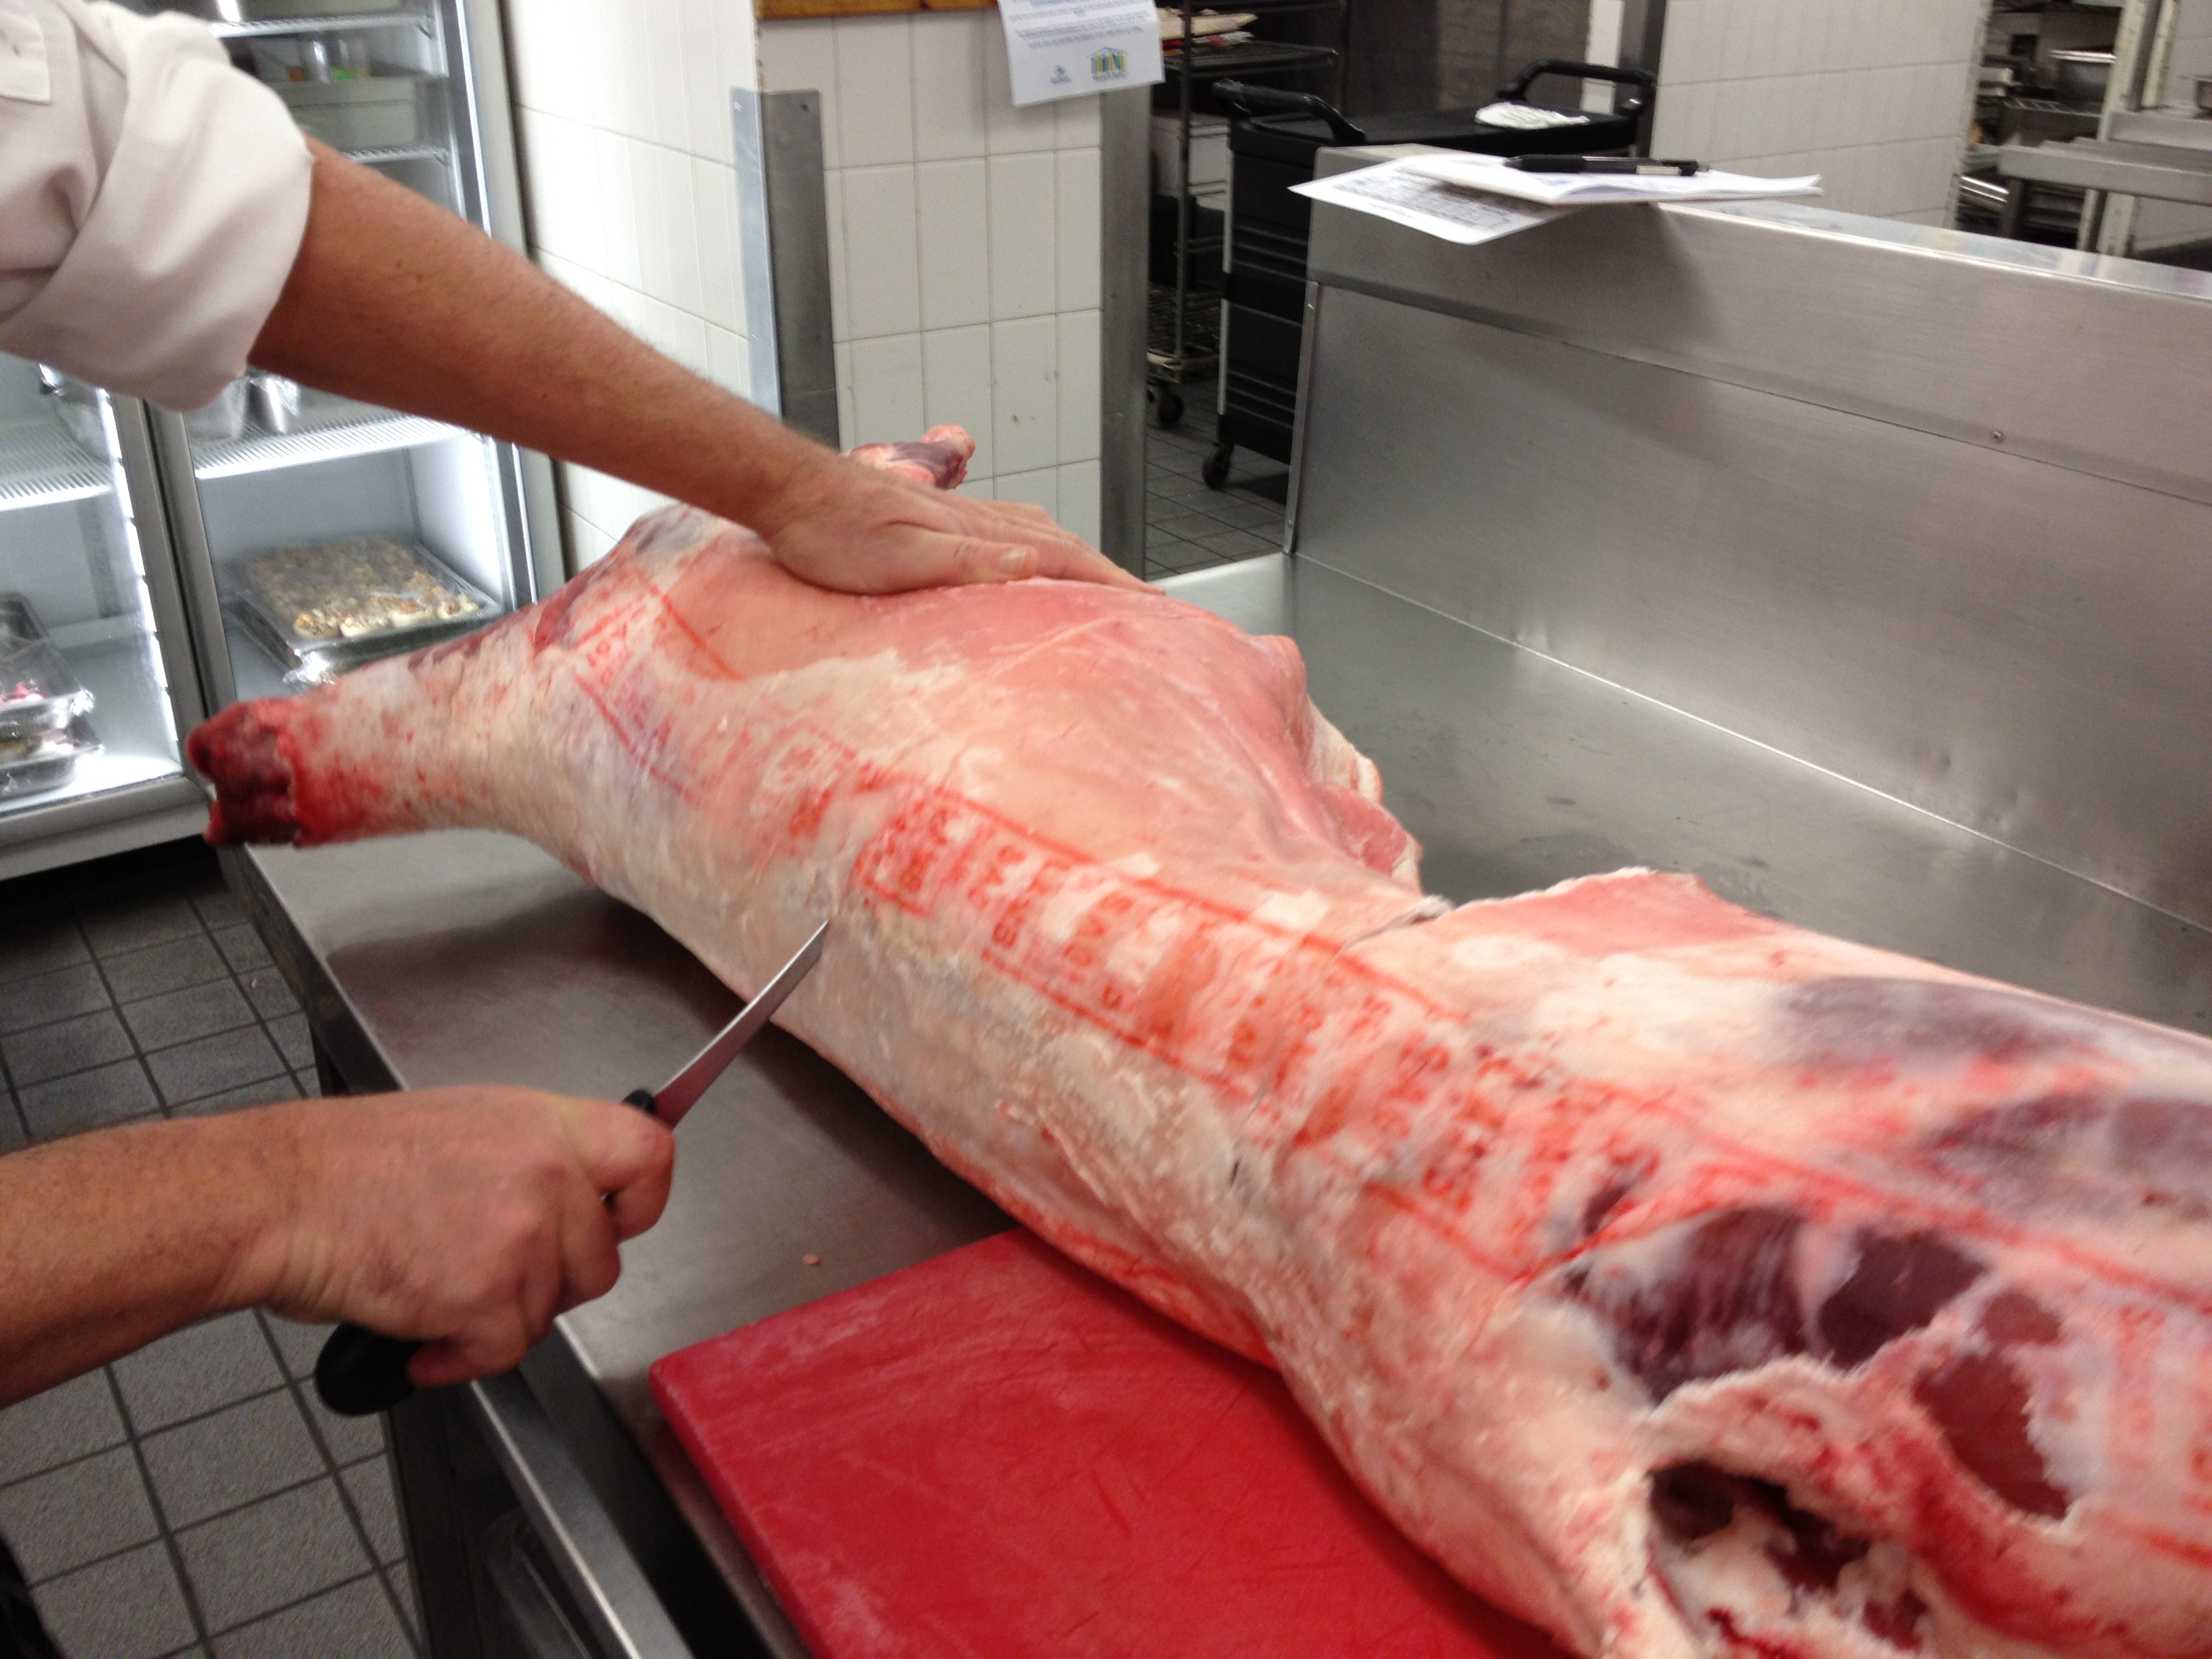
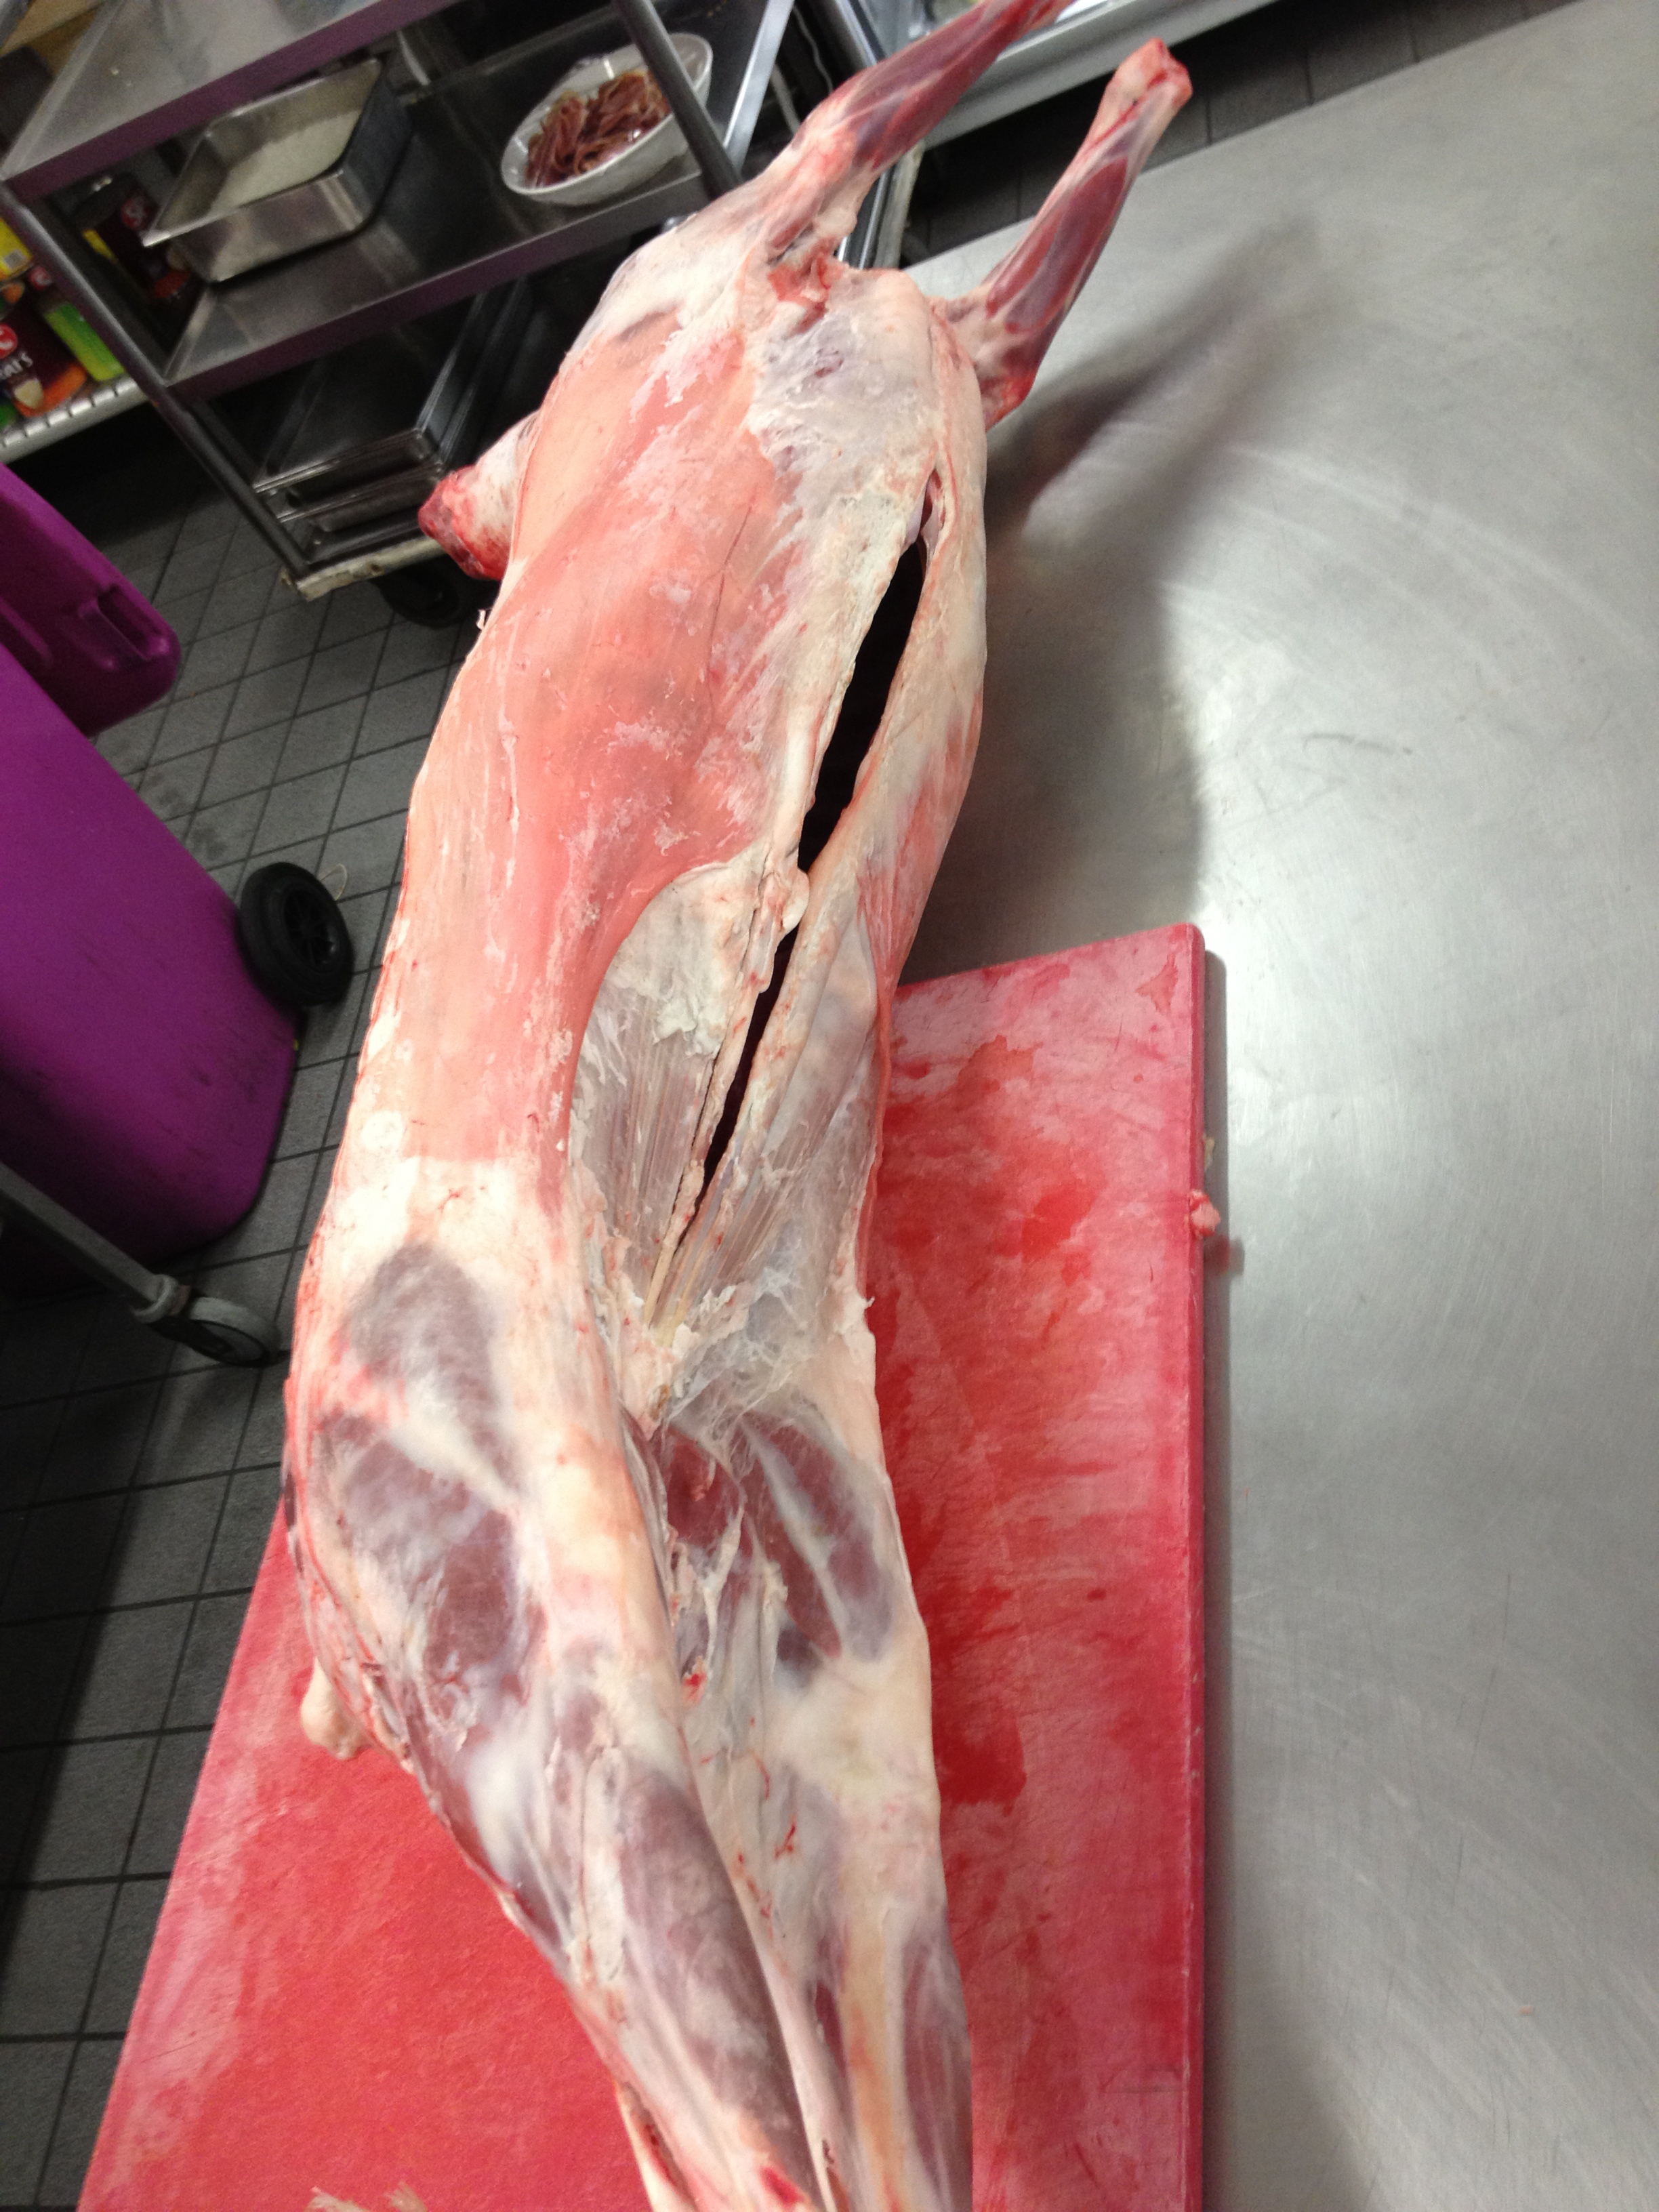 1. Start with the spine of the carcass facing you. If you are right handed, face the legs away from you and spine facing you. Place the tail end to your right, it is much easier to start this way.
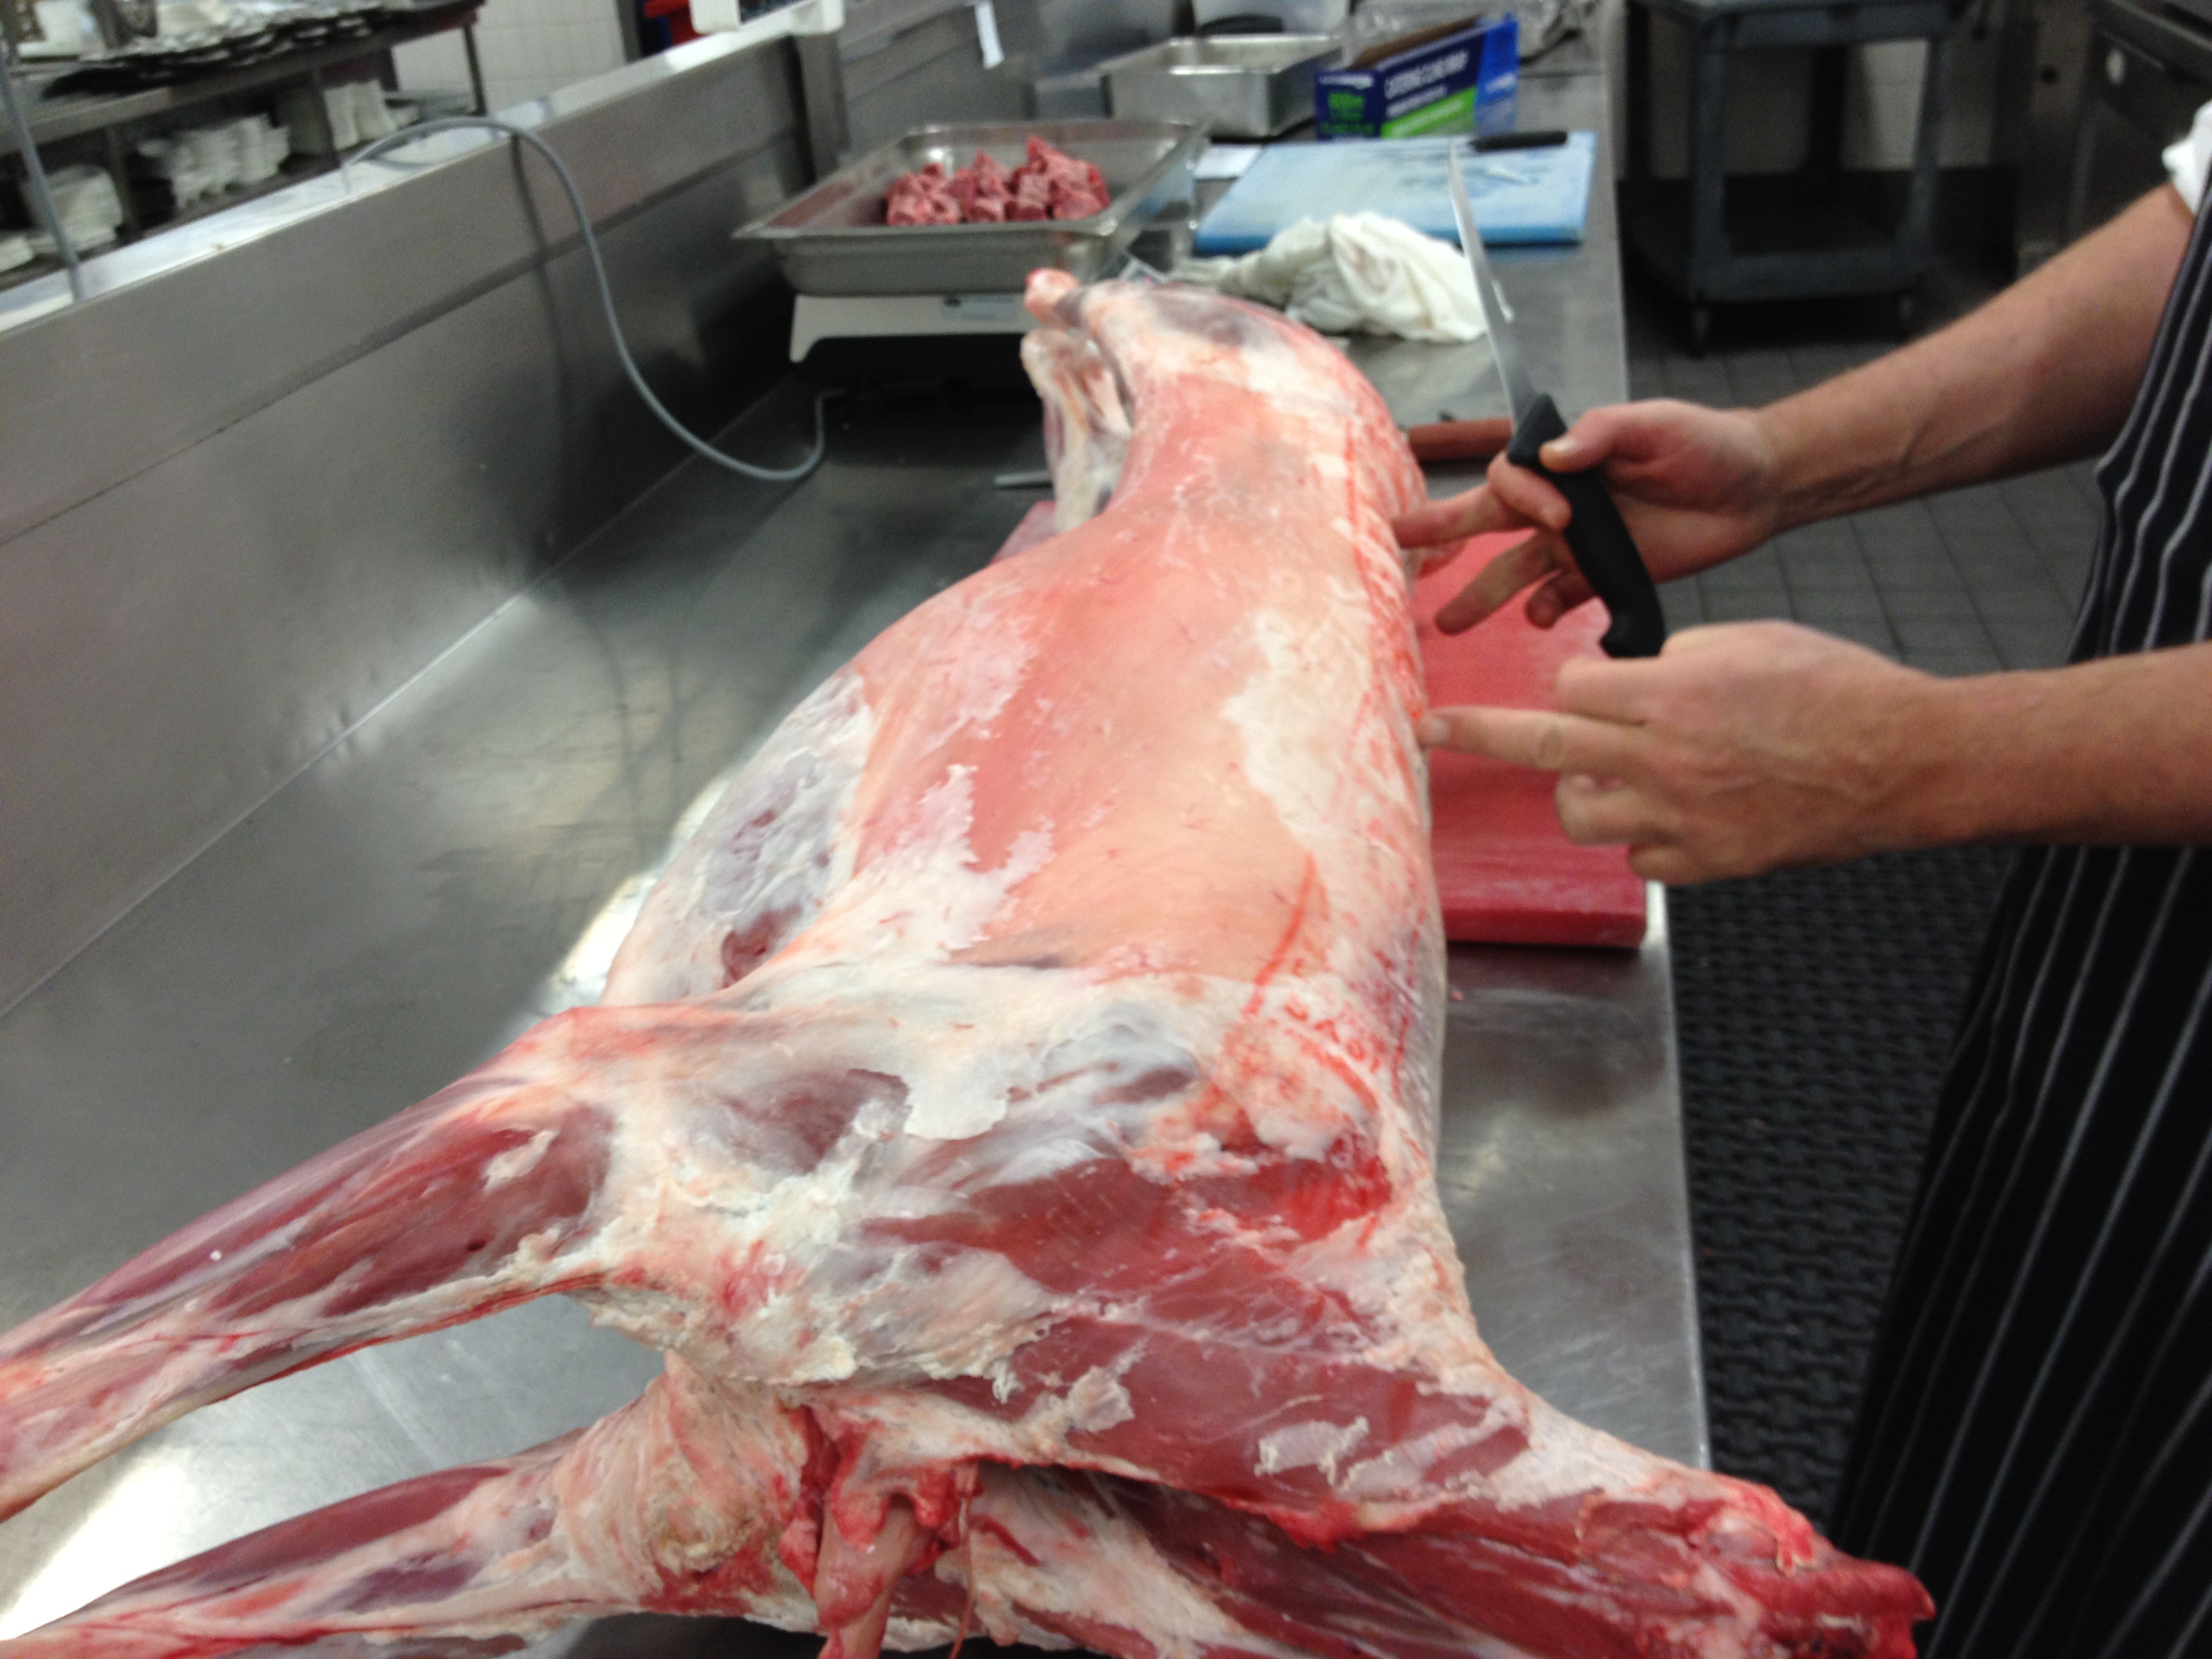 2. Measure the first spine joint from the hind quarter (tail end), usually this is in line with where the flap joins to the top of the outer thigh; make a mark with your knife so you know where to start the cut cut. On the fore quarter side (head end), feel where the third and fourth rib is (start your count from the tail end) and make a mark in between the third and four rib with your knife squared to the spine bone.
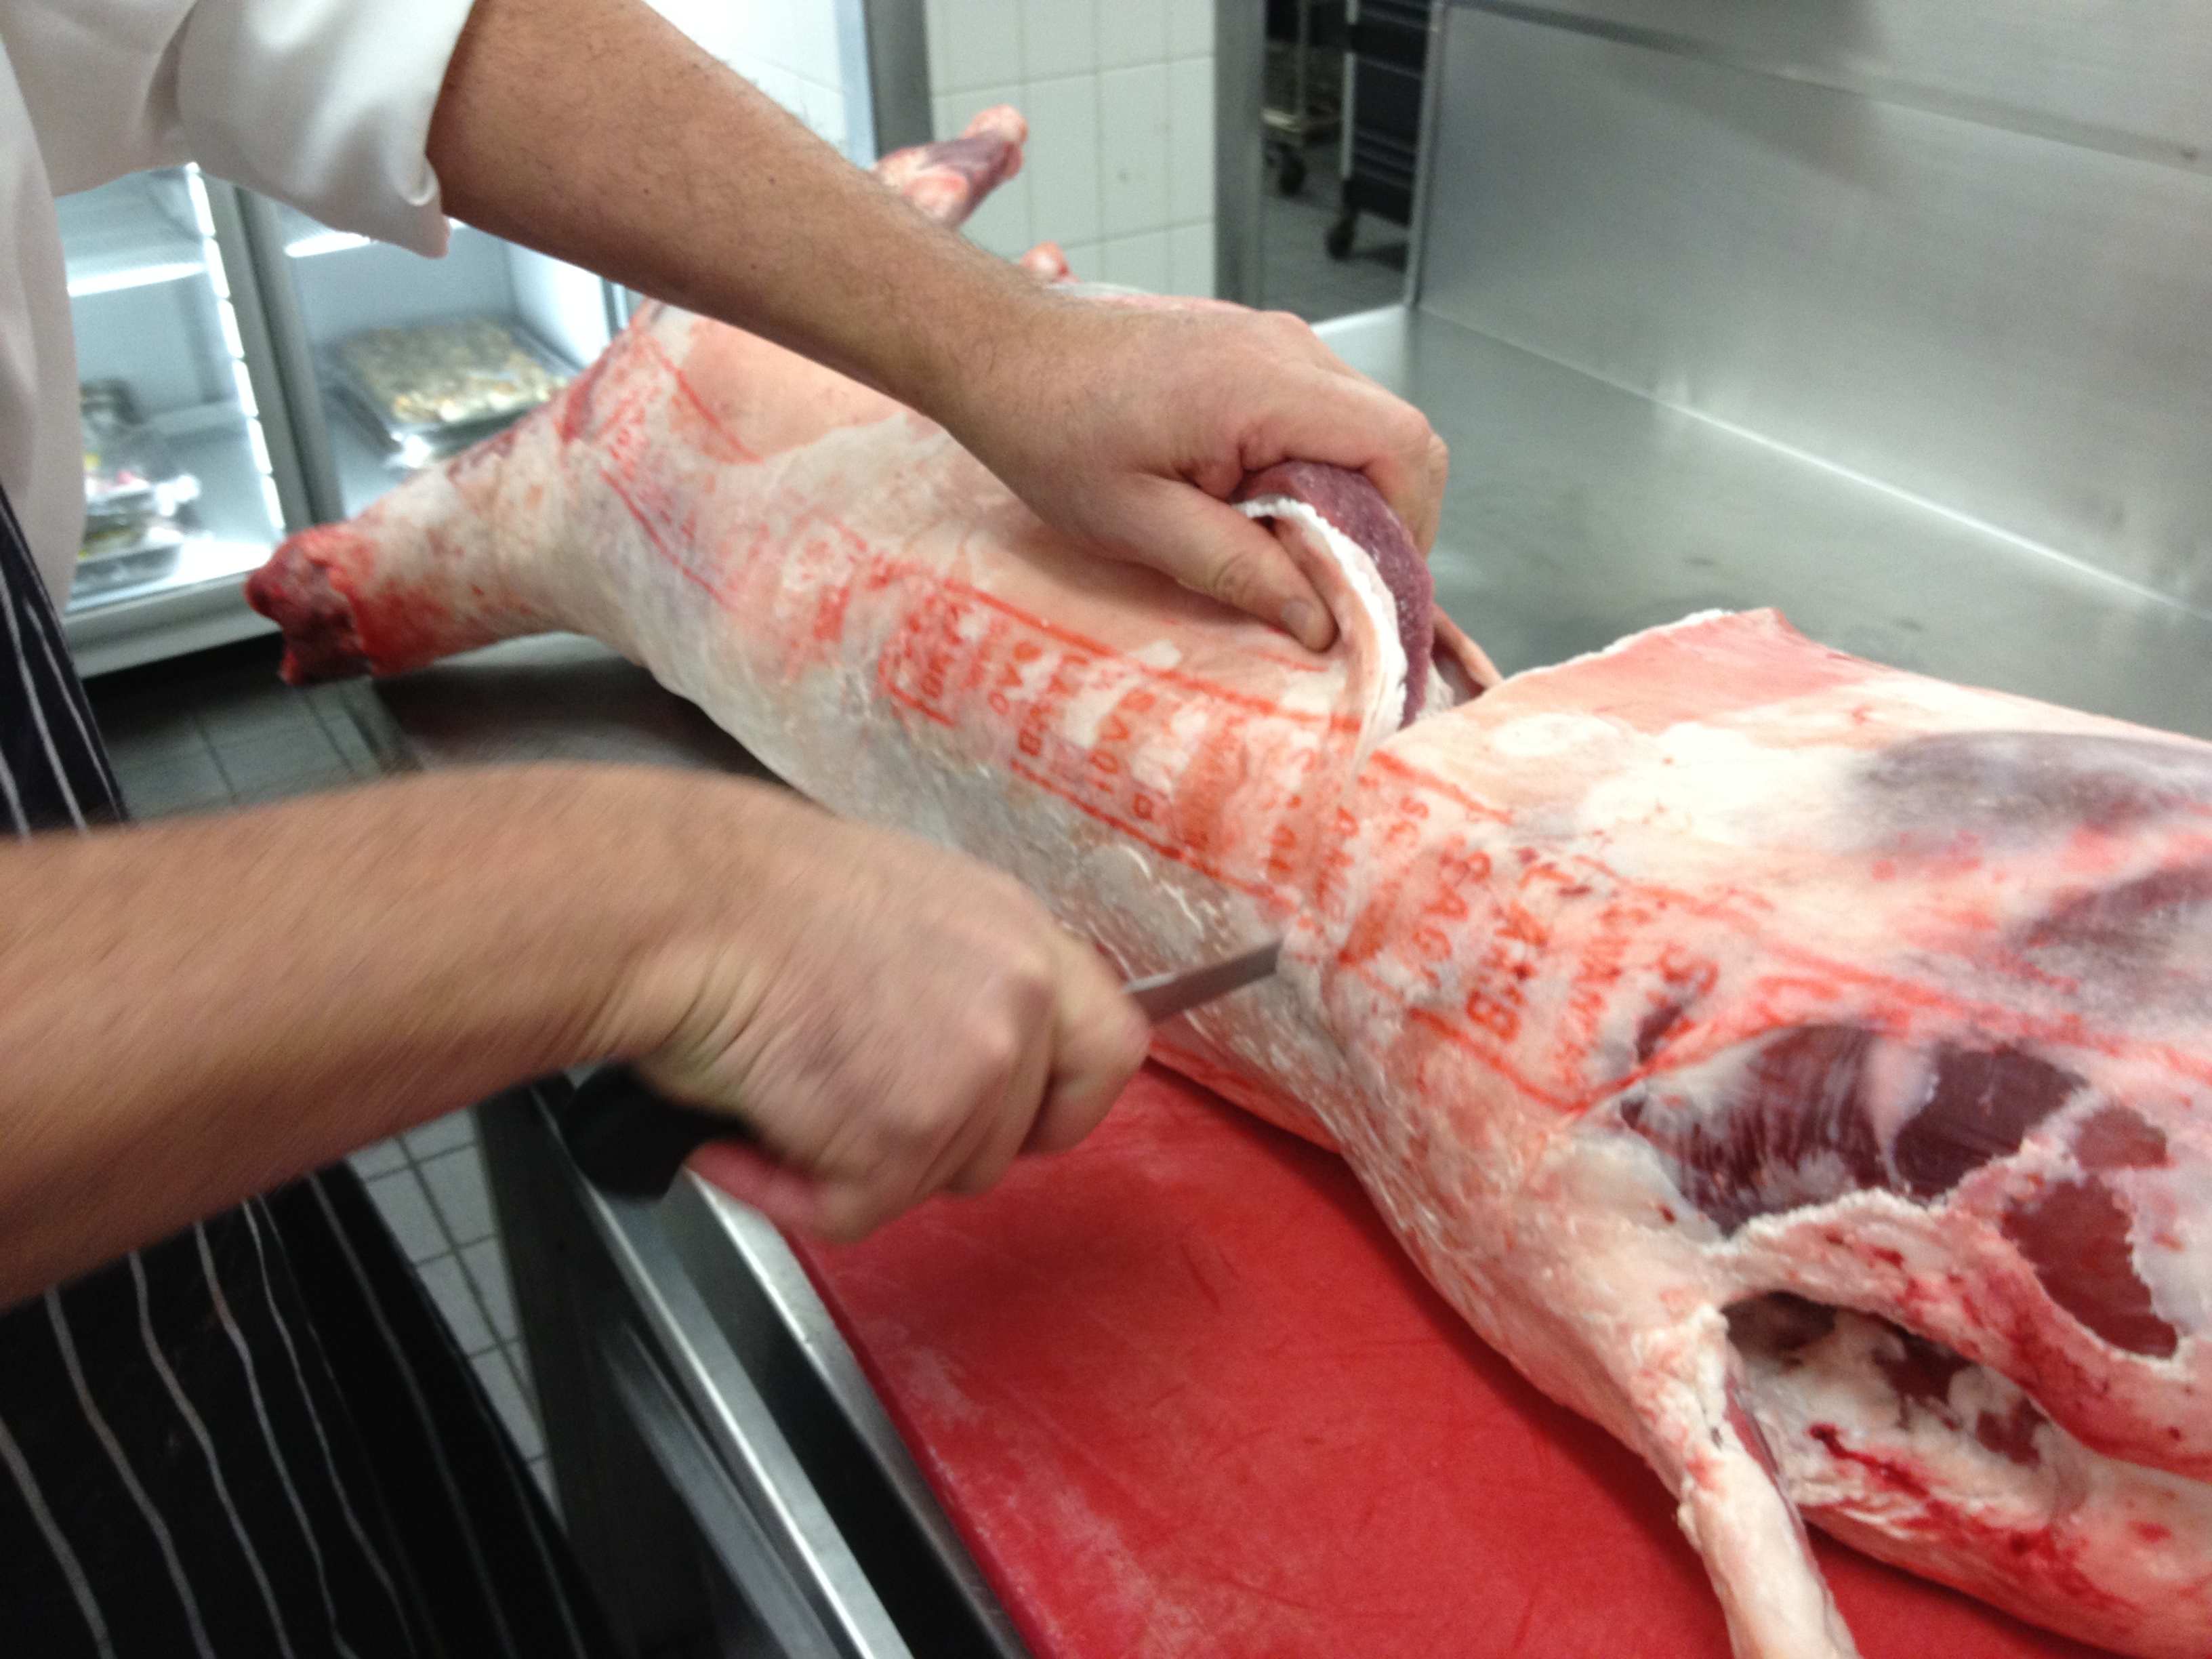 3. From the hind quarter, cut through the flap and through the loin until you hit the spine bone with the tip of your knife flush square to the spine. If you have made your first mark correct, you should not be cutting into the hind quarter at all (any part of the legs or rump).
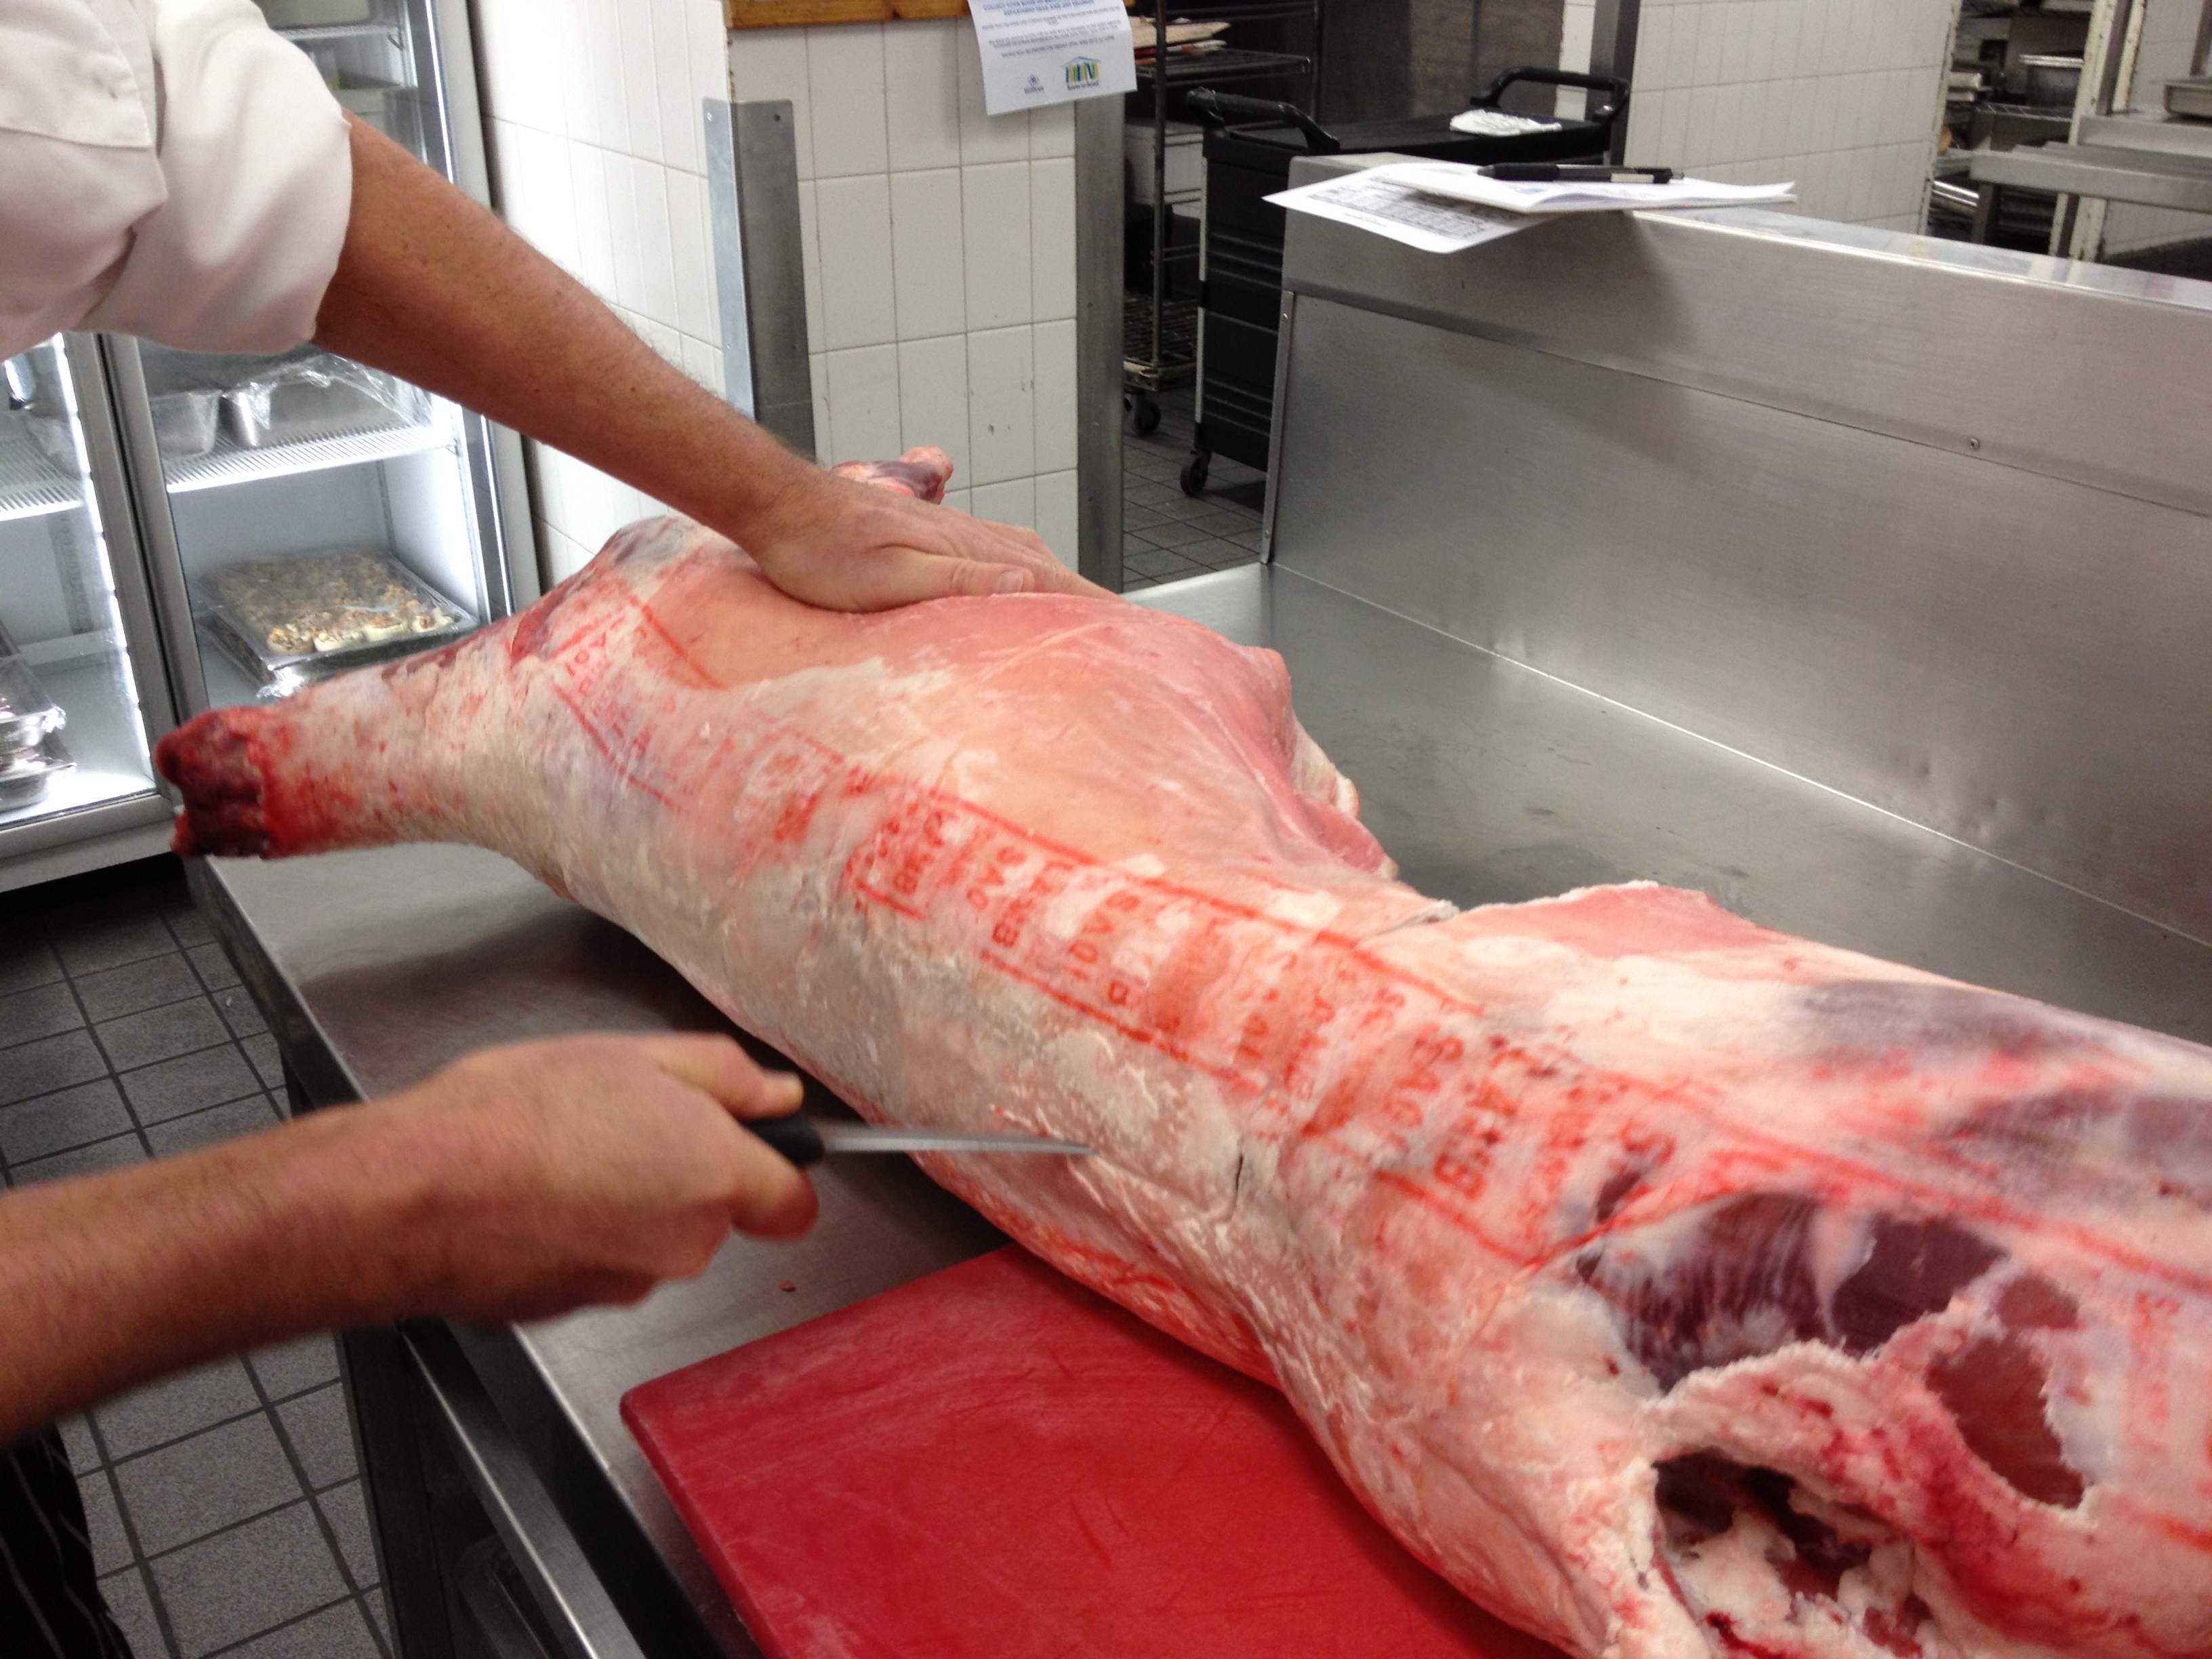
4. Do the same with the fore quarter, this time keeping your knife blade flush and square on the rib. The rib should not be square to the spine which means you shouldn’t be cutting through the ribs. Continue your cut down until you hit square onto the spine. All your cuts should be one, smooth cut. When butchering try not “dab” at the meat with your knife, it ruins the finished product and makes the surface of the cut look jagged and shredded.
5. From the cut you made at the hind quarter, place the tip of your knife through until it hits the spine. Using the spine as your guide, run your knife in one smooth and firm action through to the cut you made at the fore quarter
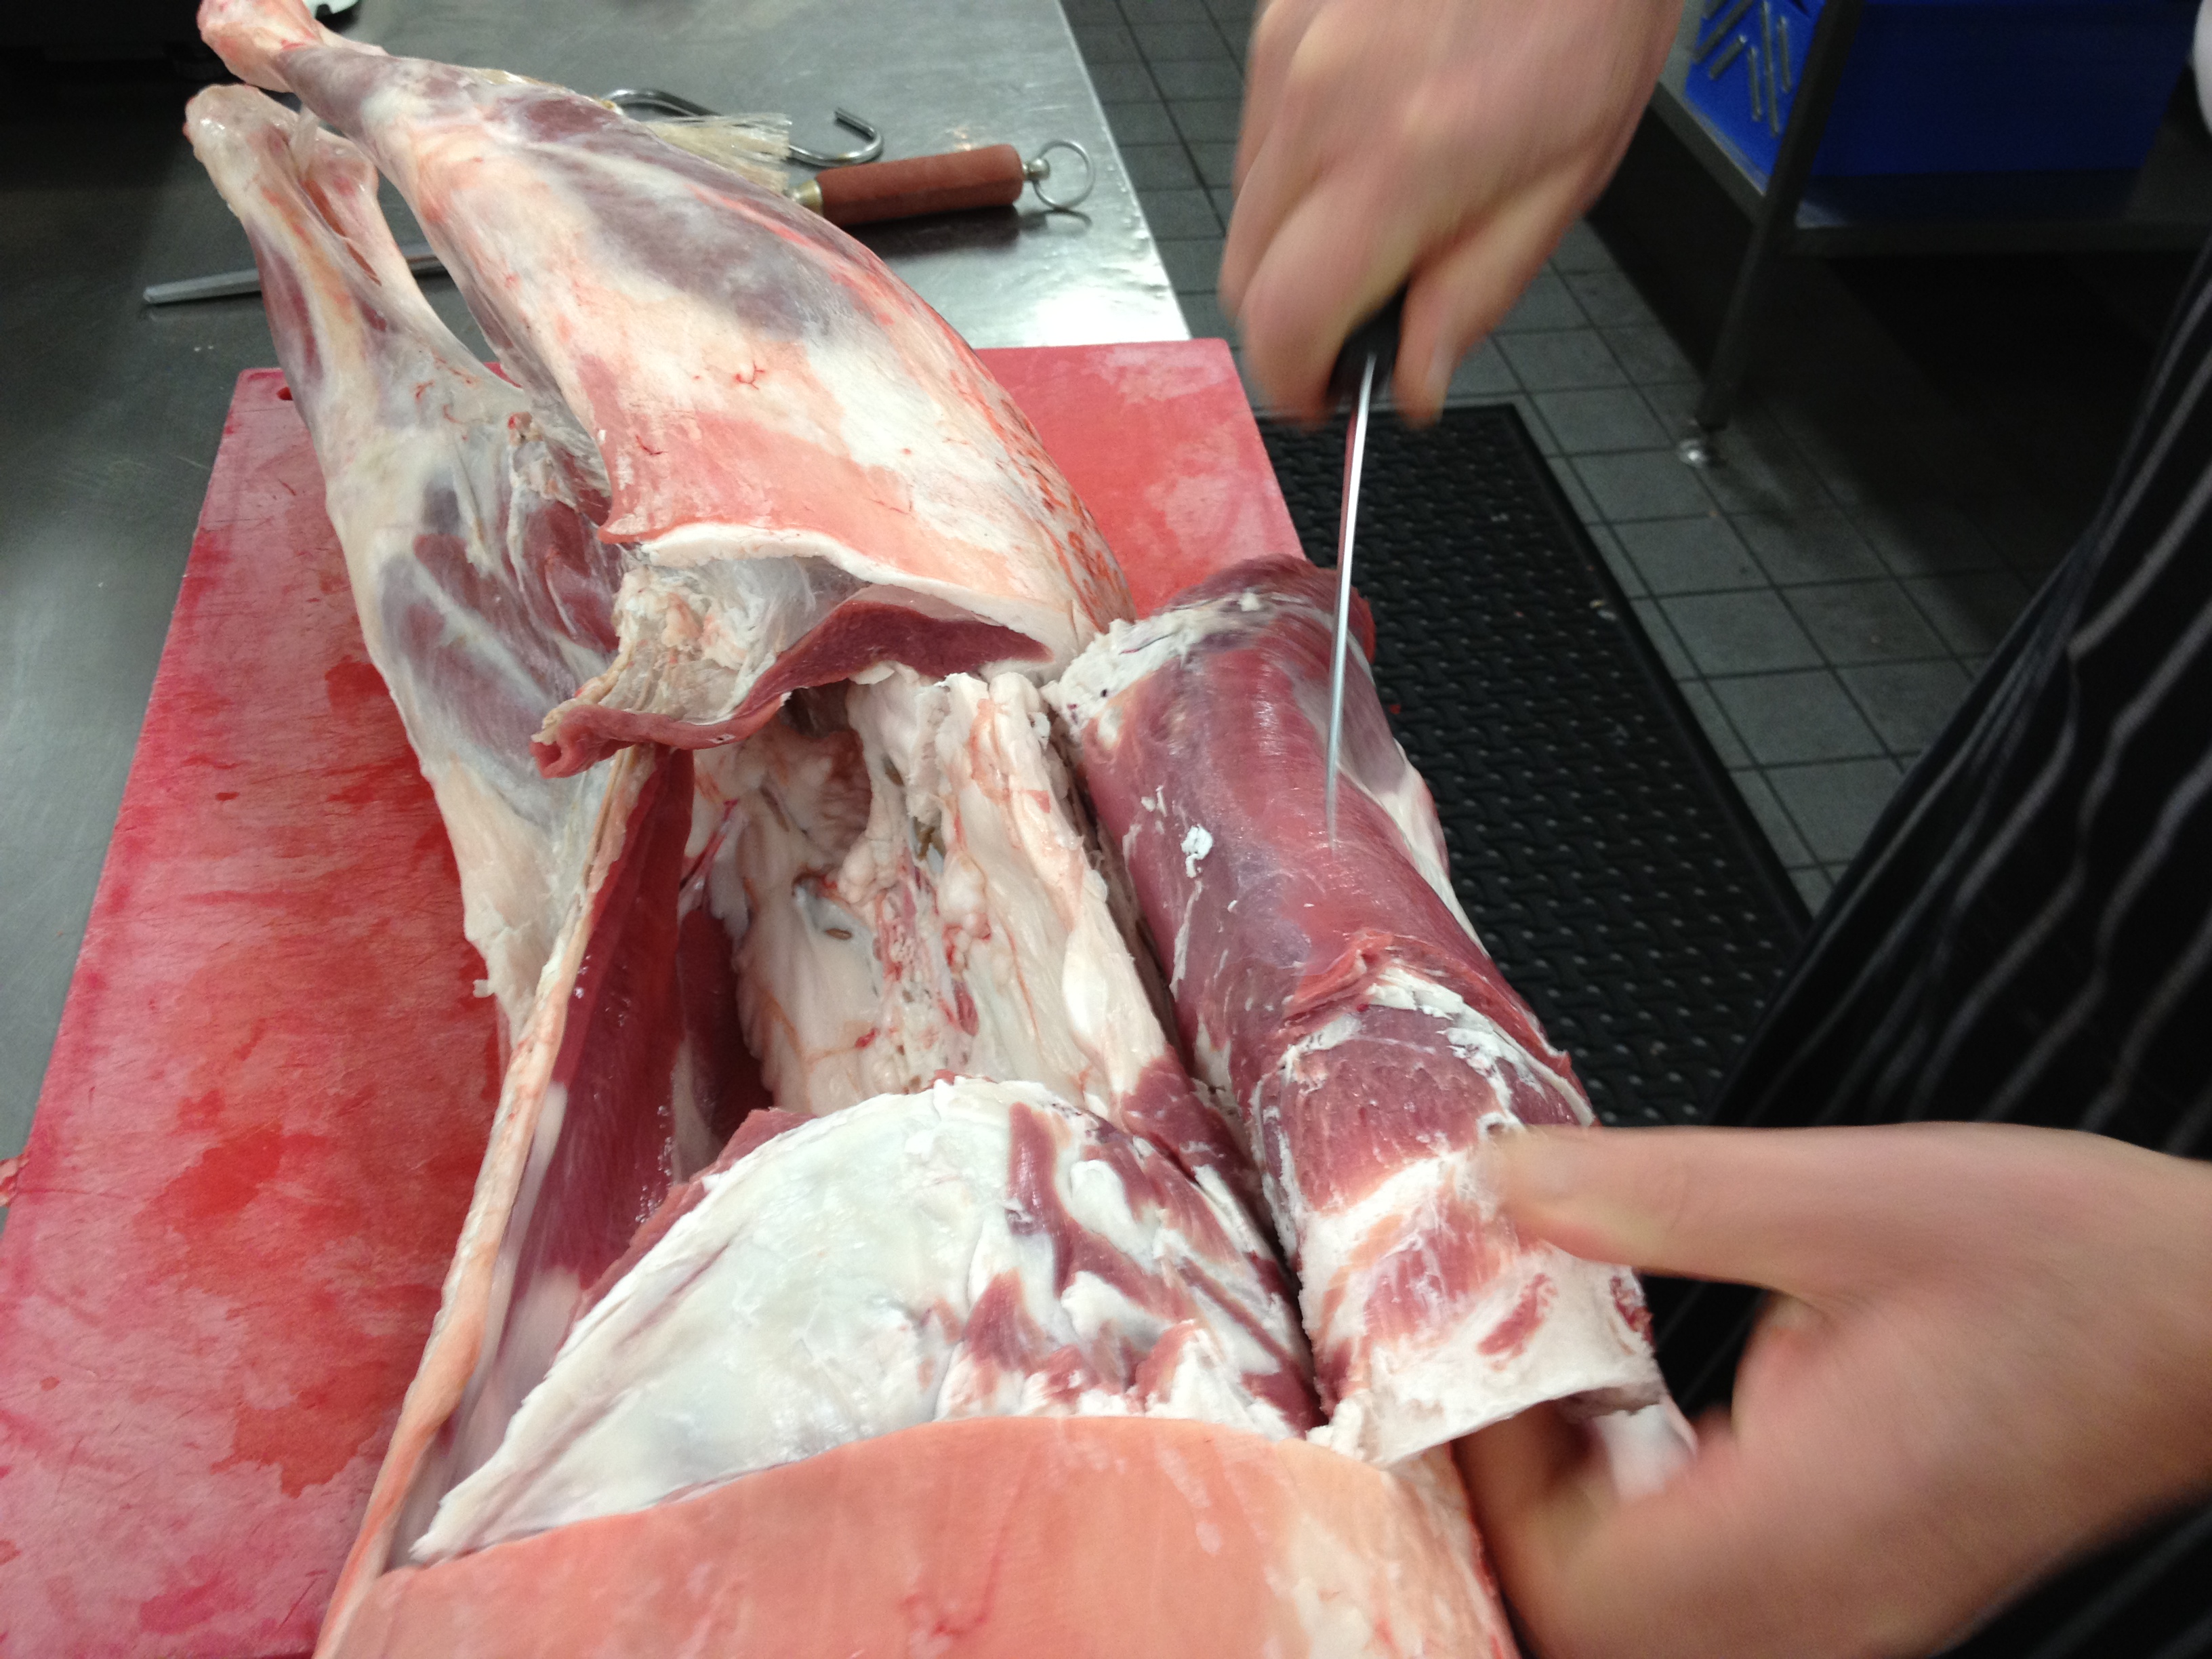 6. The belly flap should come loose. Run your knife flush against the ribs and cut stopping just before where the loin starts. Fold the flap toward you to expose the start of the loin.
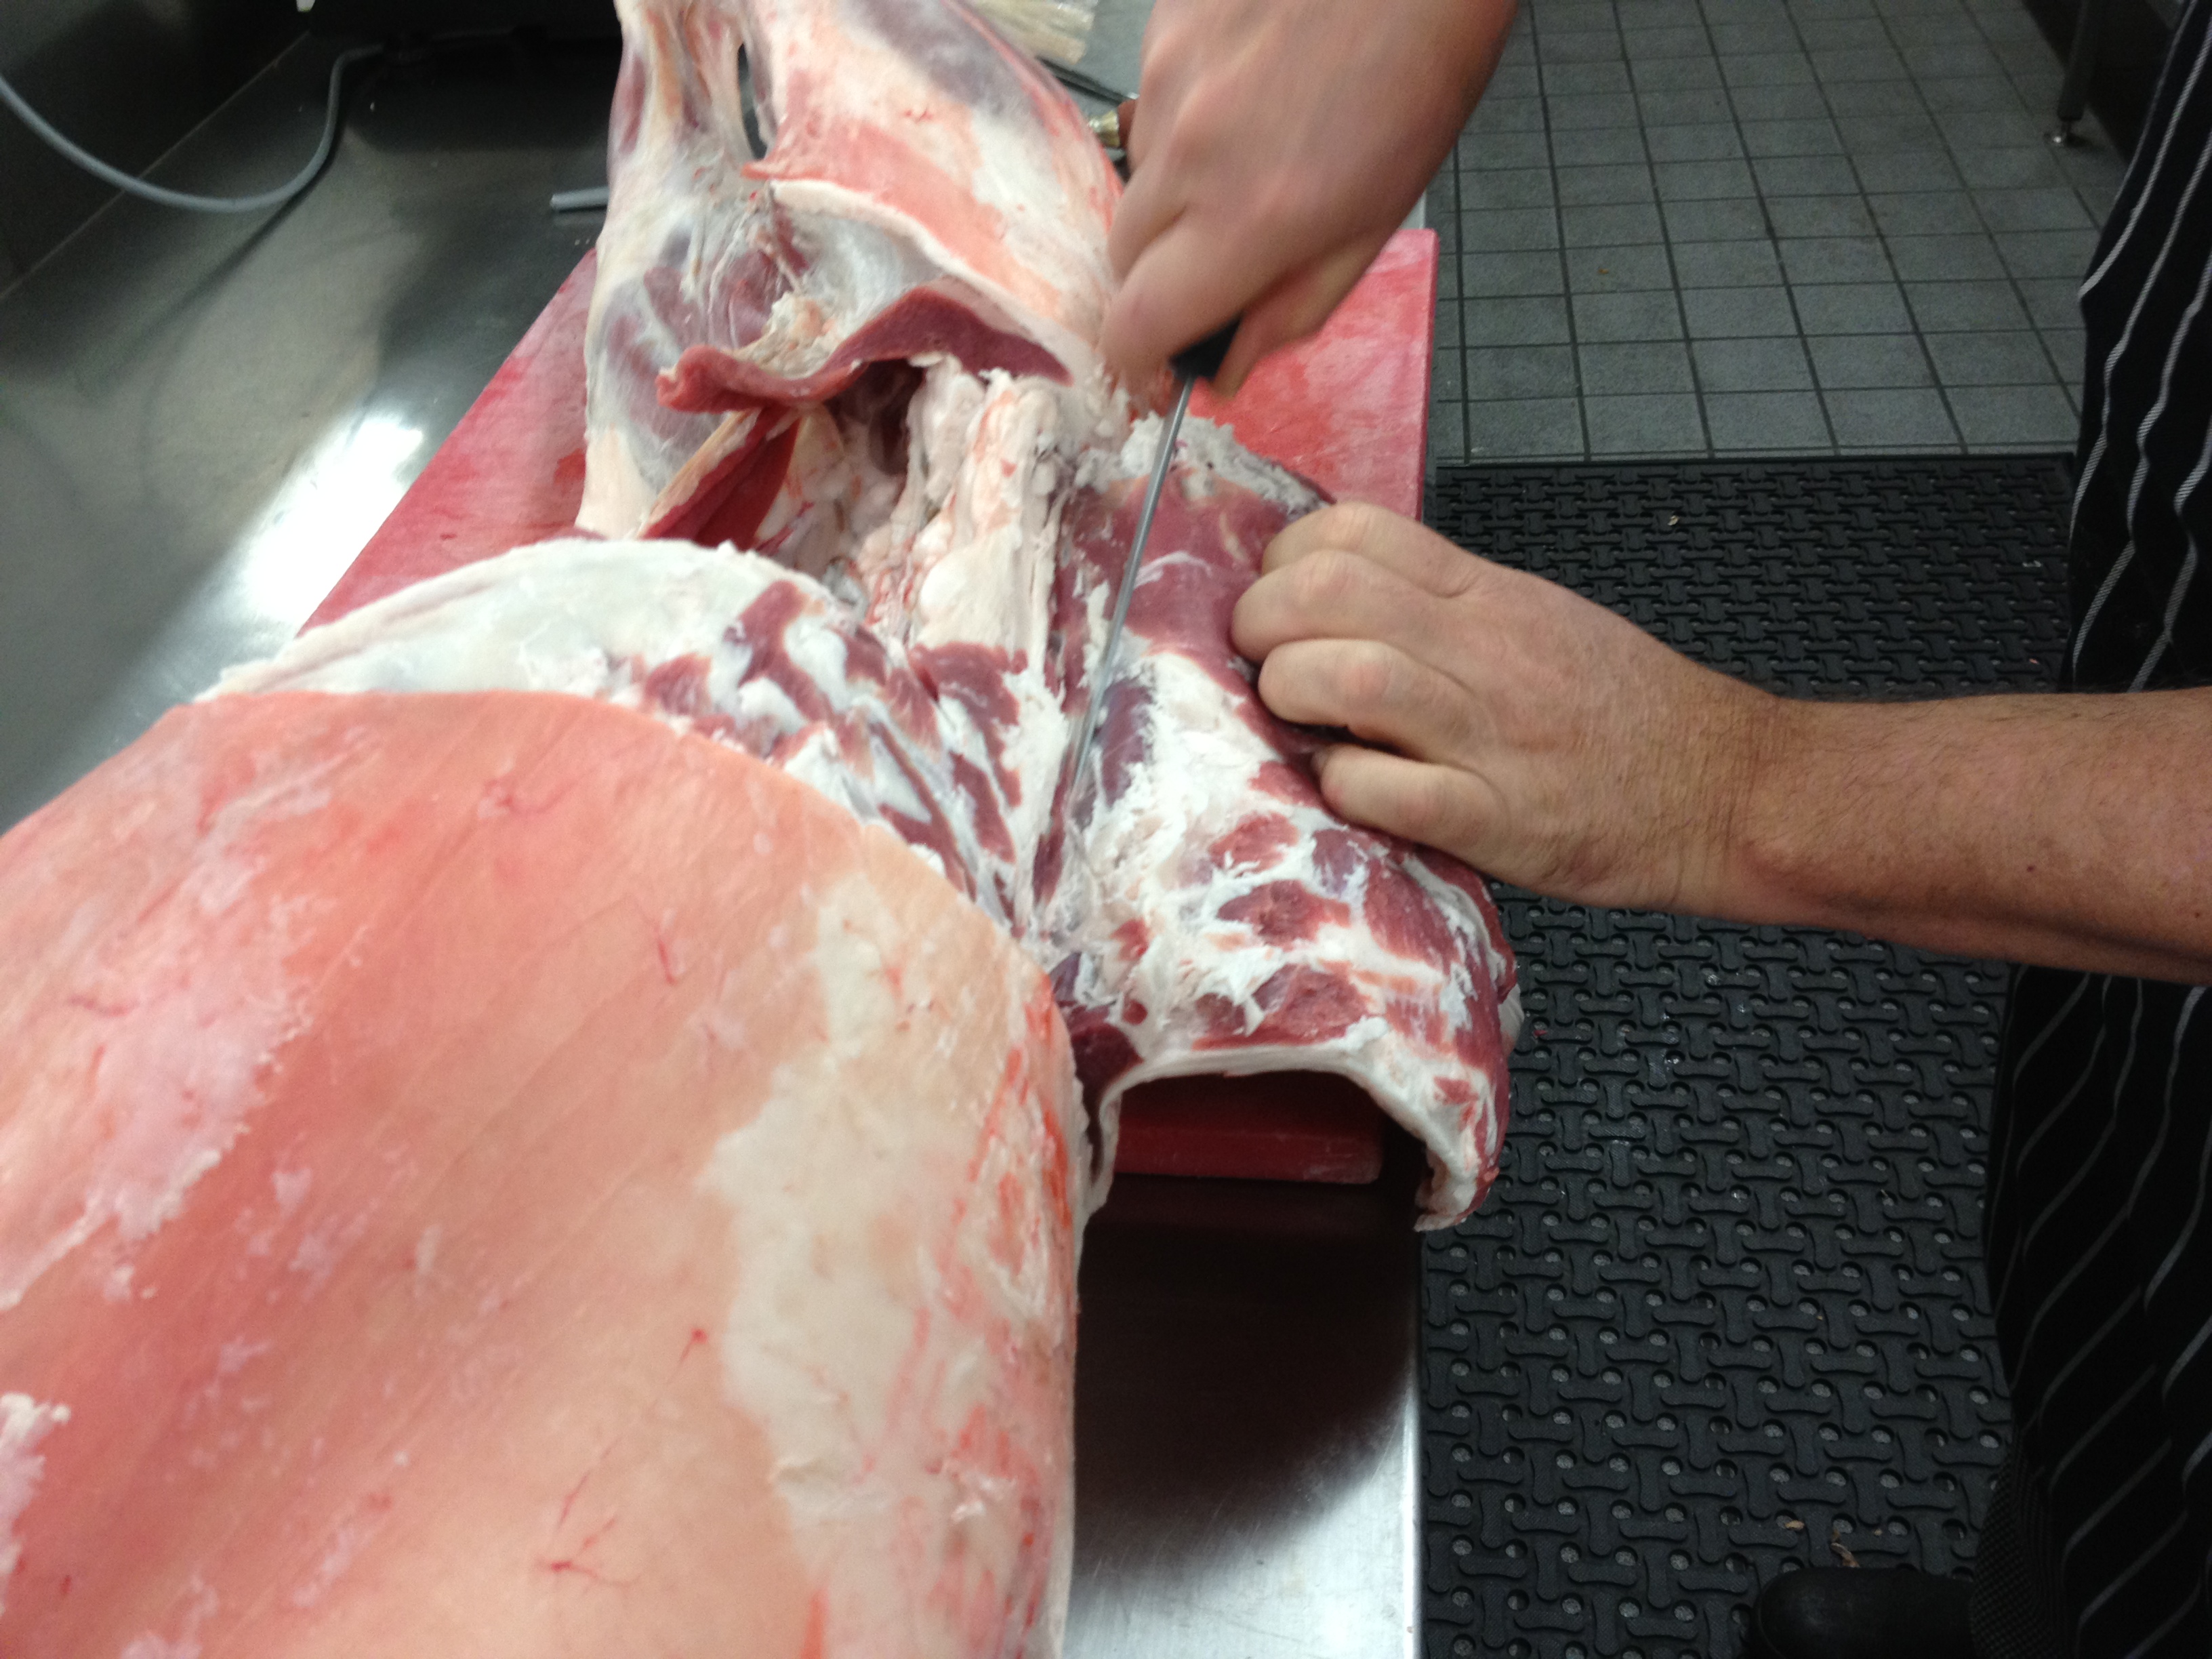 7. Pulling slightly on the flap with your left hand, it exposs the loin and start running your knife with long strokes left to right, keeping the knife flush and tight onto the rib side of the spine.
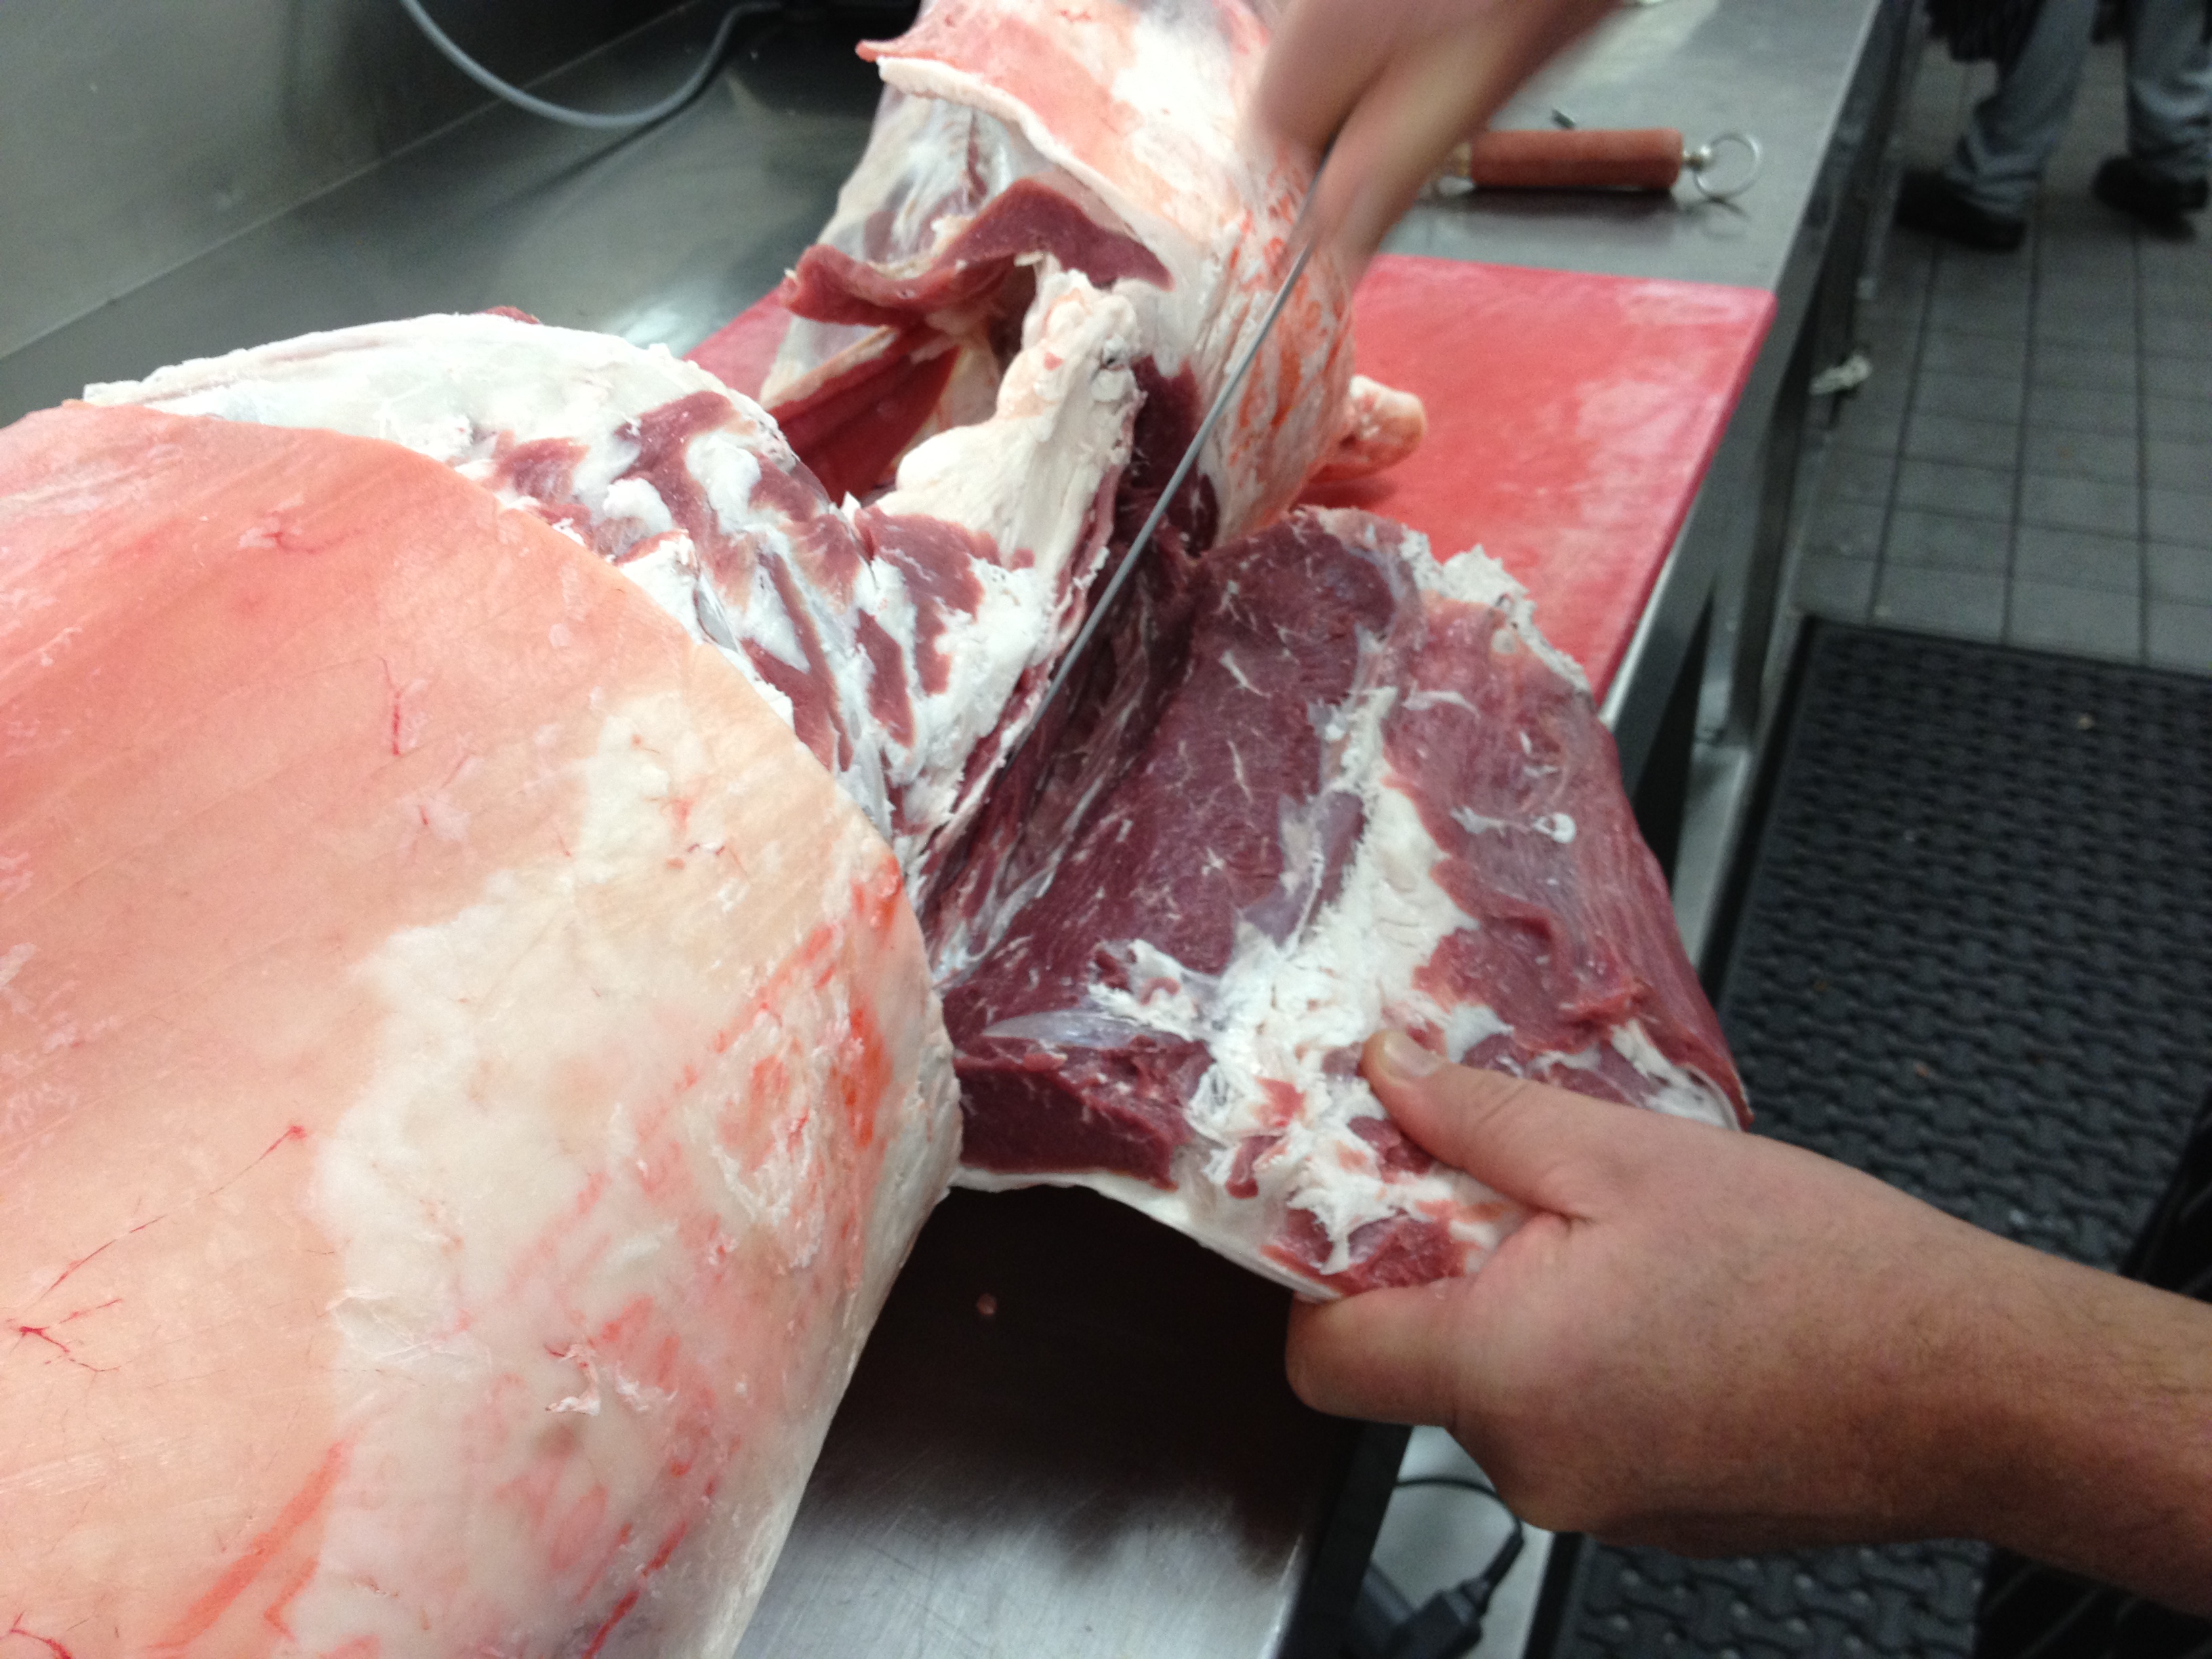 8. Keep pulling with your left hand (keep it tort) on the flap and keep running your knife with long strokes and flush against the rib side of the spine until you hit the centre of the spine
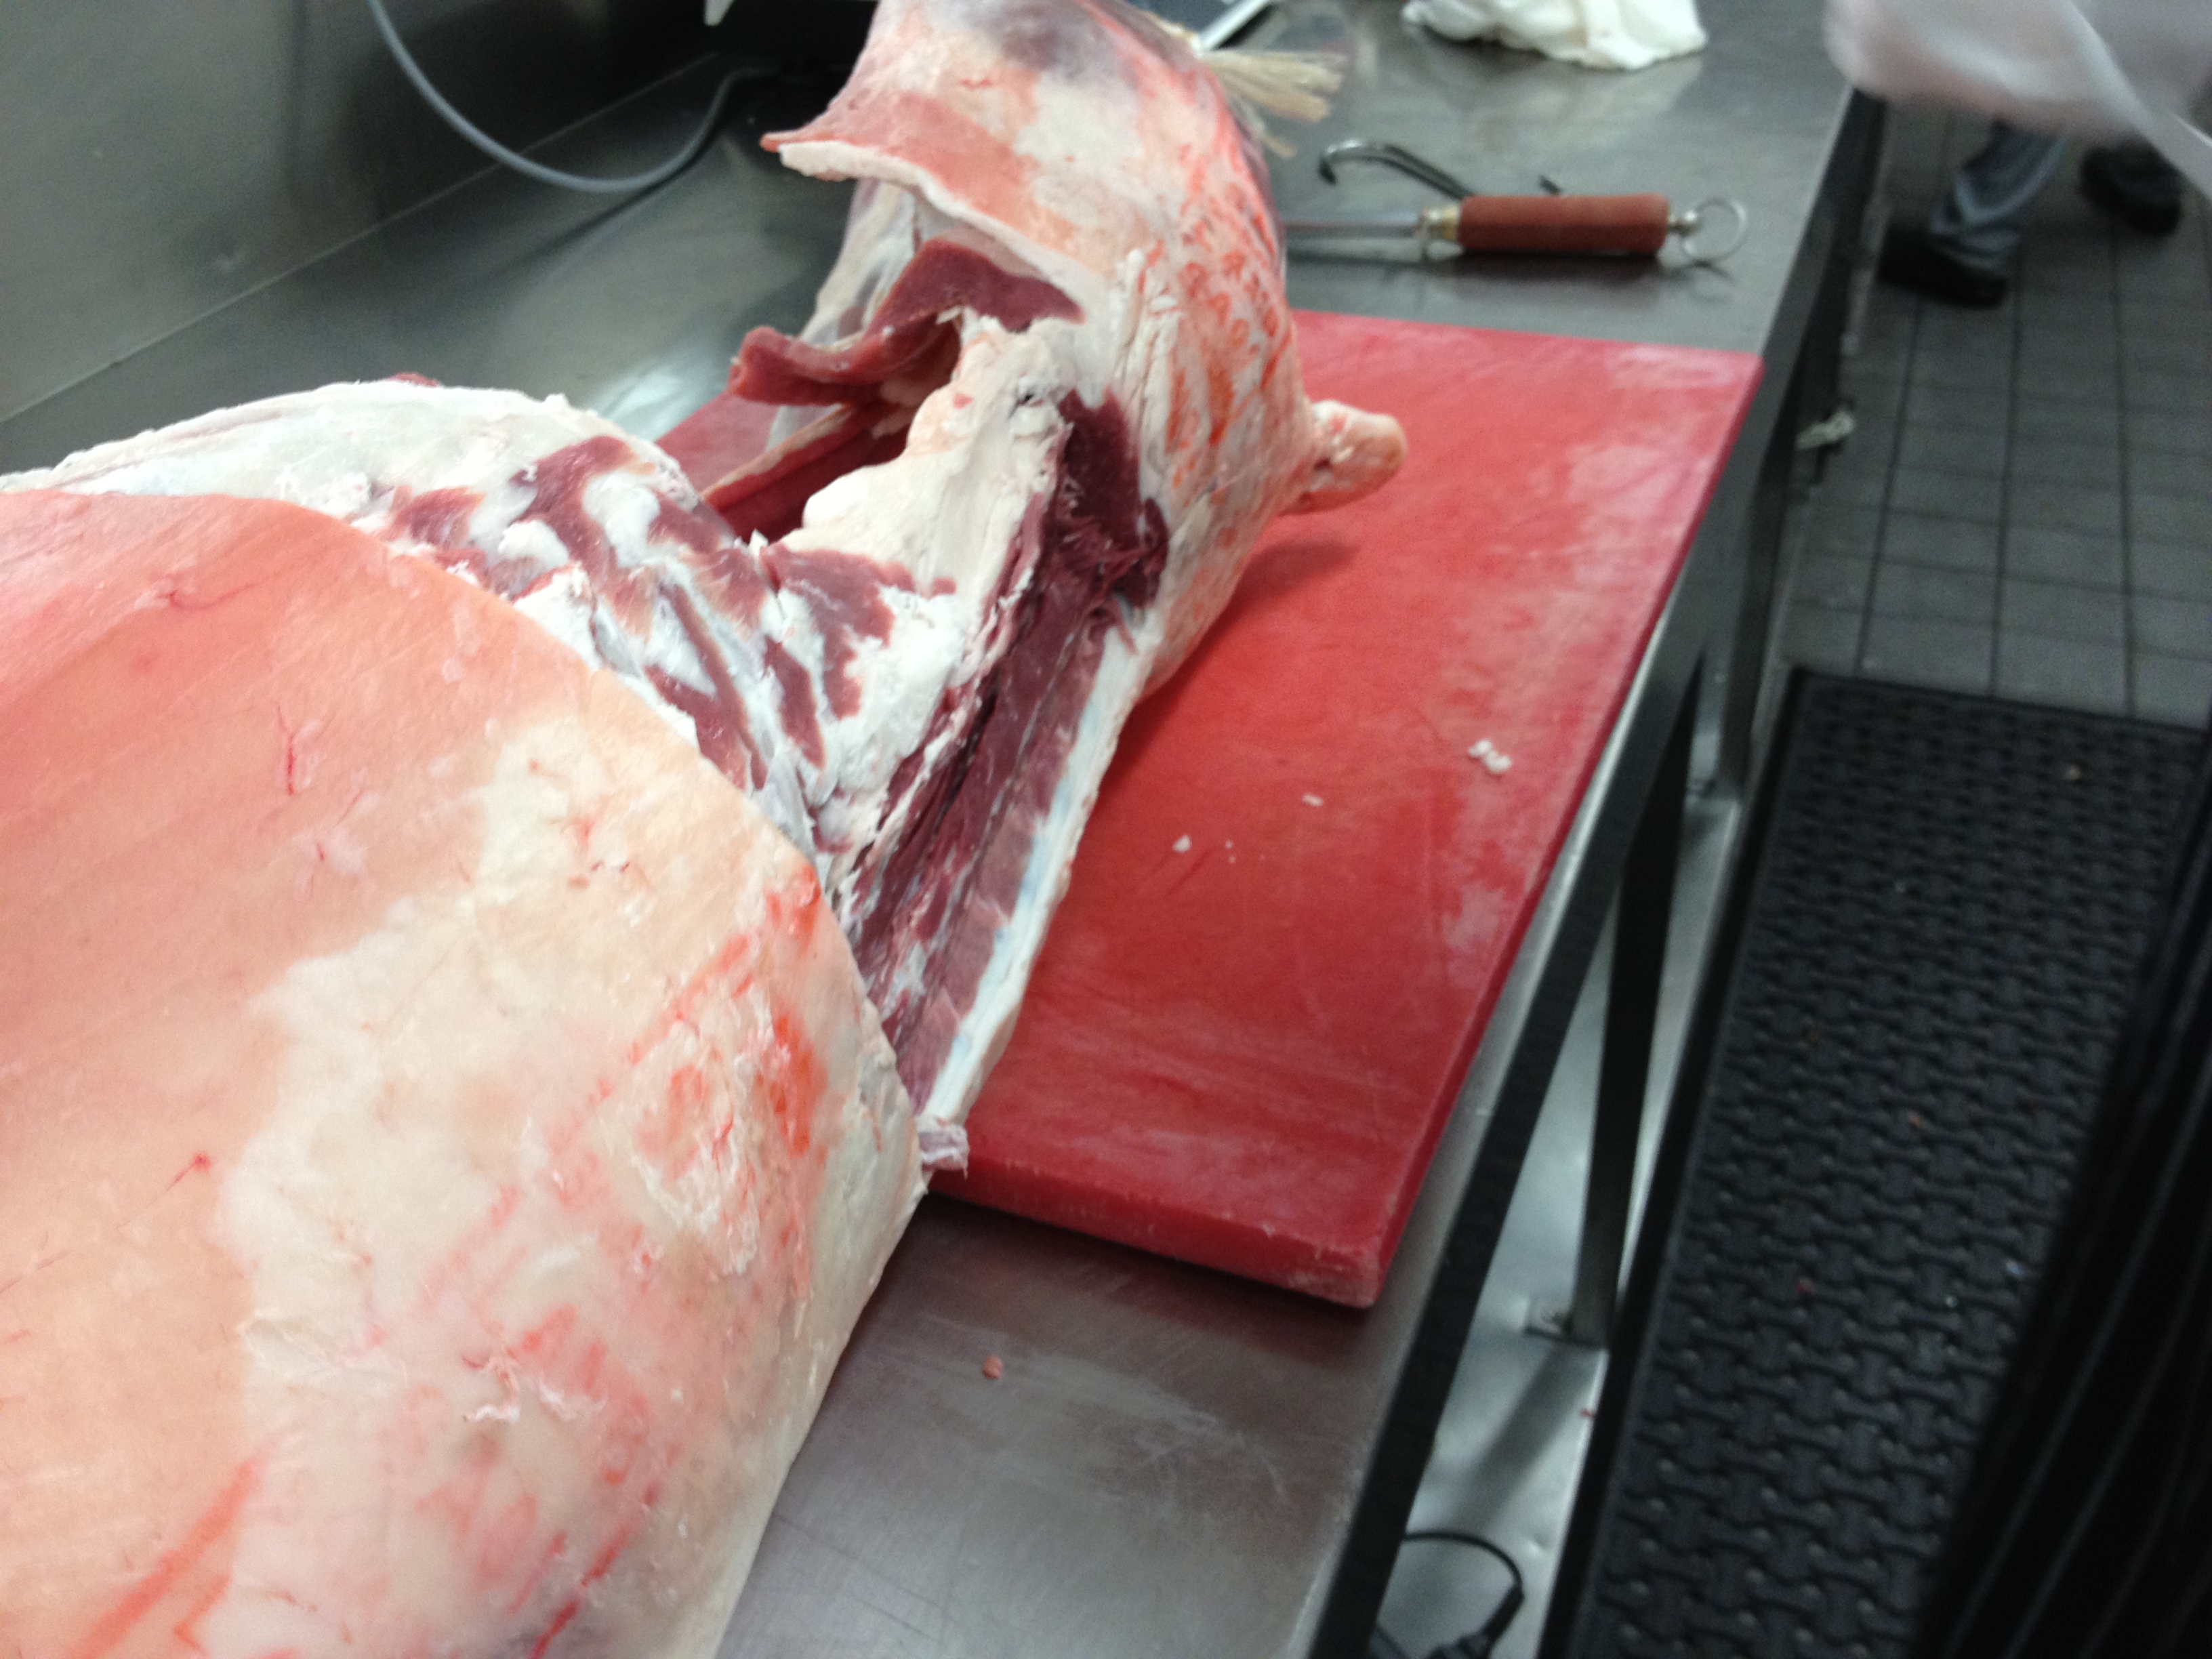 9. If your knife is sharp and you use long strokes, you should end up with a clean cut. This exposes the spinal joint where you will cut off the quarter (first spinal joint above the hind quarter) and where you will use a saw to cut through to the fore quarter (in between the third and fourth rib, square to the spine)
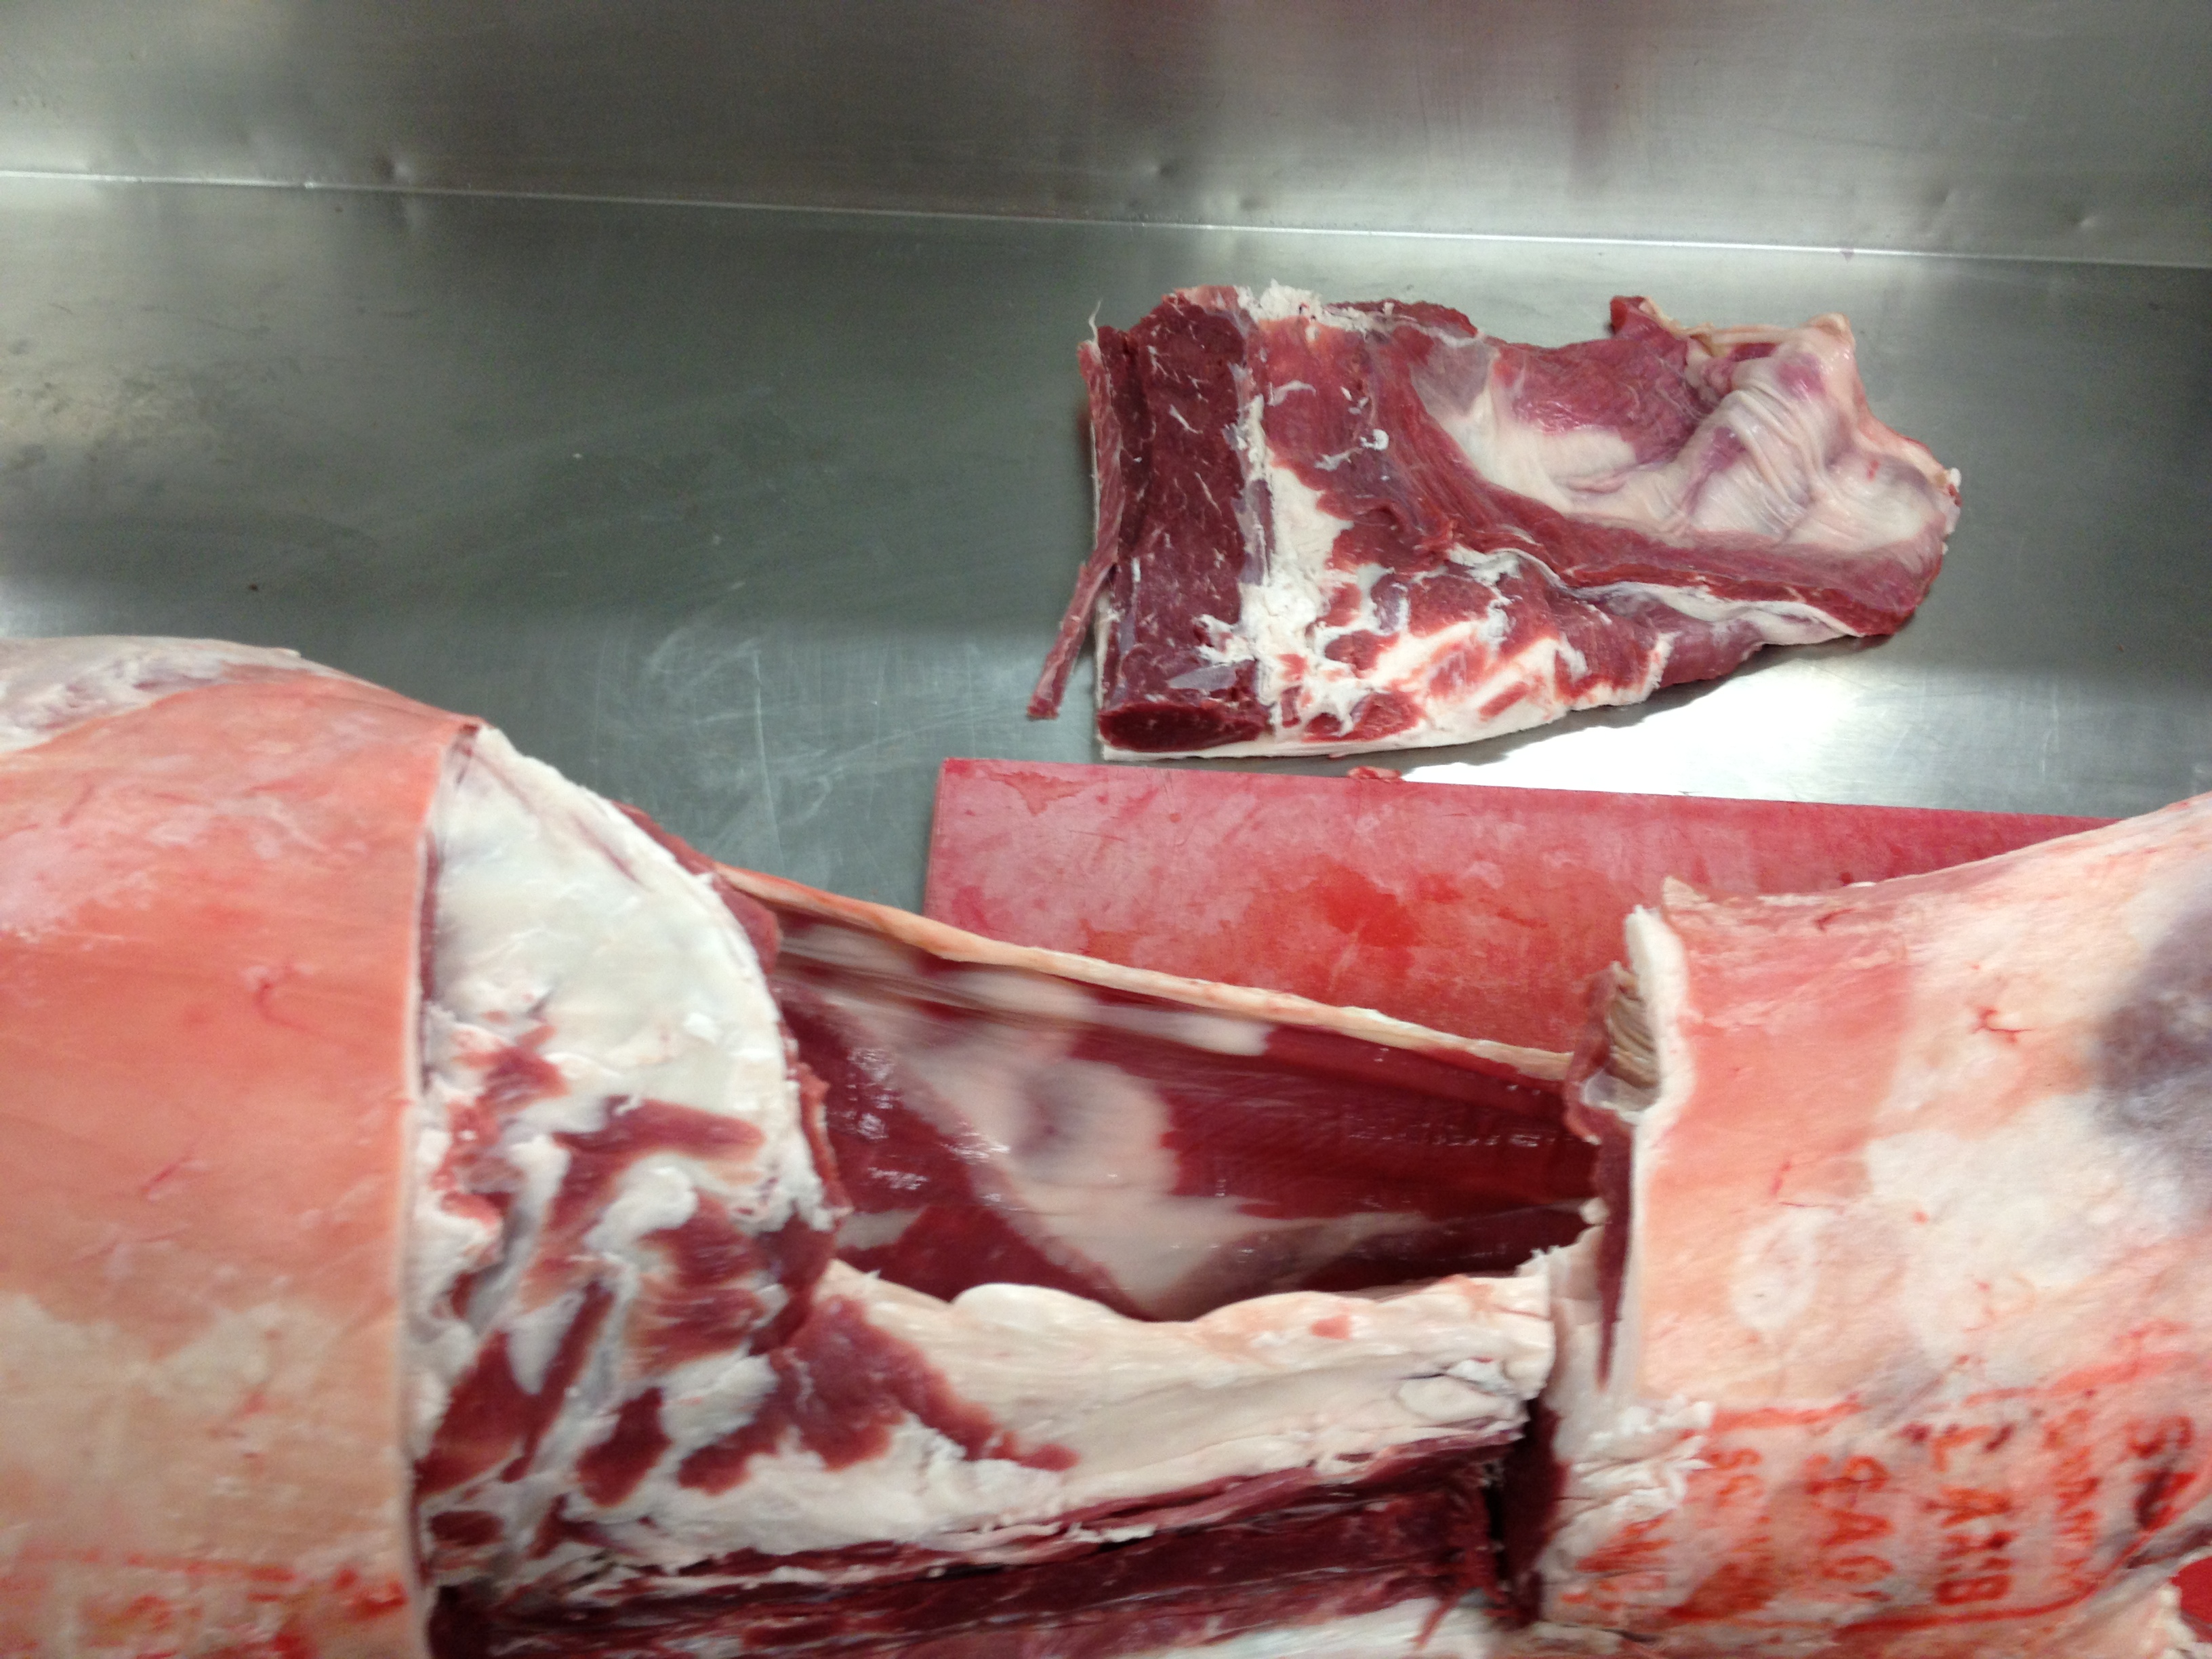 10. As you can see the spinal joint is exposed and the third and fourth rib making the job of breaking the whole carcass down a but easier.
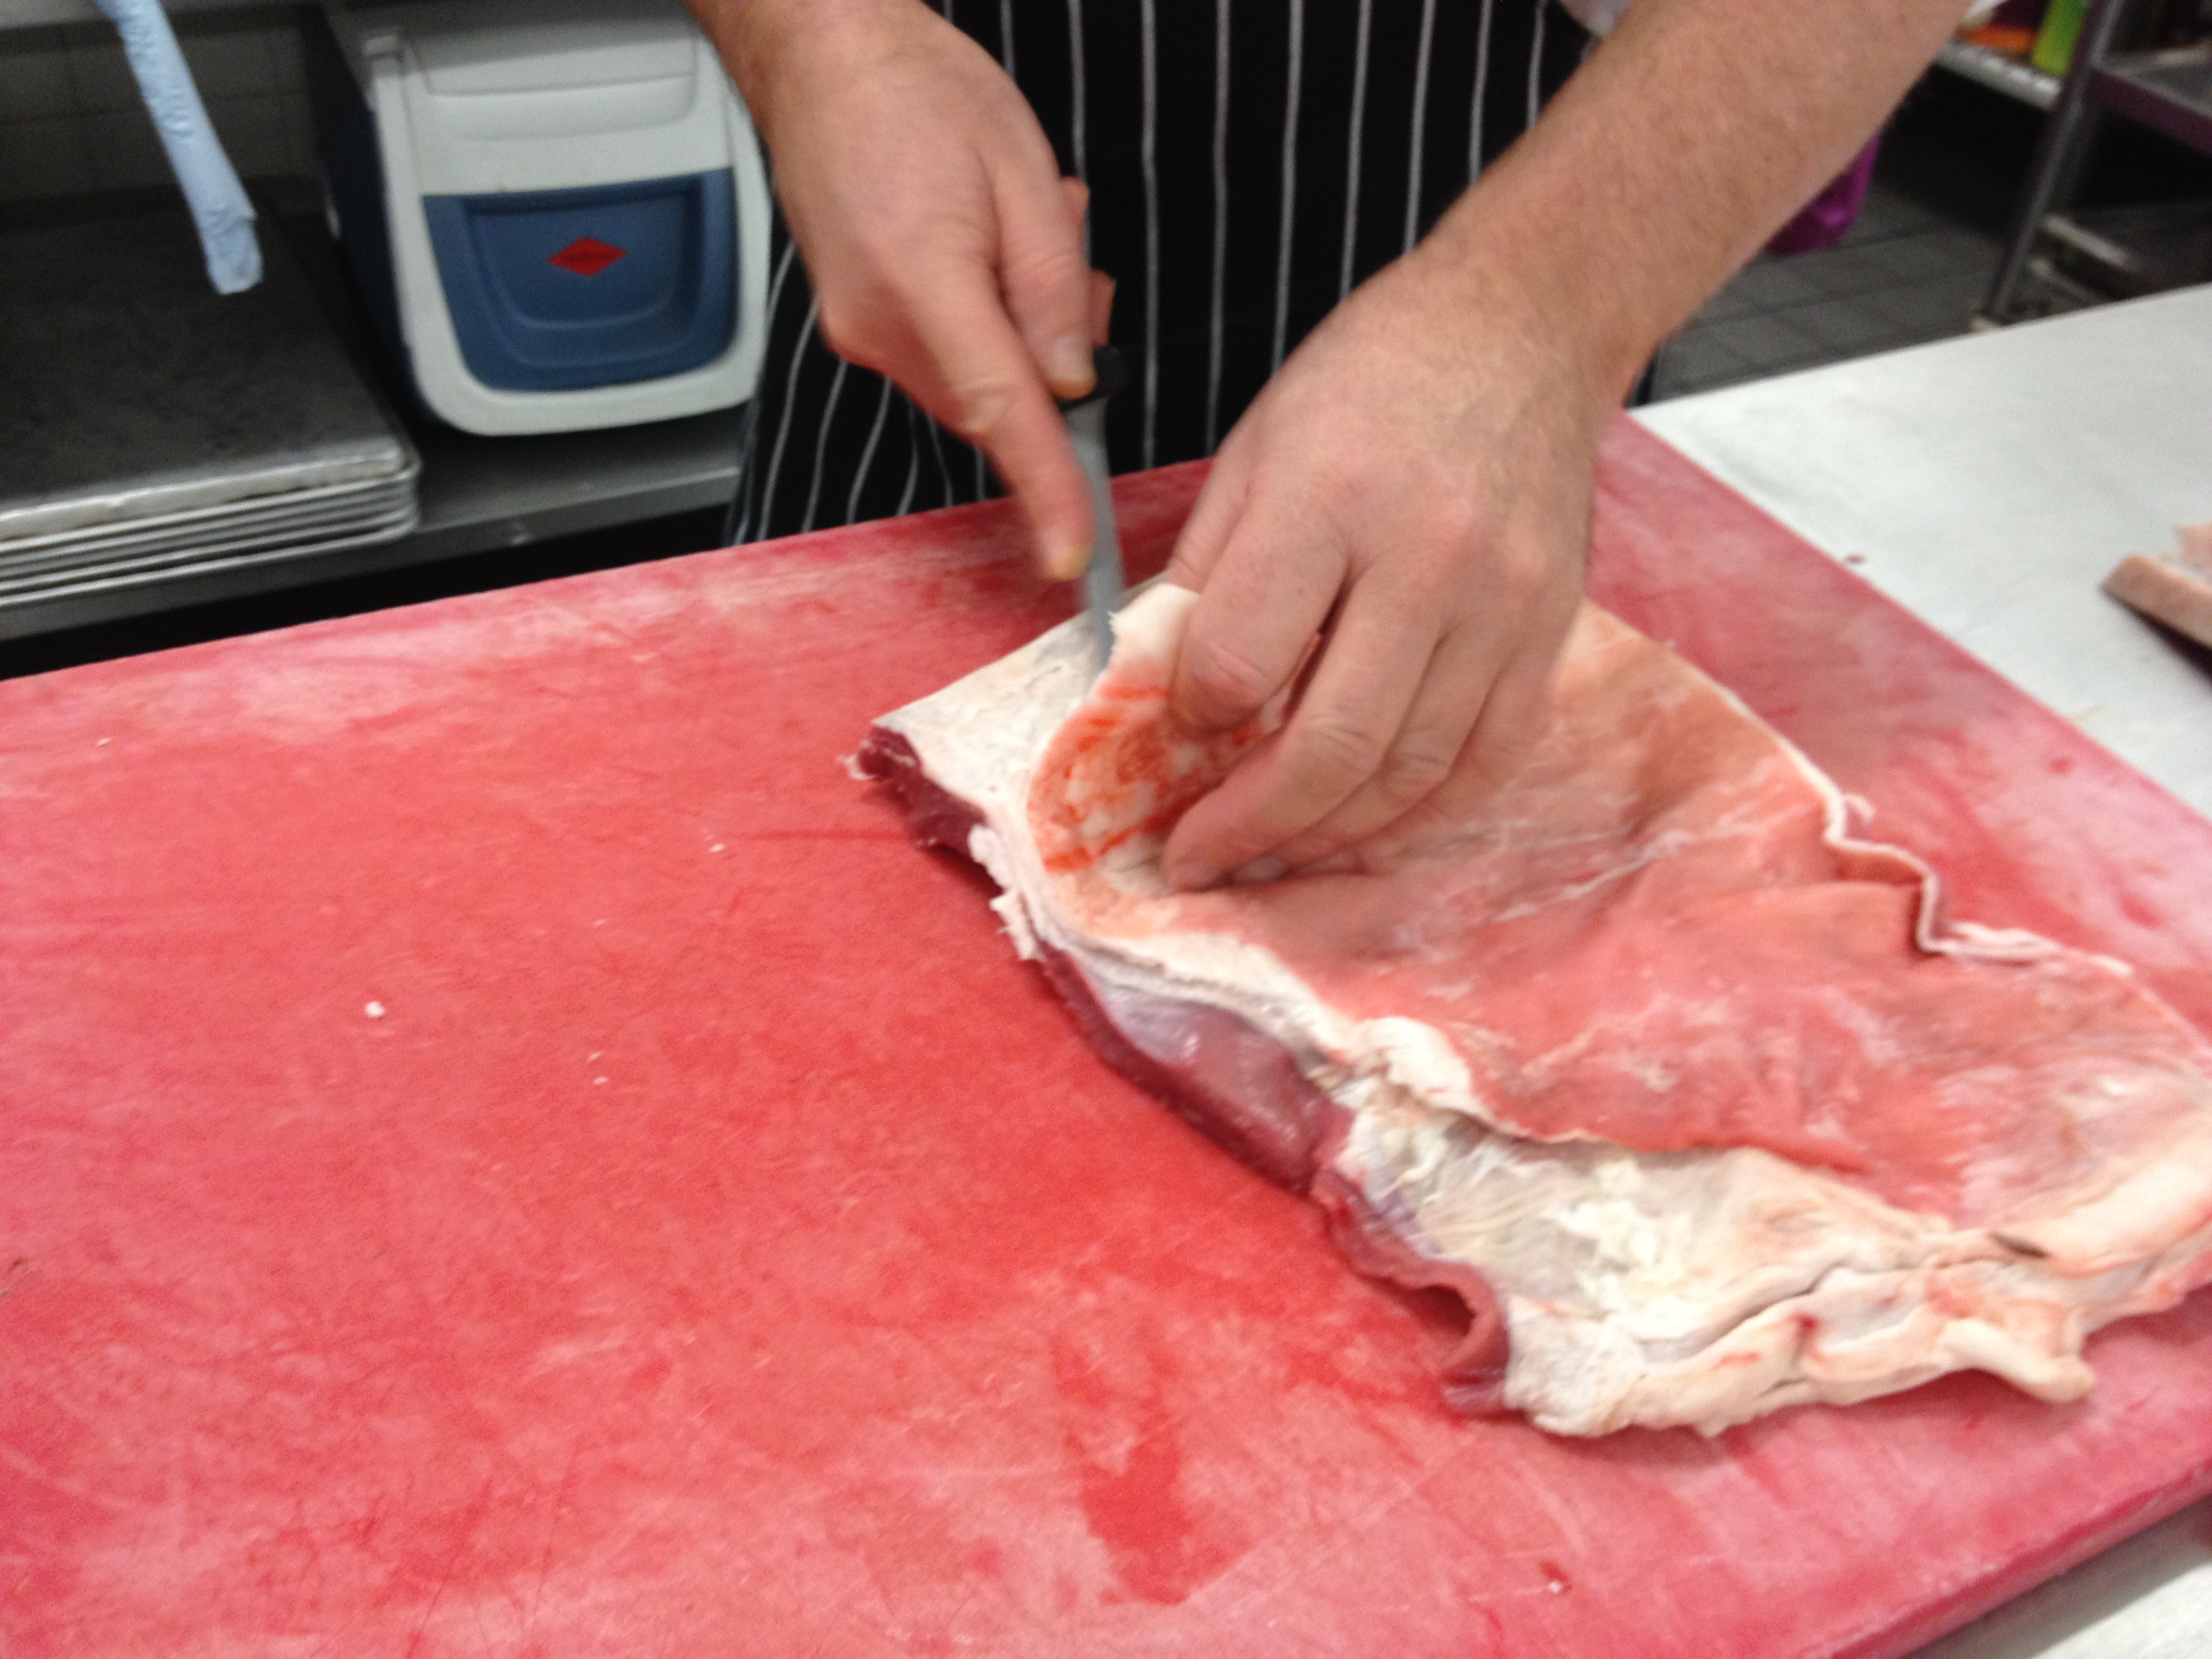
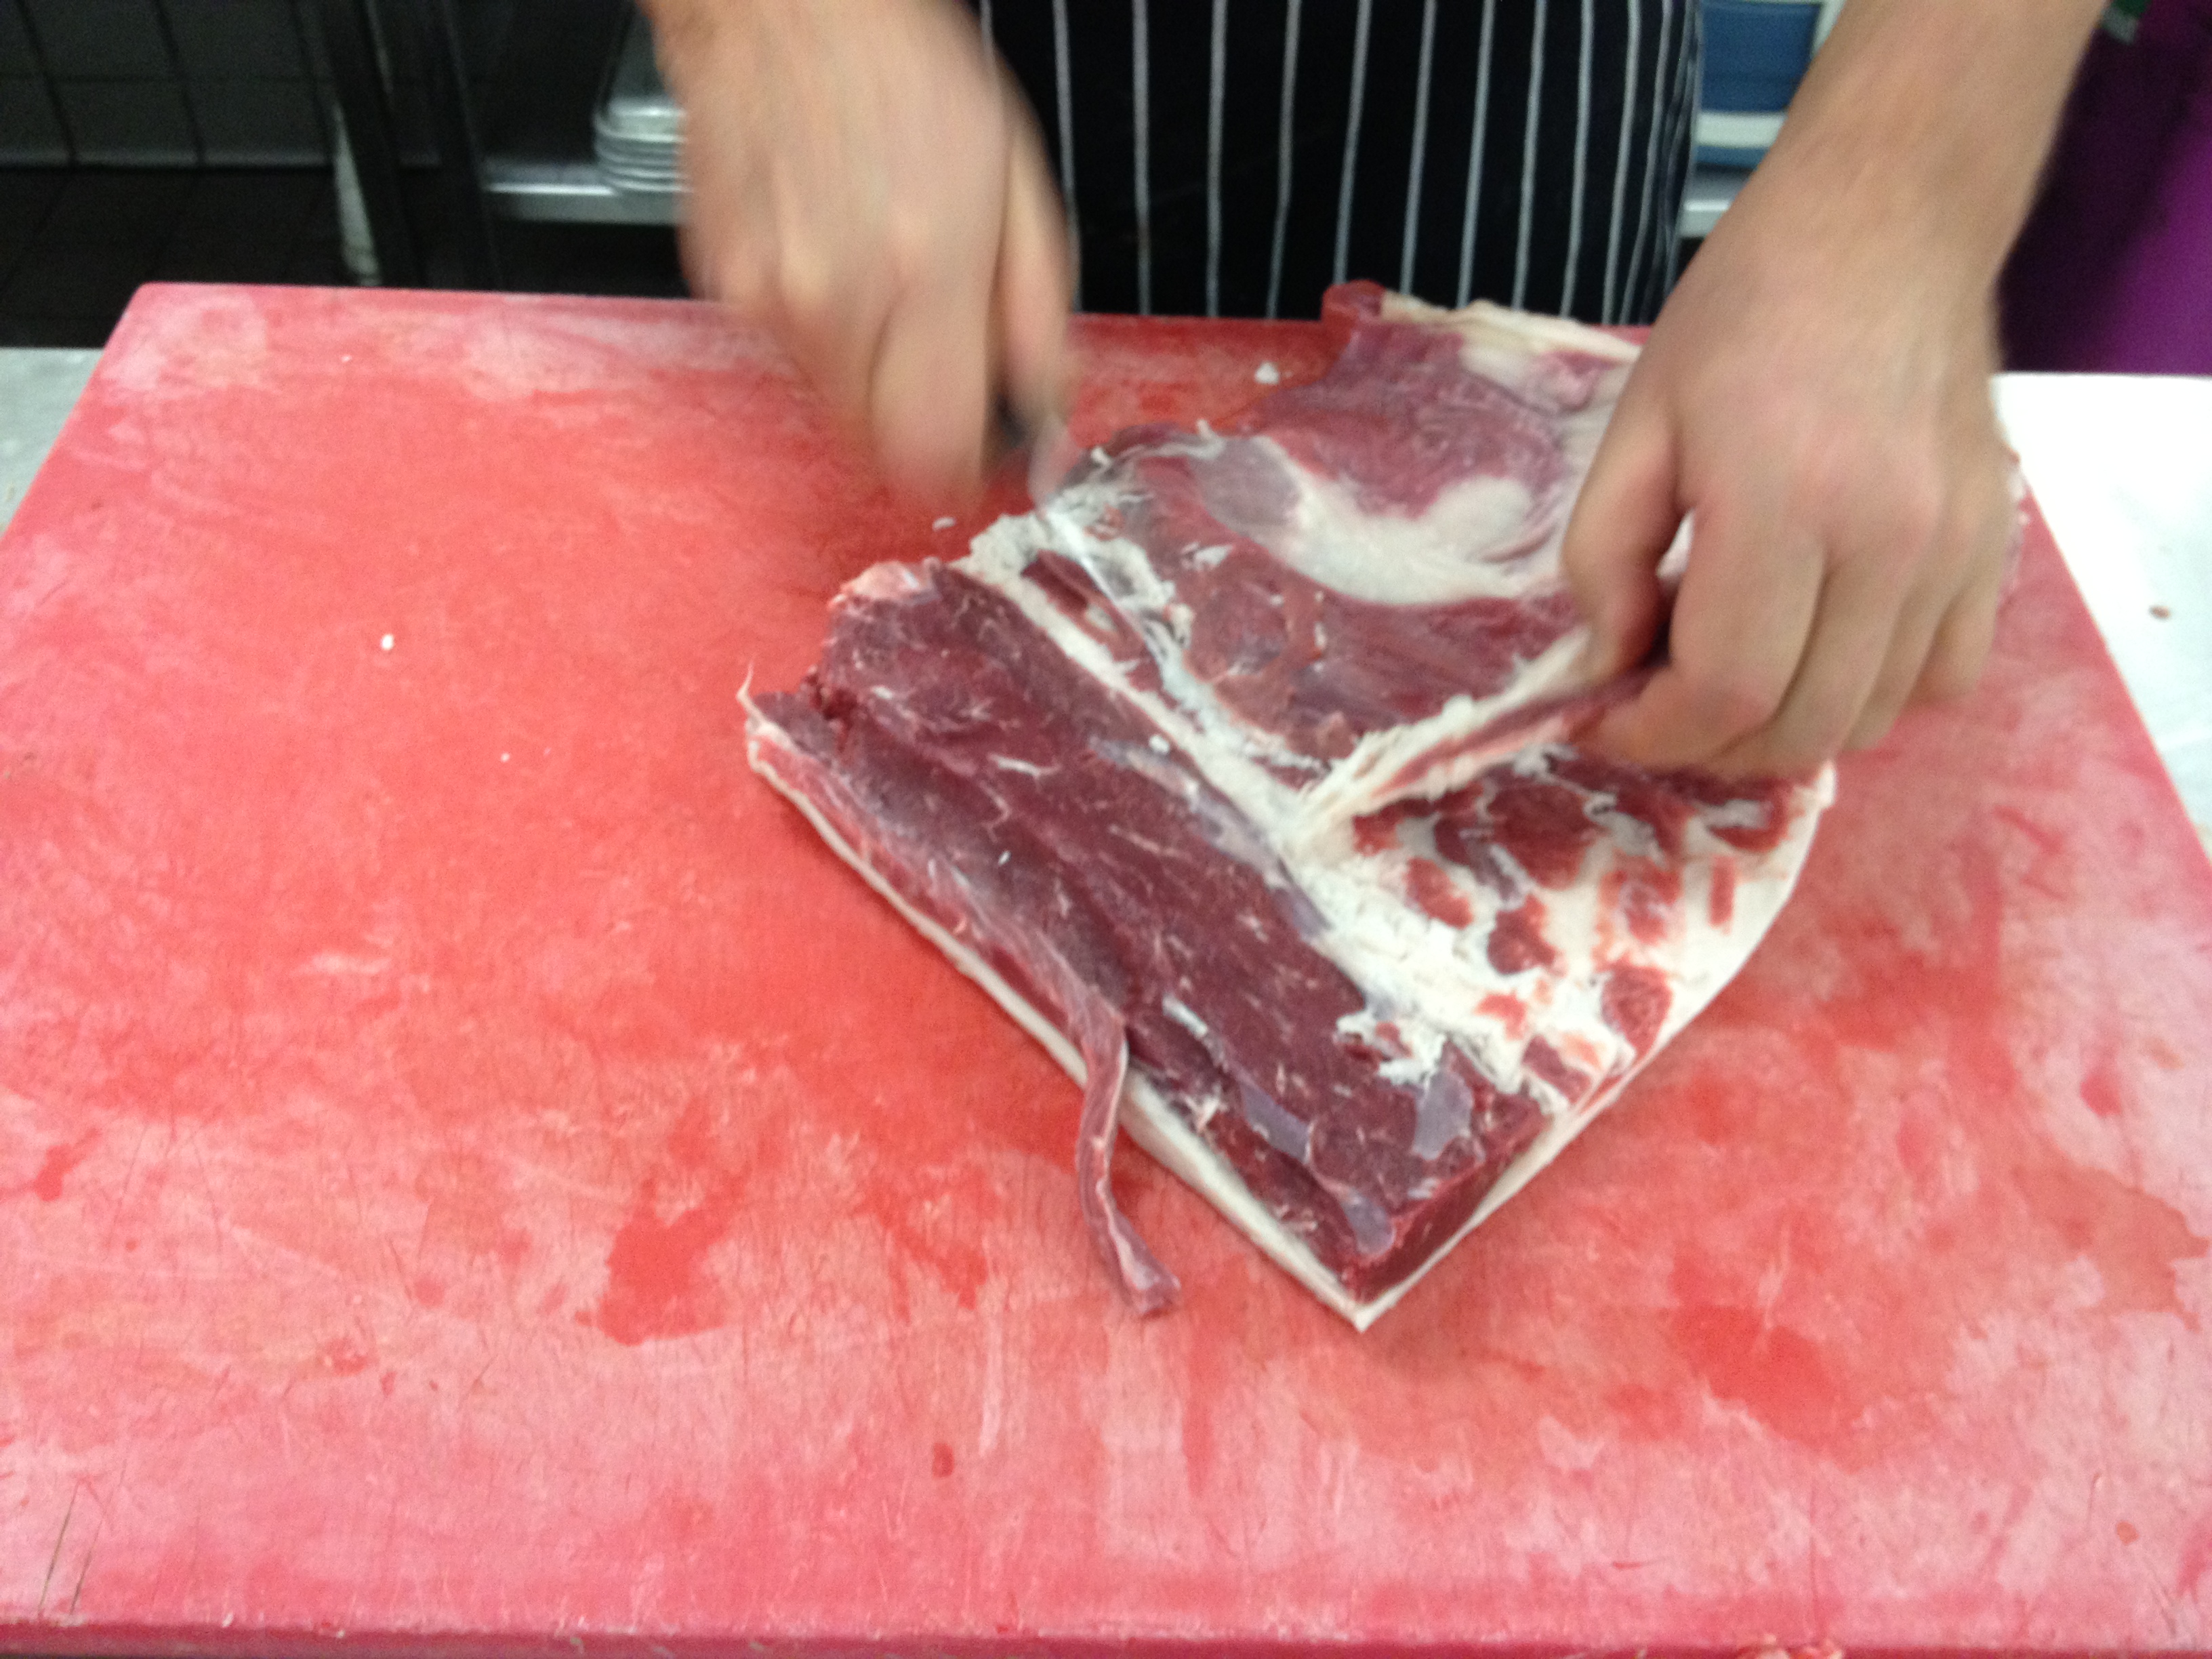 11. Trim the inside of the flap. Try to get rib of the fatty bits and sinew.
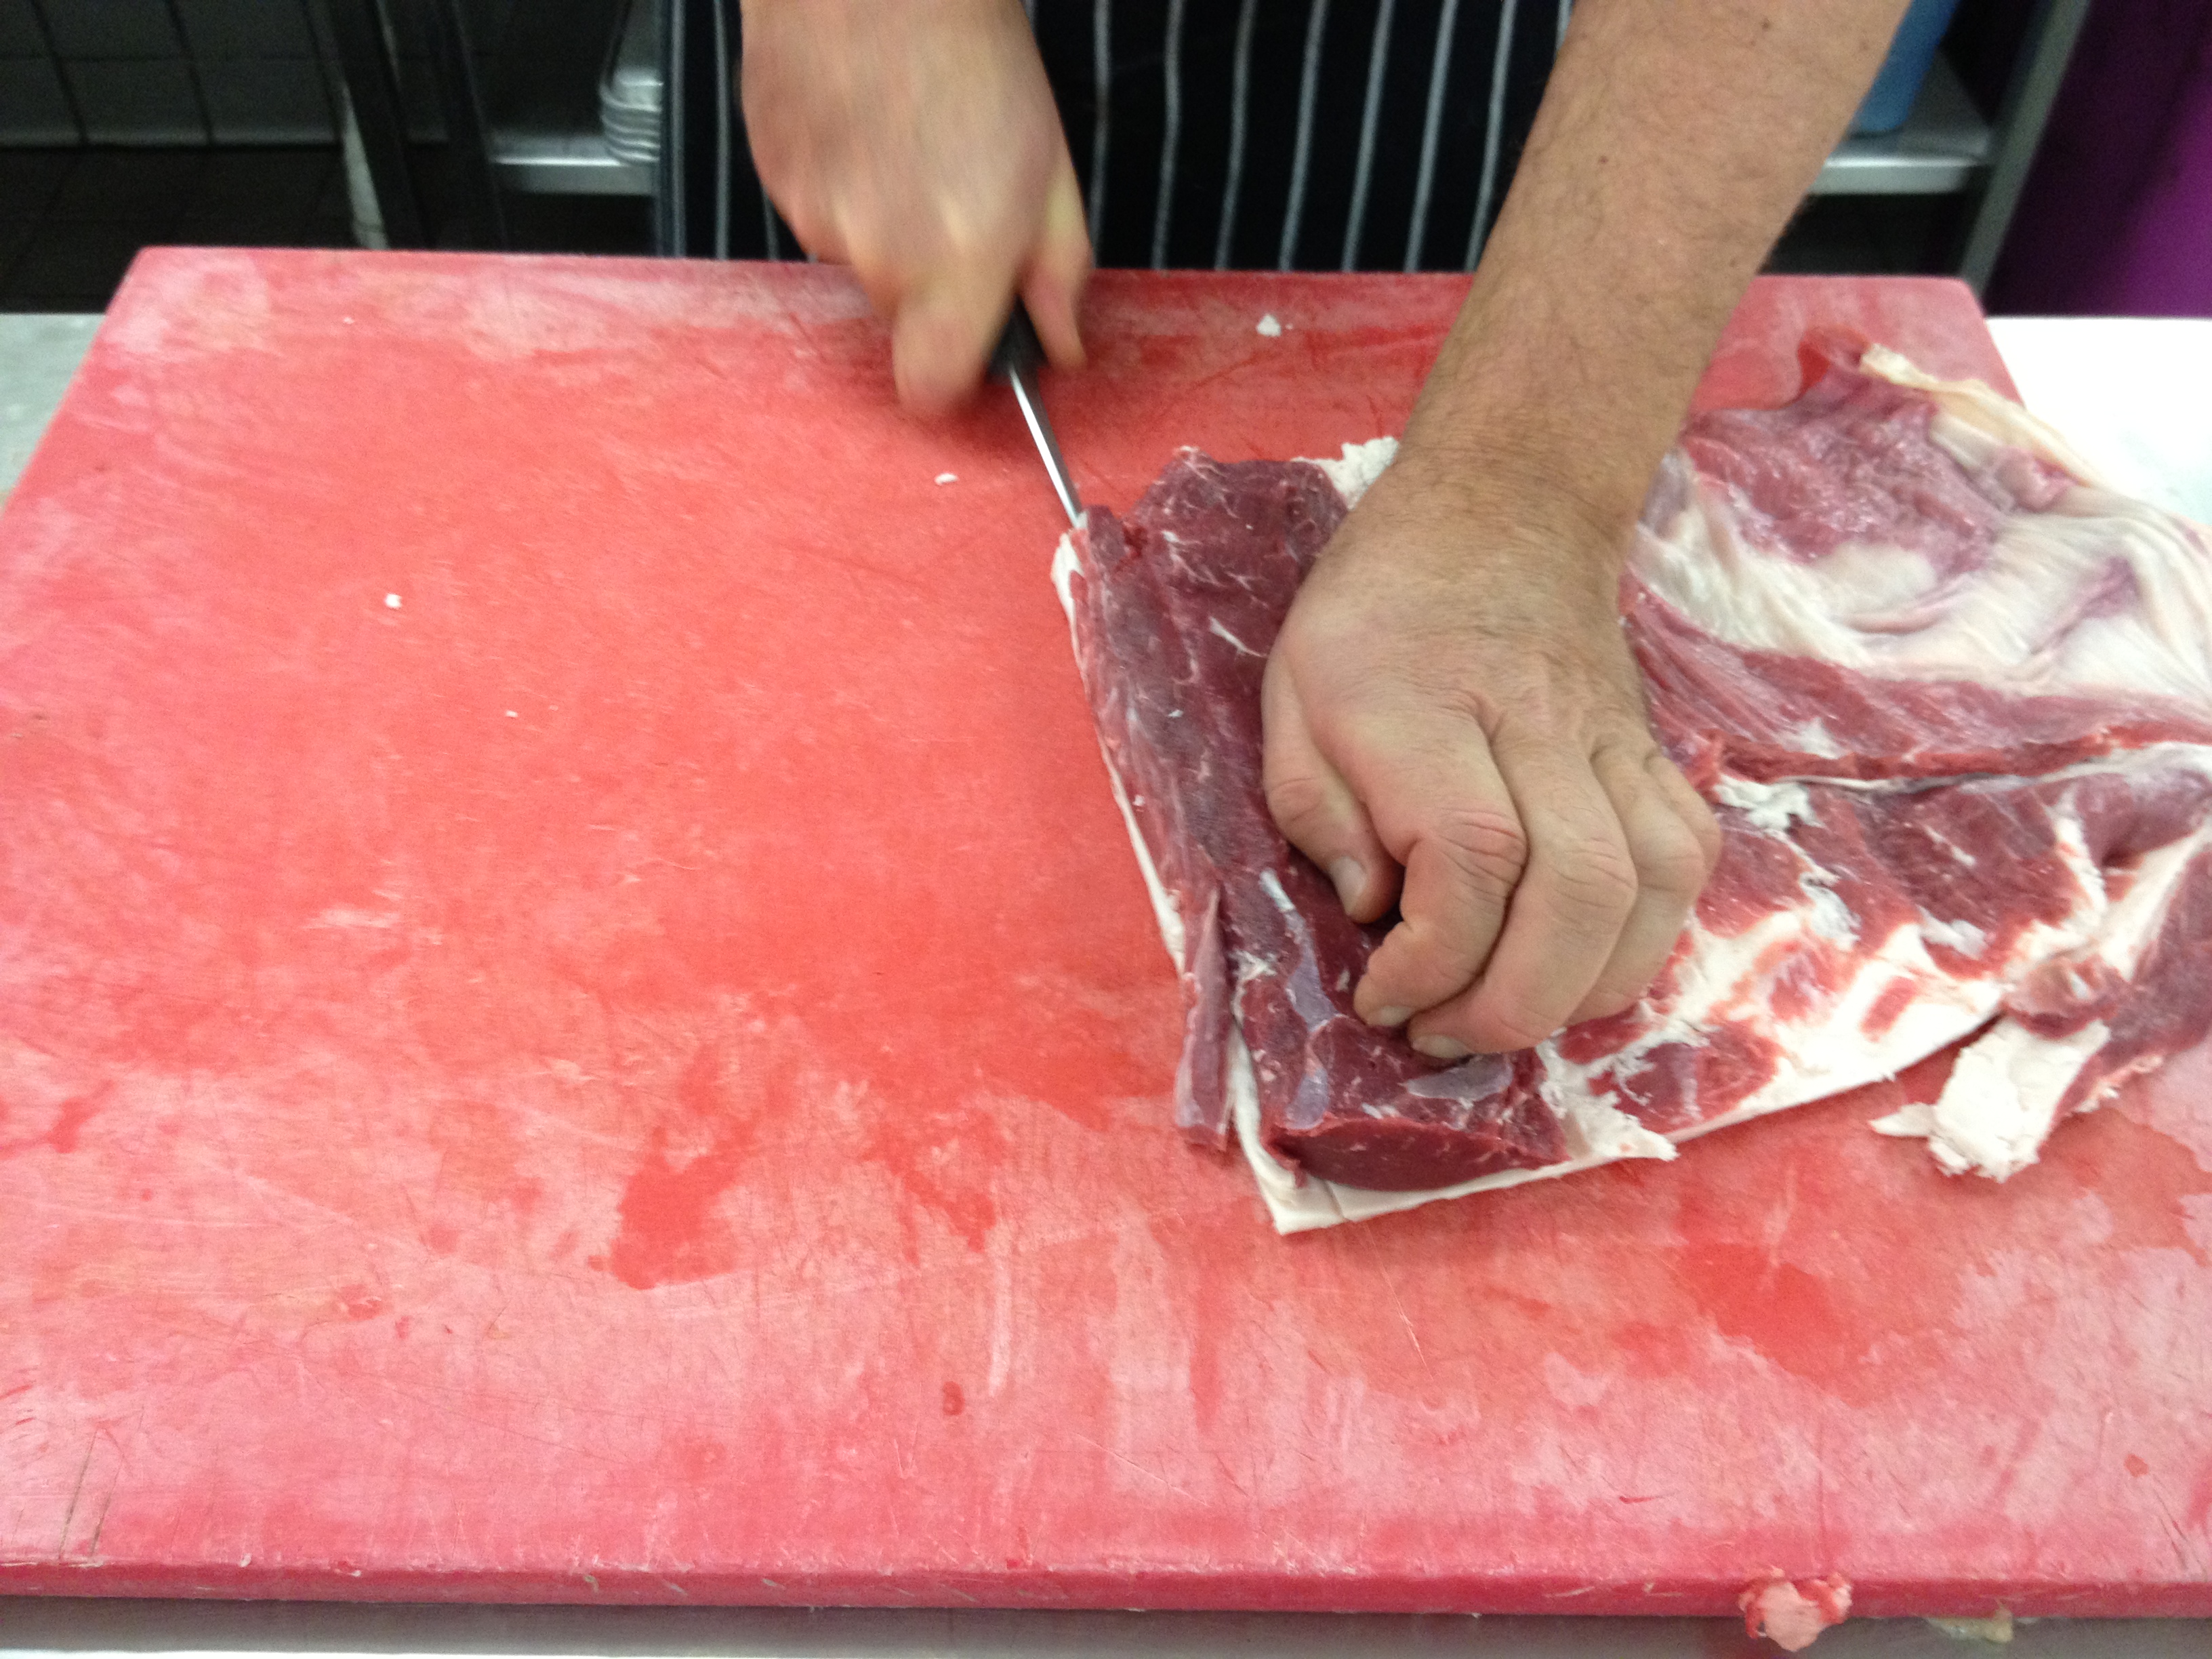 12. Square off the loin on the spine side. This will have the most sinew, so trim the sinew off. There is also a yellow coloured strip, rubbery in texture may be attached to the loin, trim this off. Usually you won’t need the knife, you simply grab on it and pull, with a little dab of the knife to loosen it perhaps from if it grabs on the meat
13. Trim the bark. When aging or hang meat, the outer “skin” dries. If it dries too much, it wont allow the fat to render effectively, forming that nice crispy skin. Trim the thinest layer of this dried skin off by starting at a corner, grad the loosened bit with your fingers and pull gently using your knife to loosen it if it sticks.
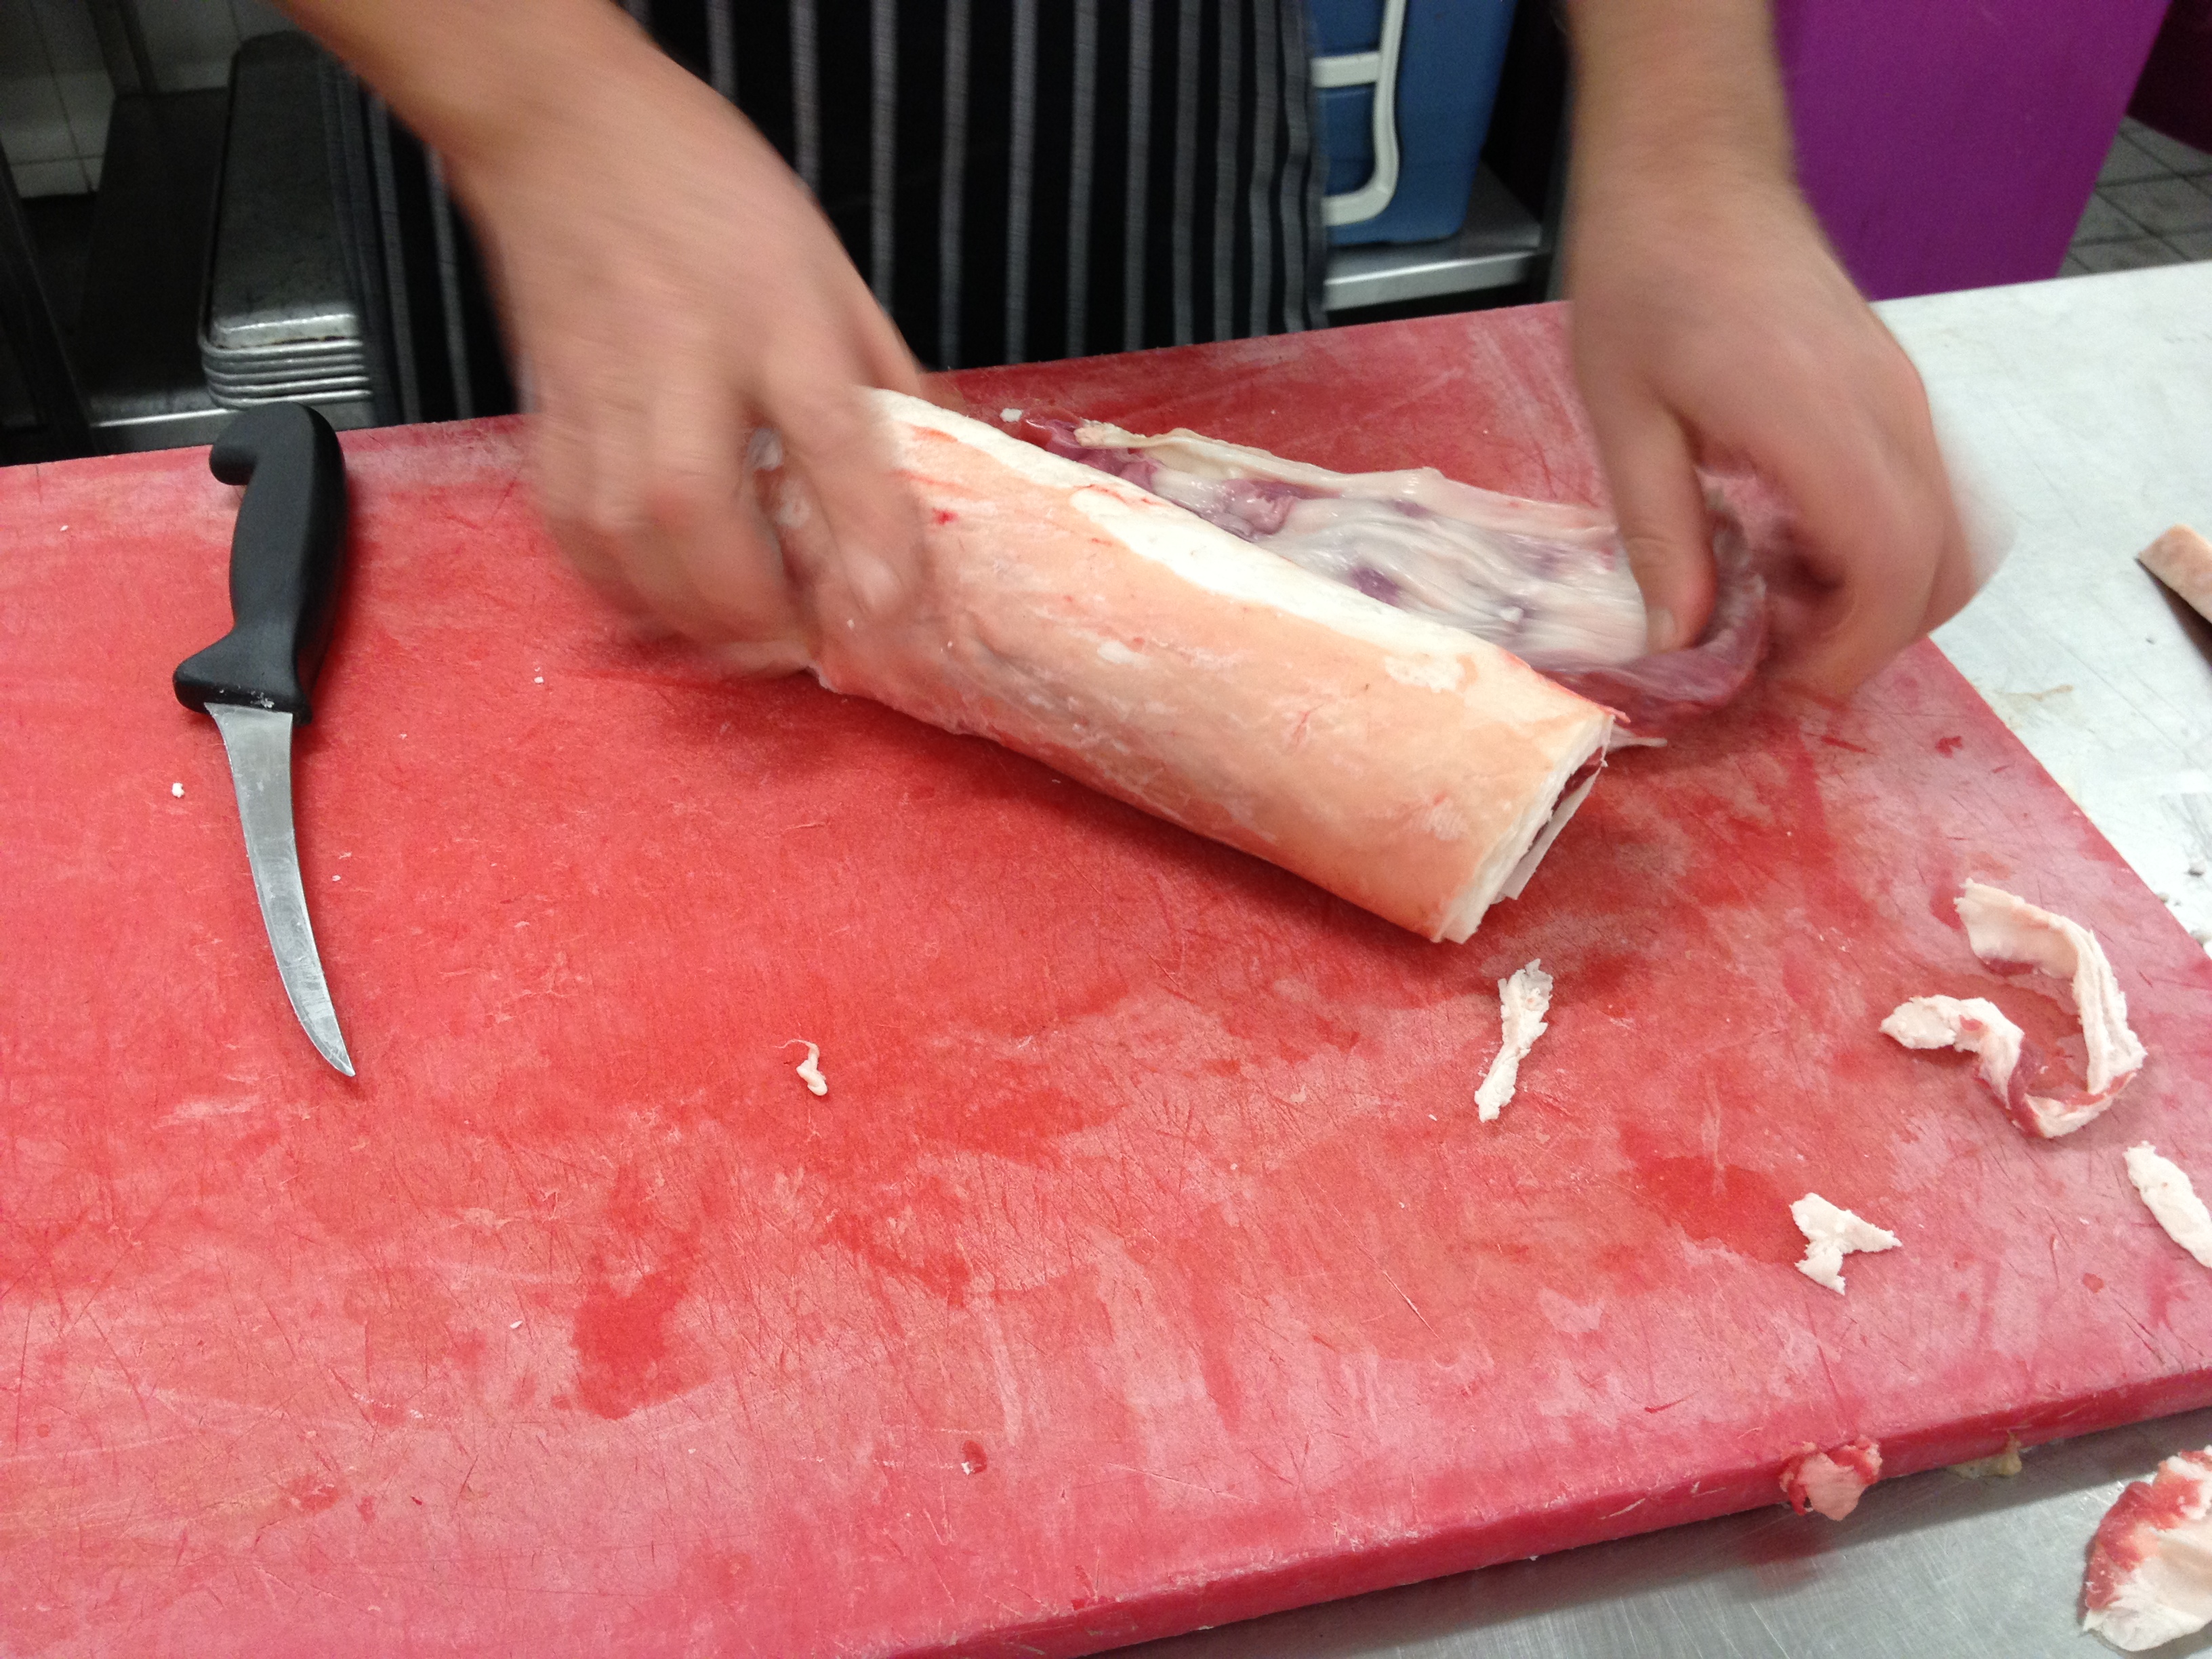 14. Roll the loin onto the flap tightly to measure how much to cut off. The flap will always be too big. You don’t want to over lap too much but you do want a little overlap so when is cooks and shrinks a little, you still have the loin nicely covered. You want about 2cm over lap.
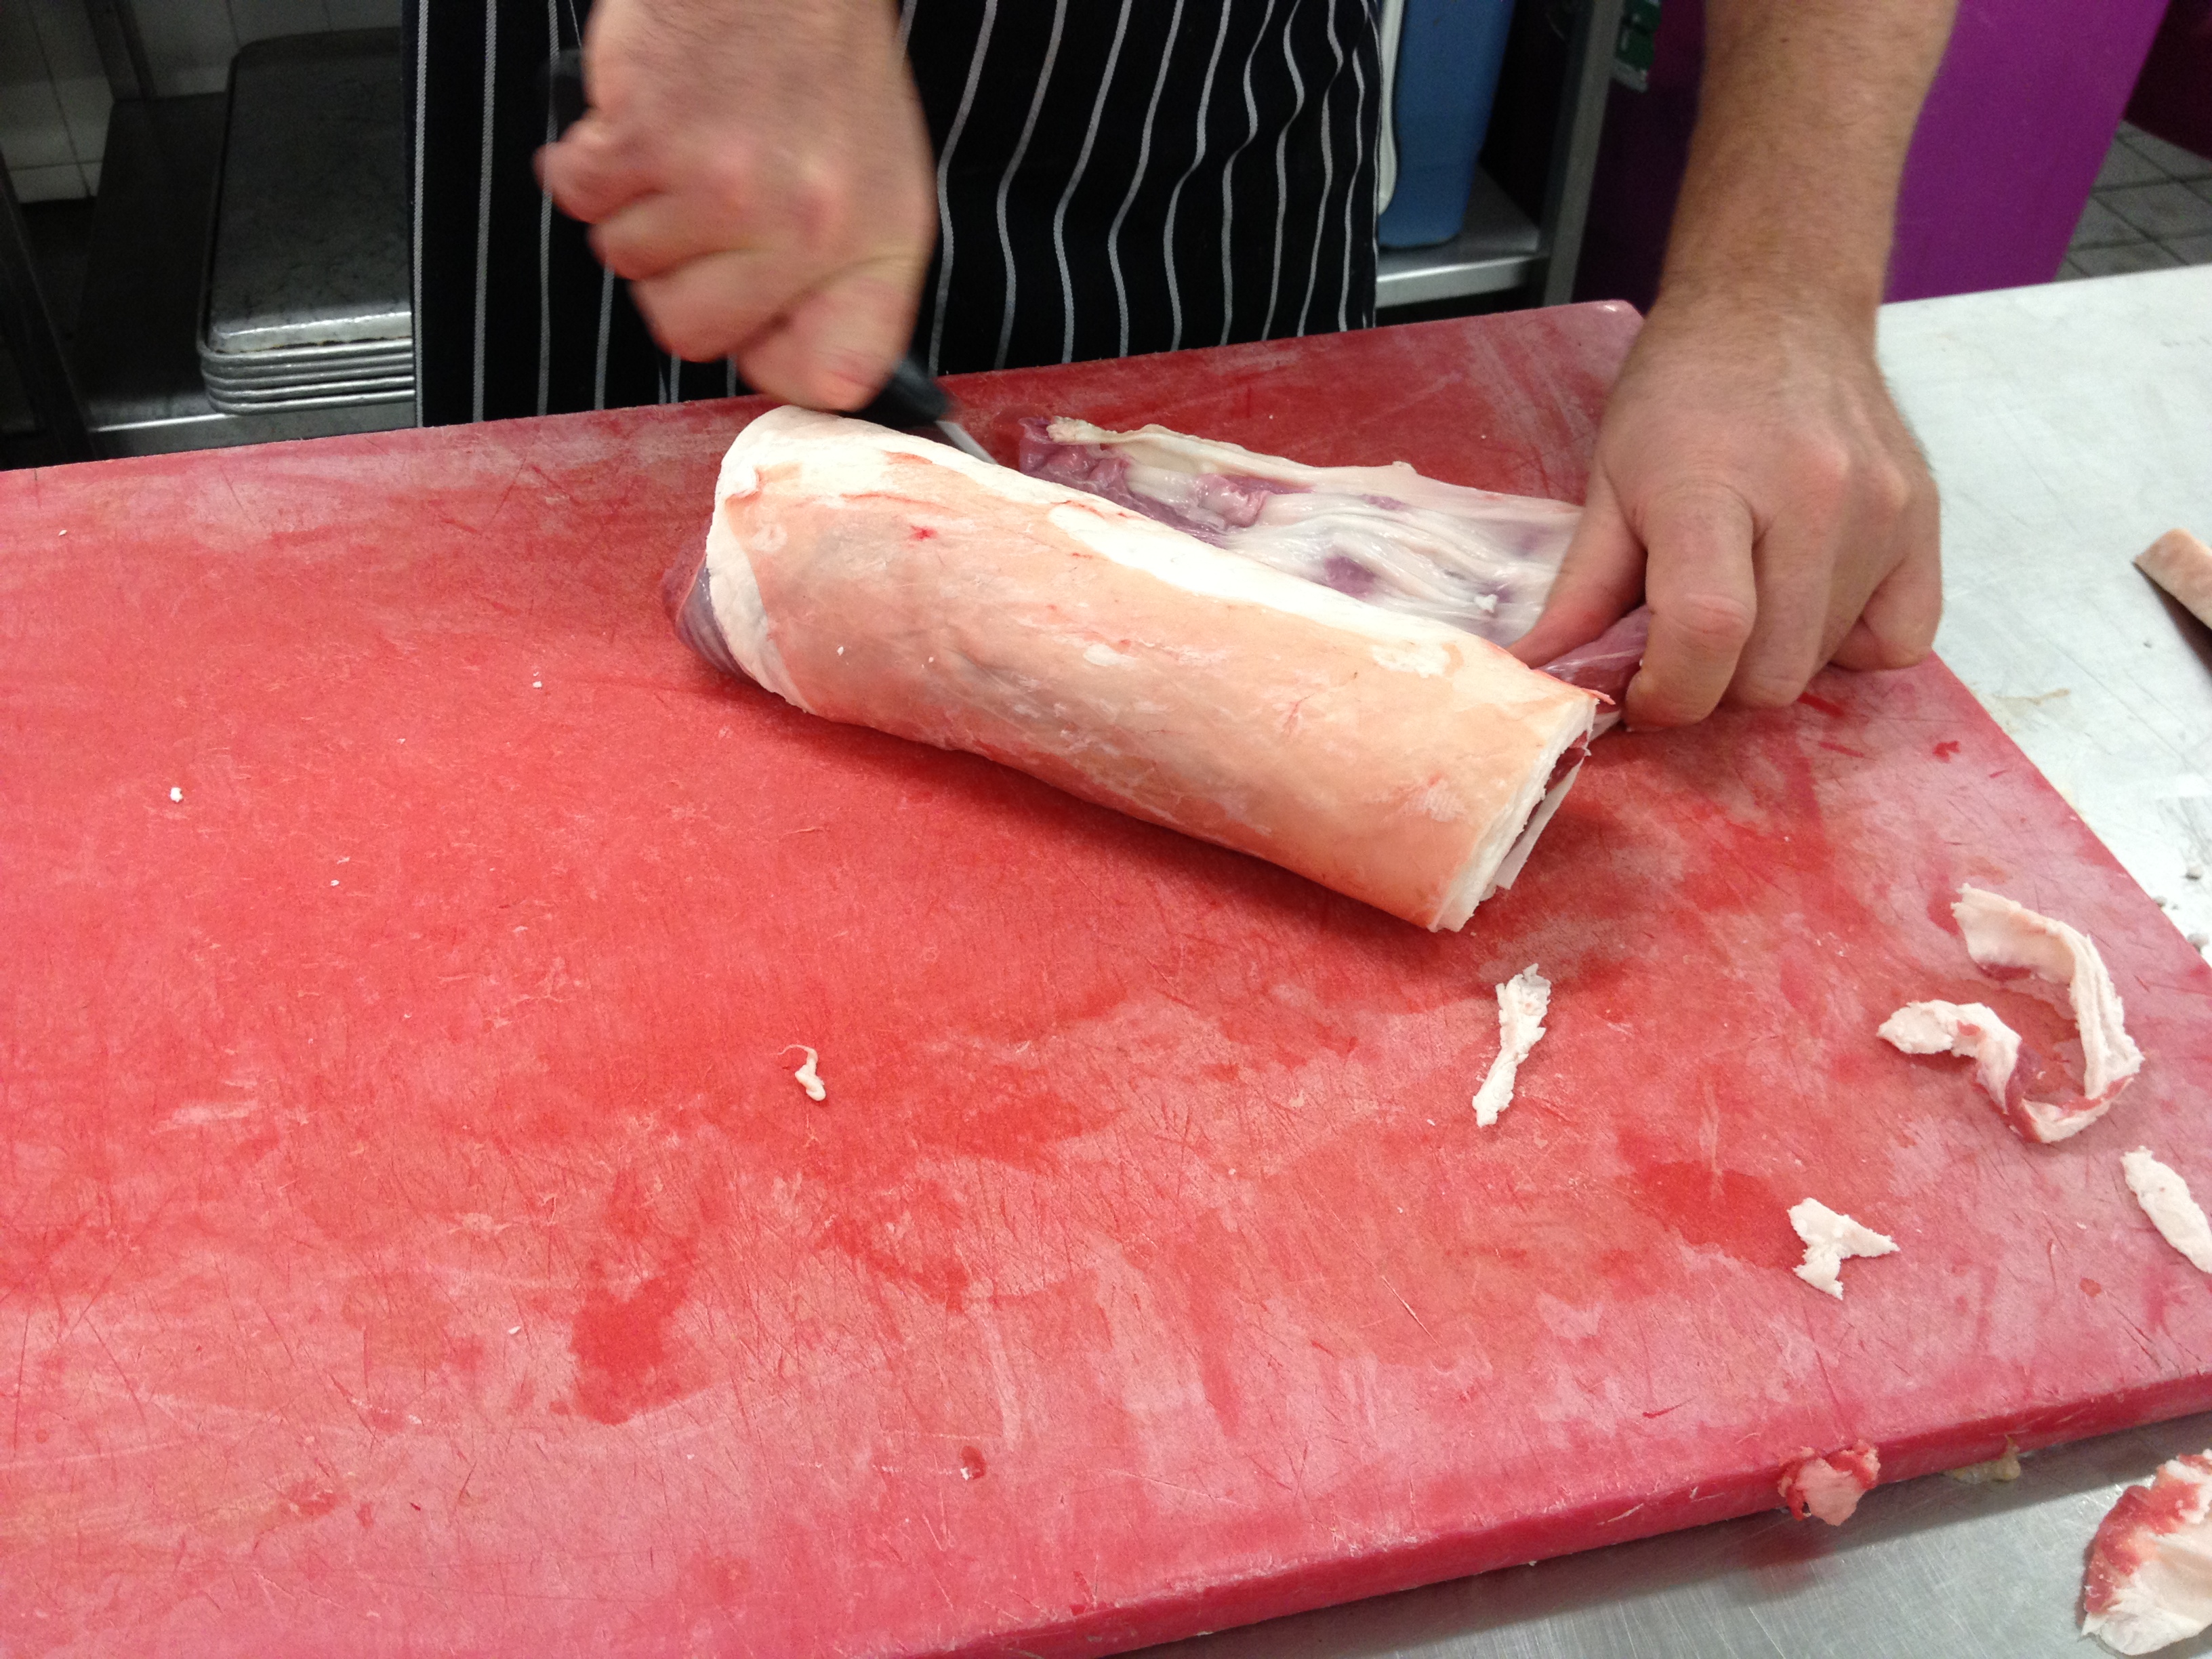 15. Cut any excess flap off square. Use the cut flap into mince.
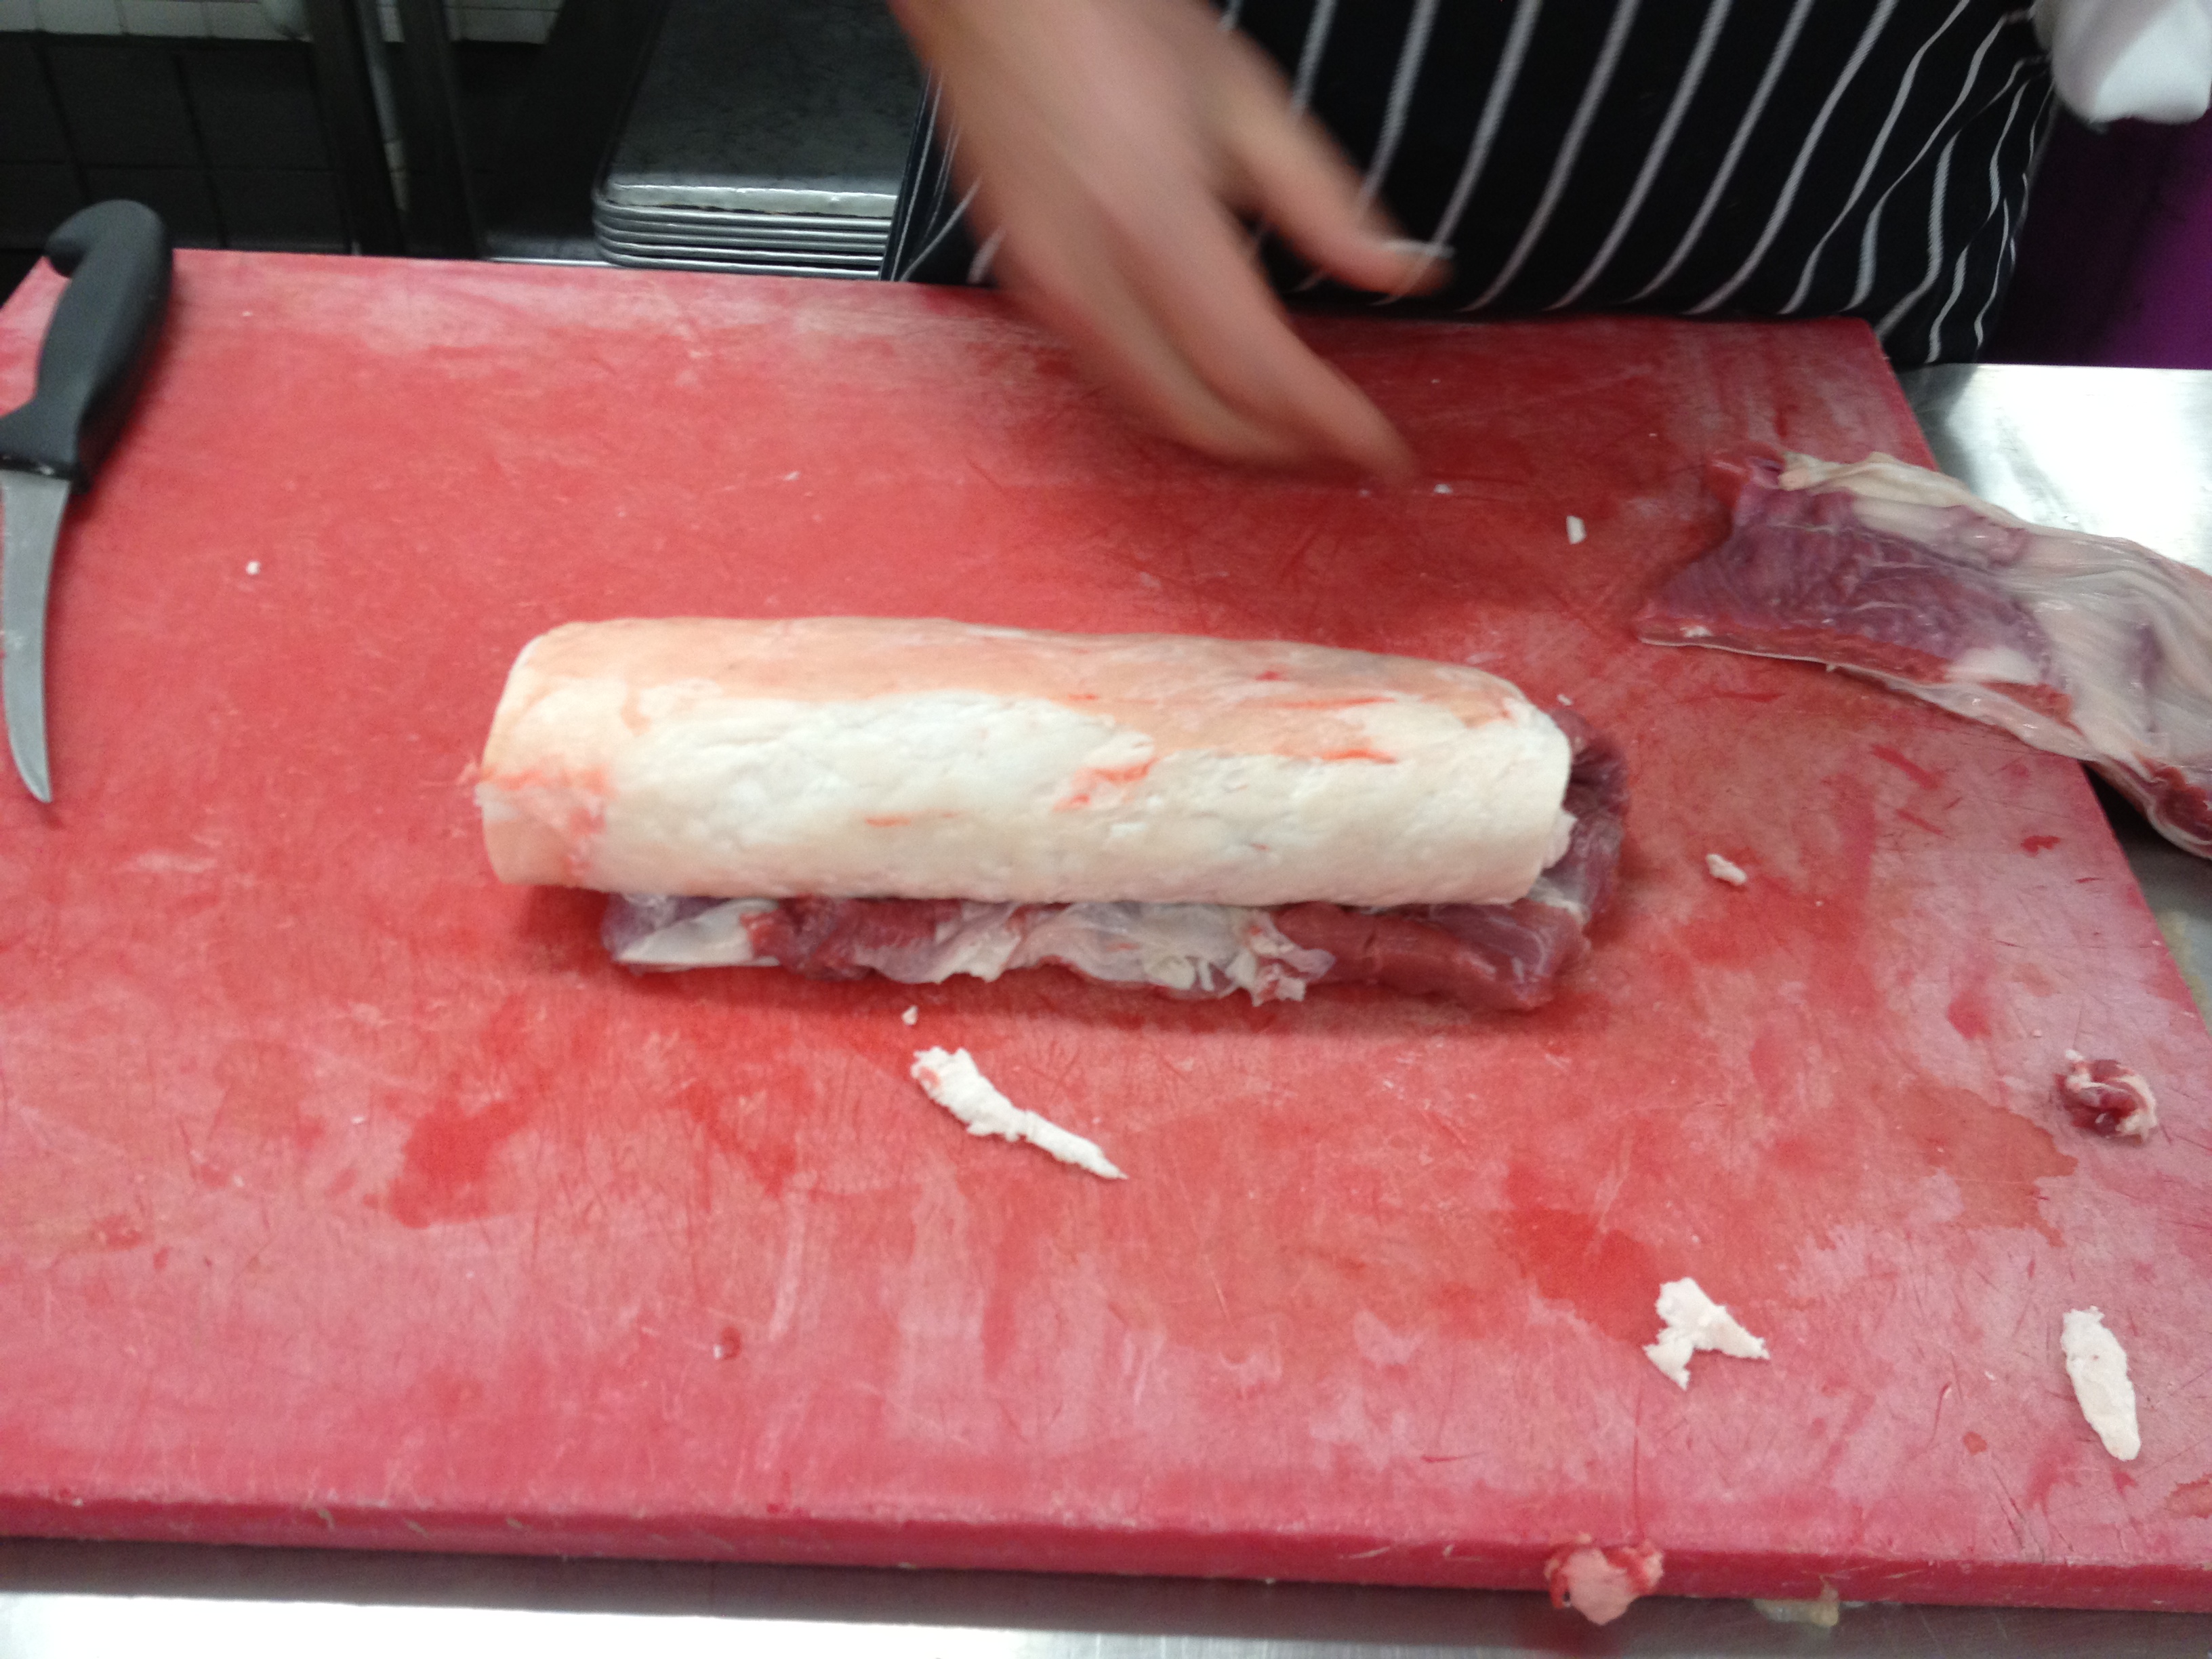 16. Ready for trussing. At this point you can choose to stuff it. In this case, we have just seasoned the inside with salt and pepper. If stuffing leave a longer piece of the flap.
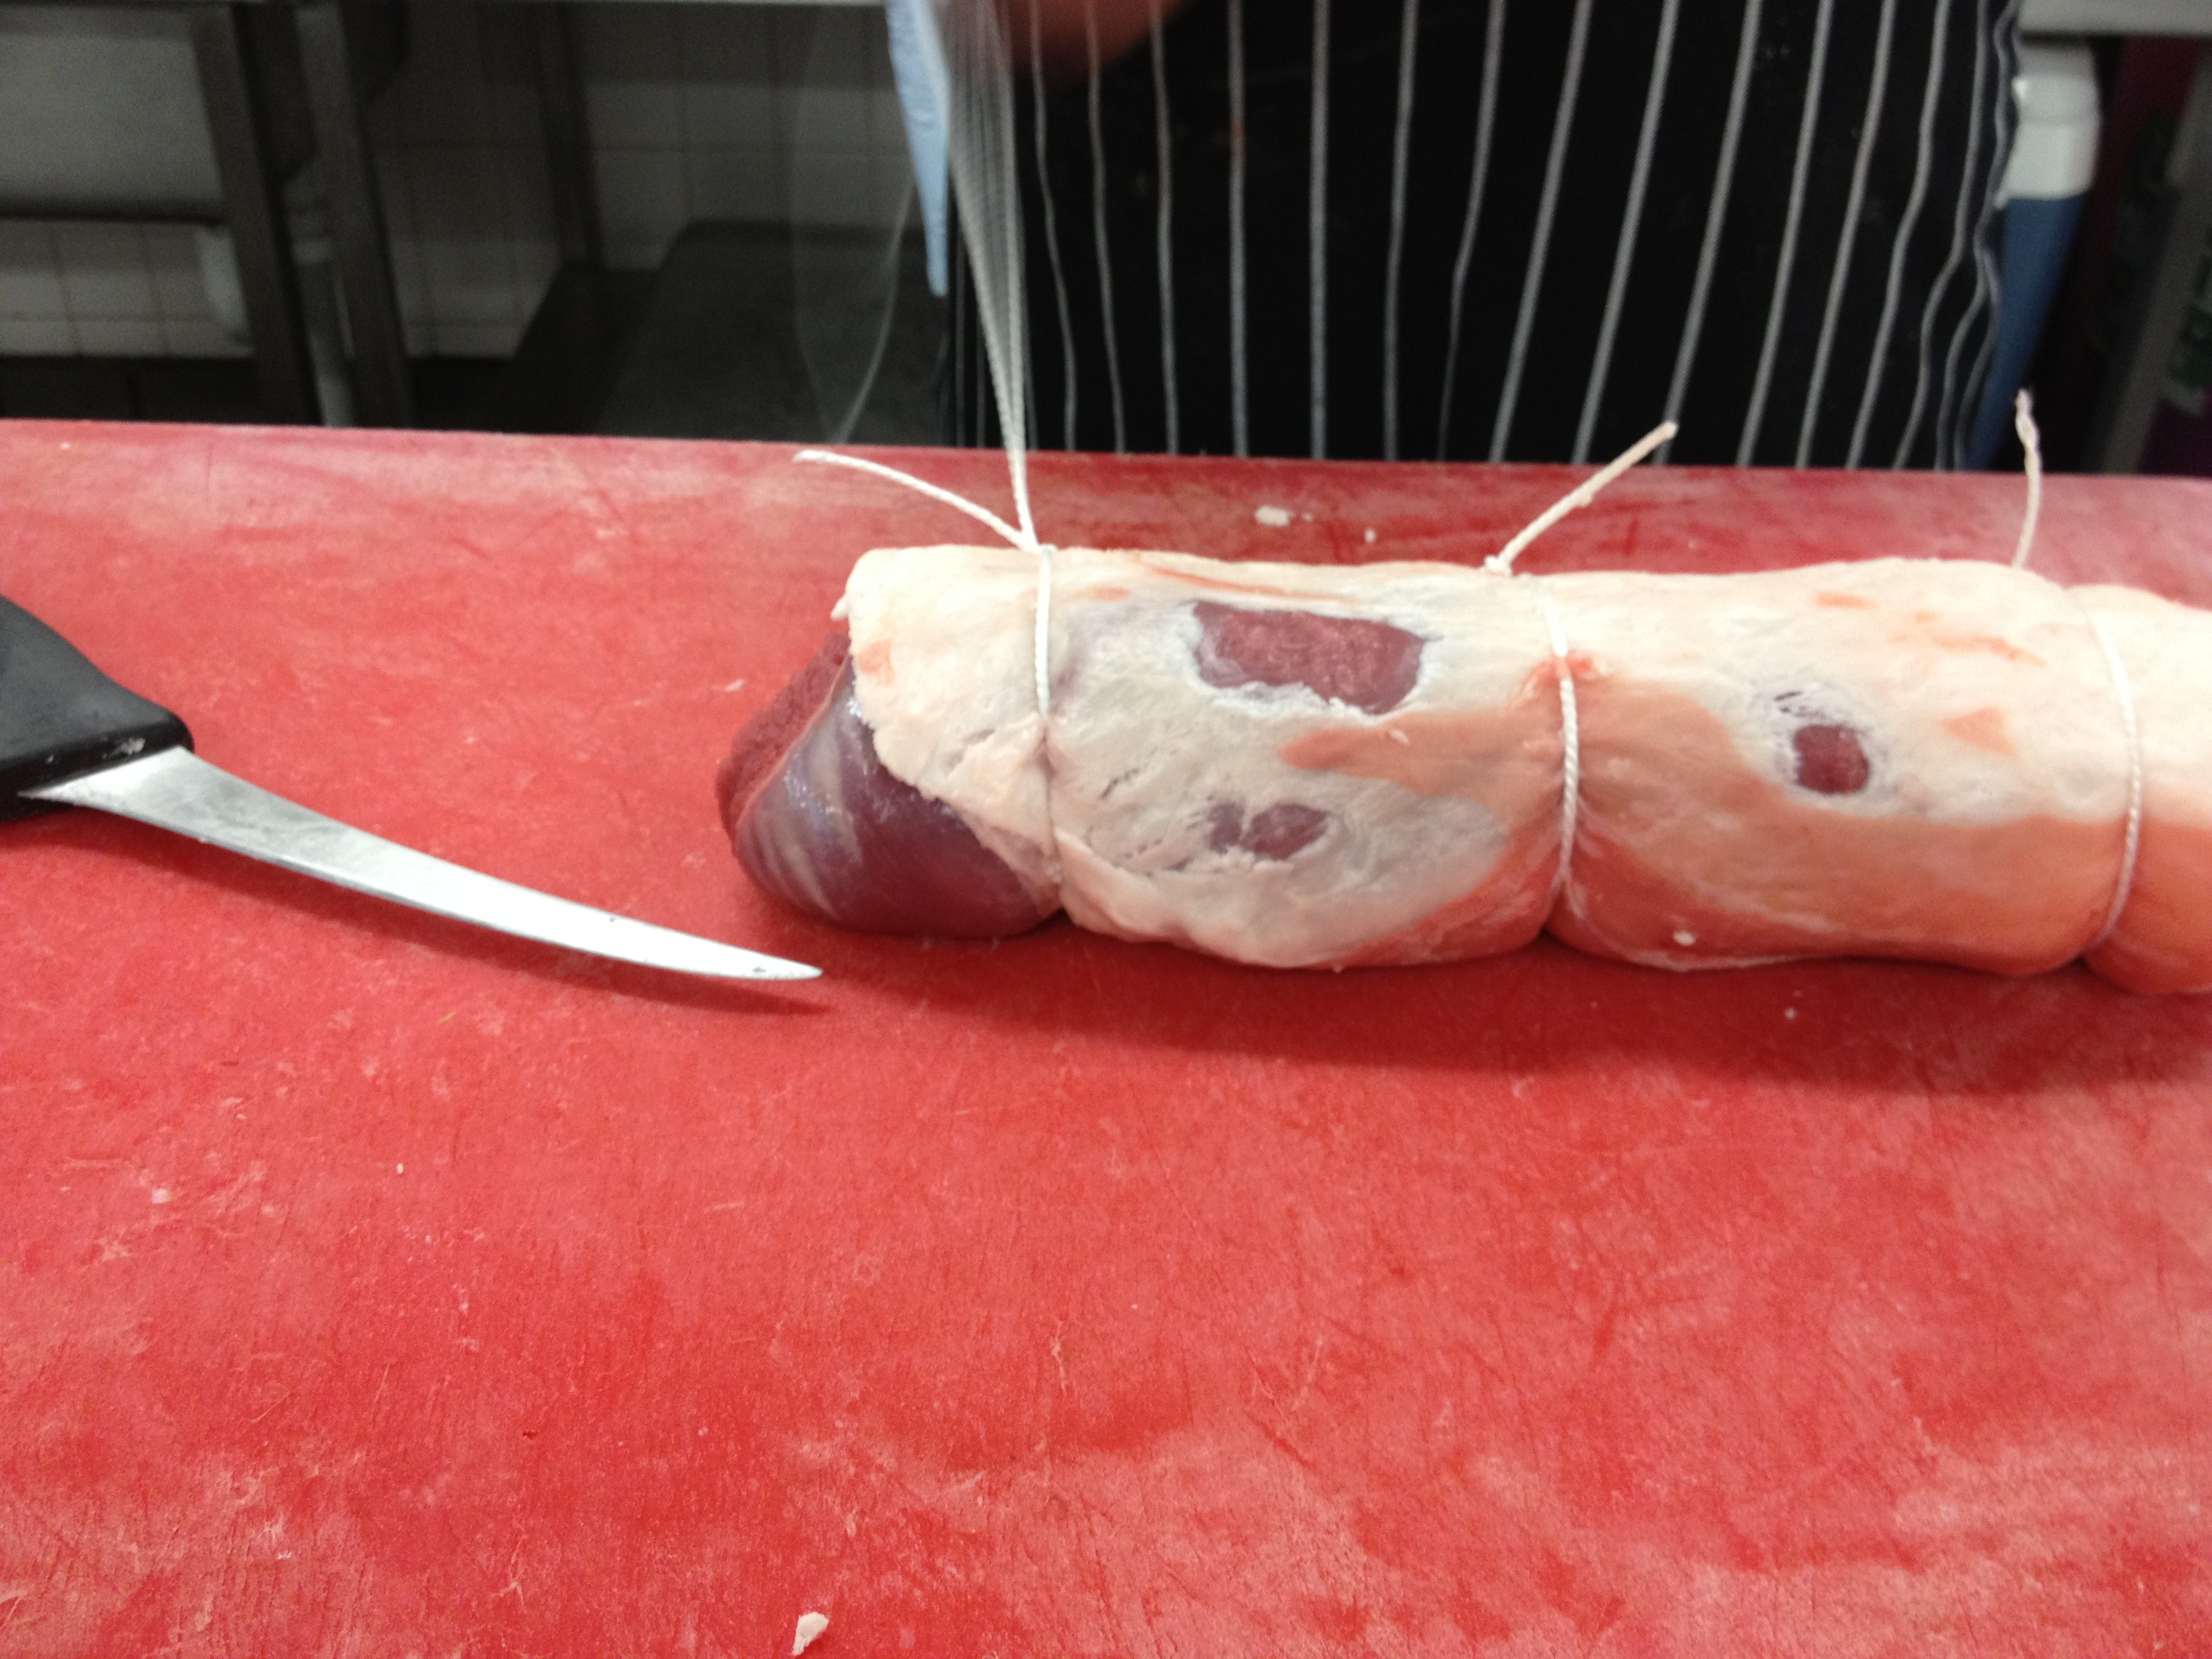
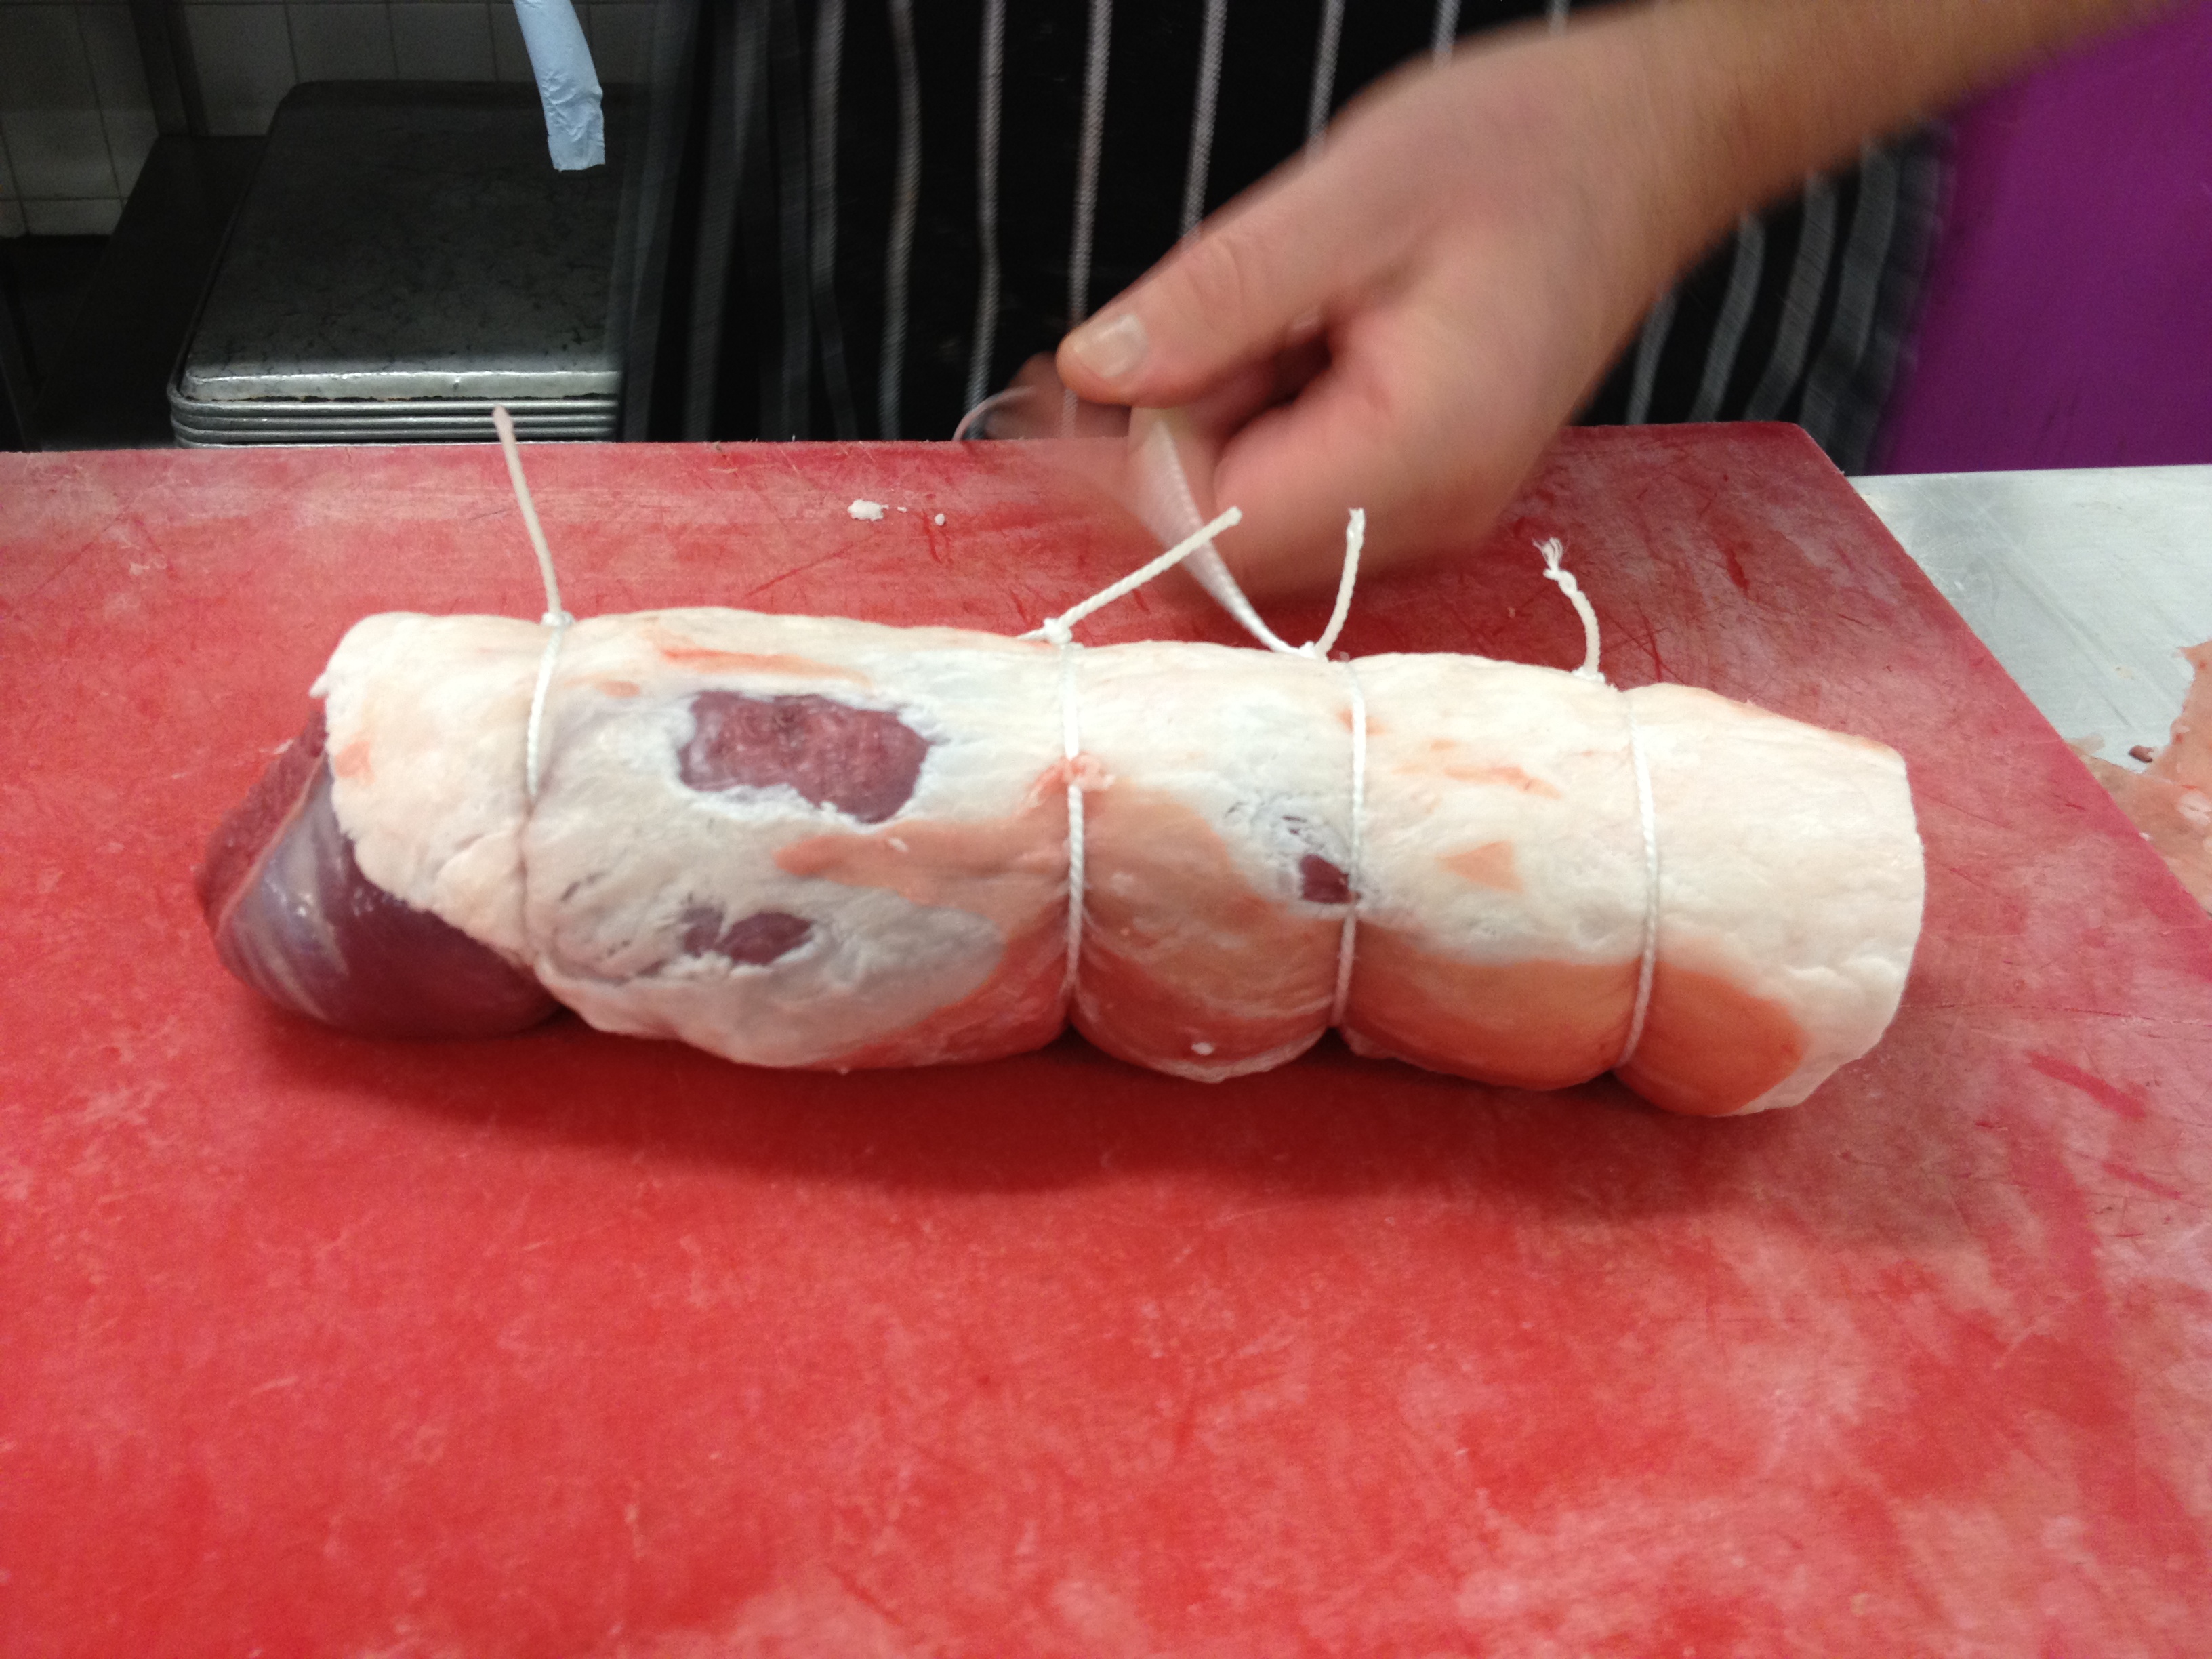
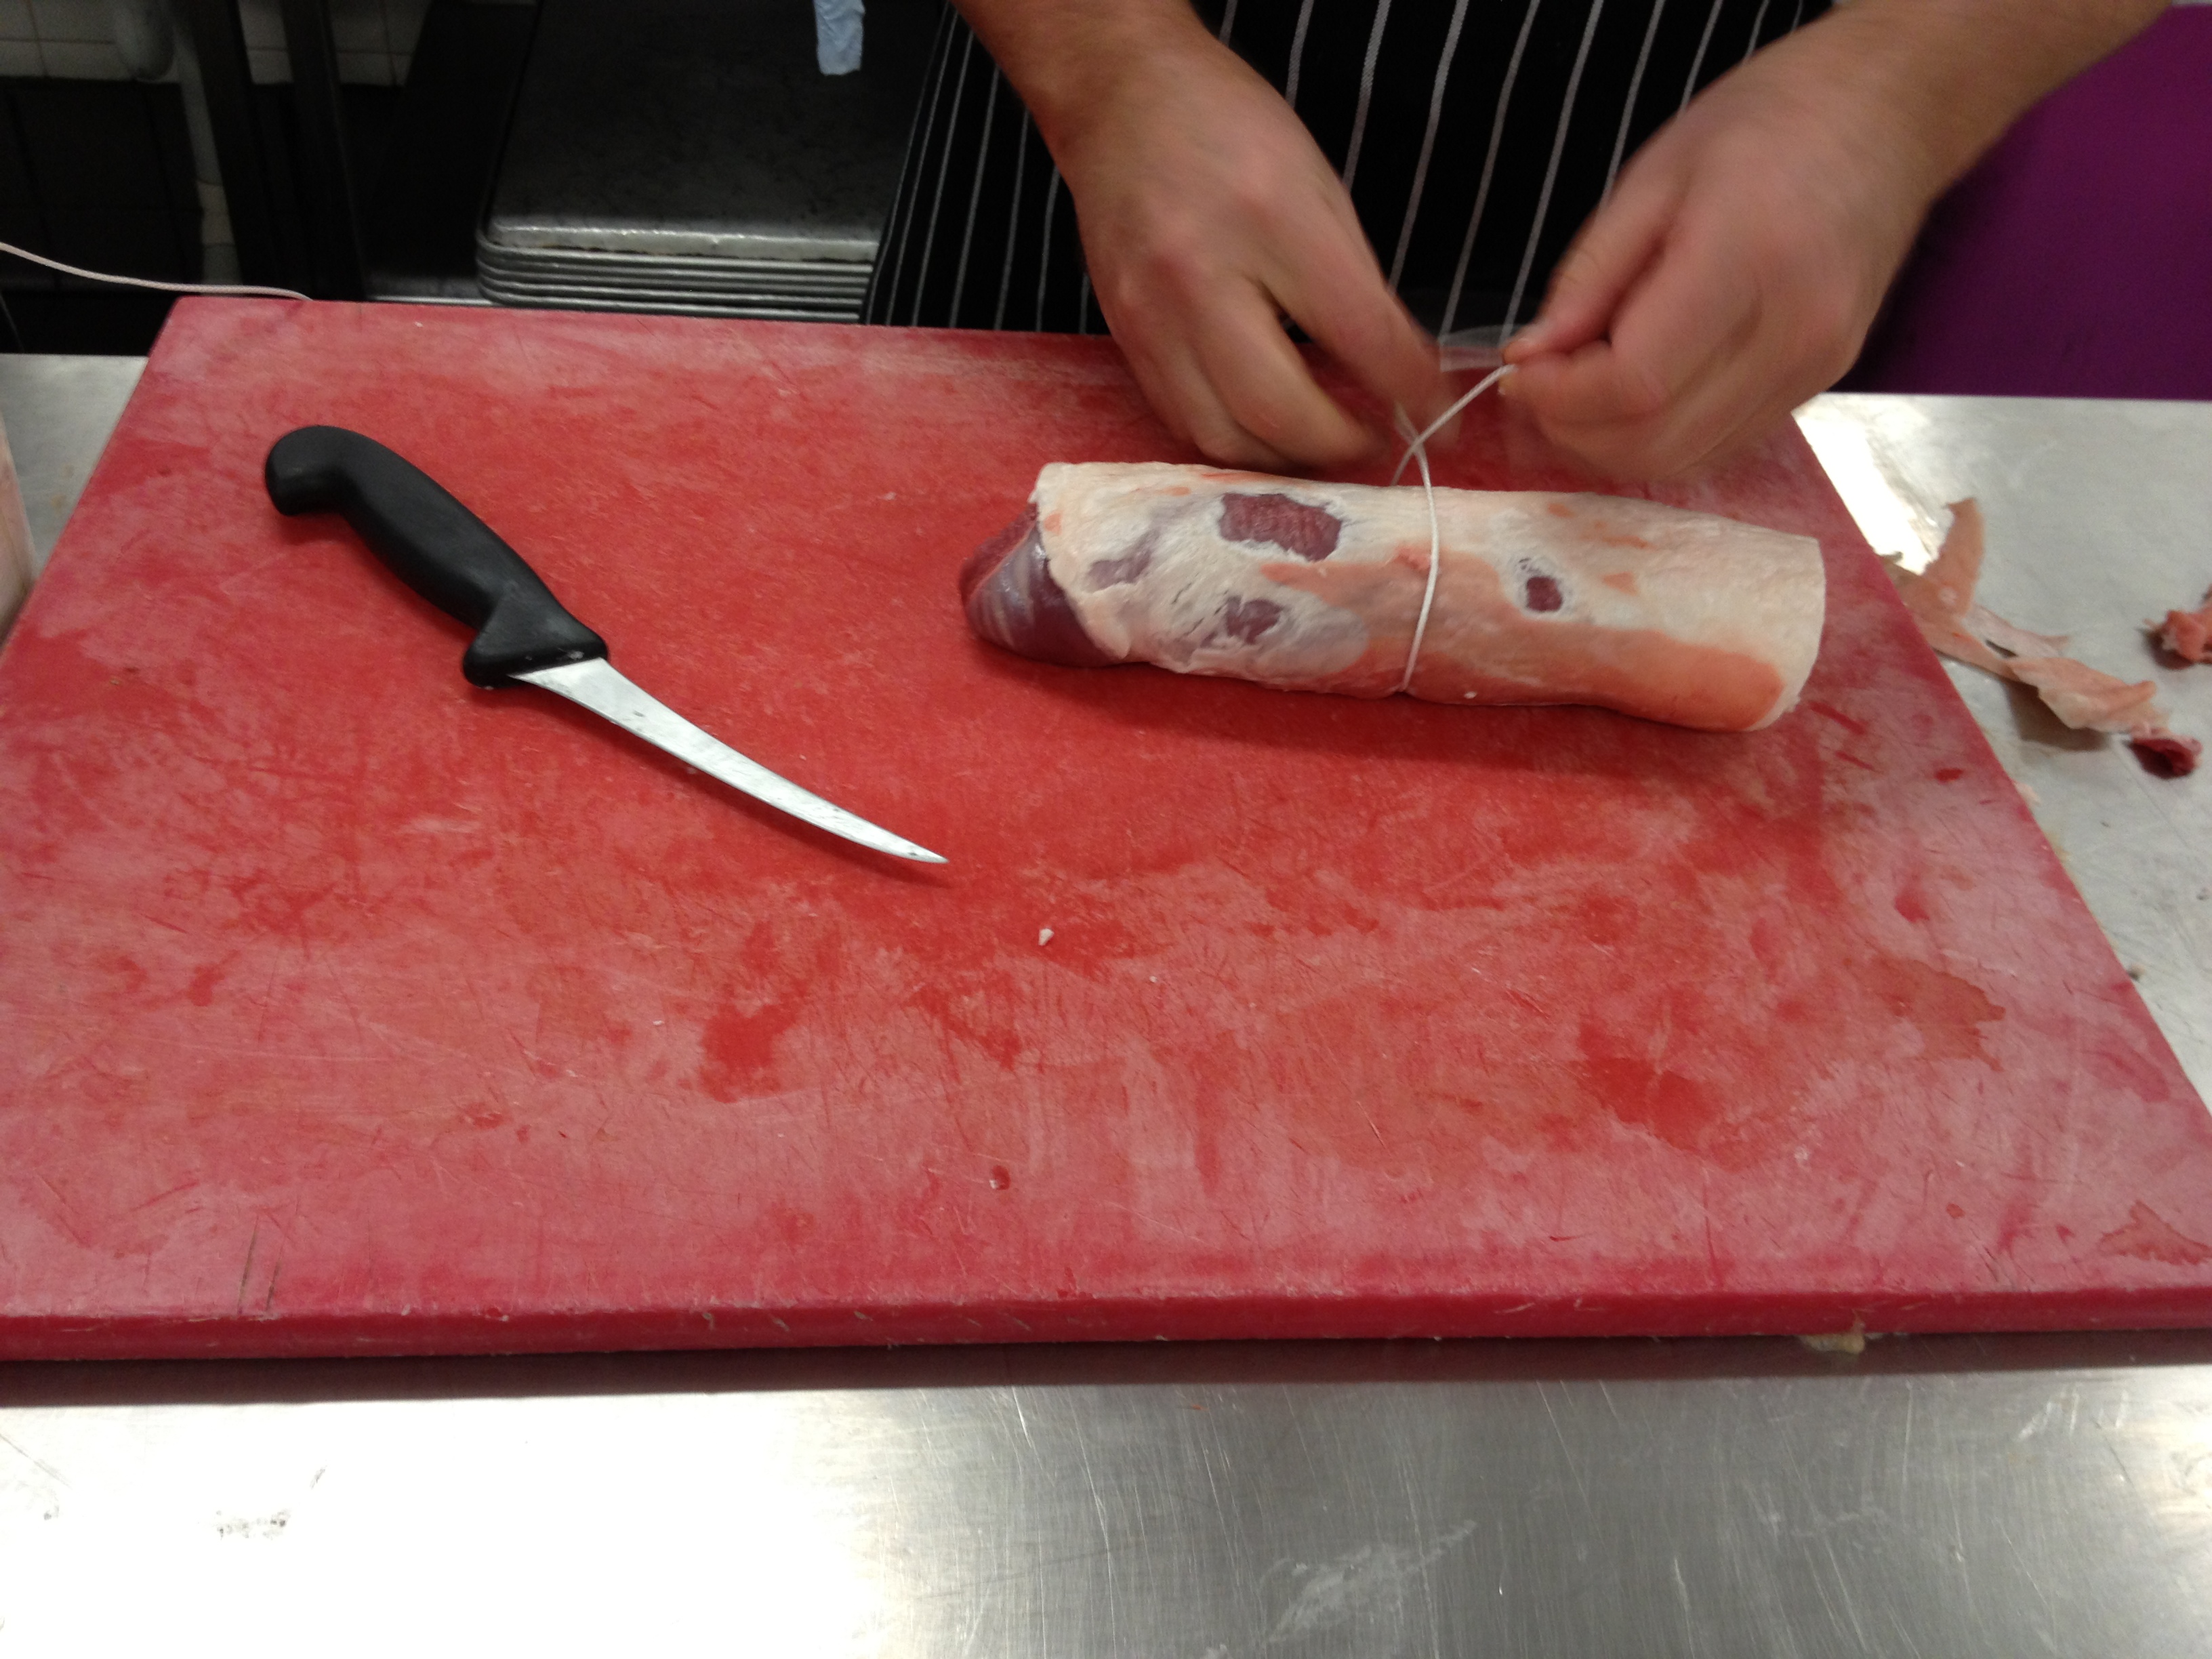 17. Using butchers twine, tie a knot in the middle. trussing is important, it not only keeps the meat together and cooks it evenly but it also lets you know where to carve. In each case, truss the portions size you want and you will cut in between the truss marks, giving you exact portions for portion control
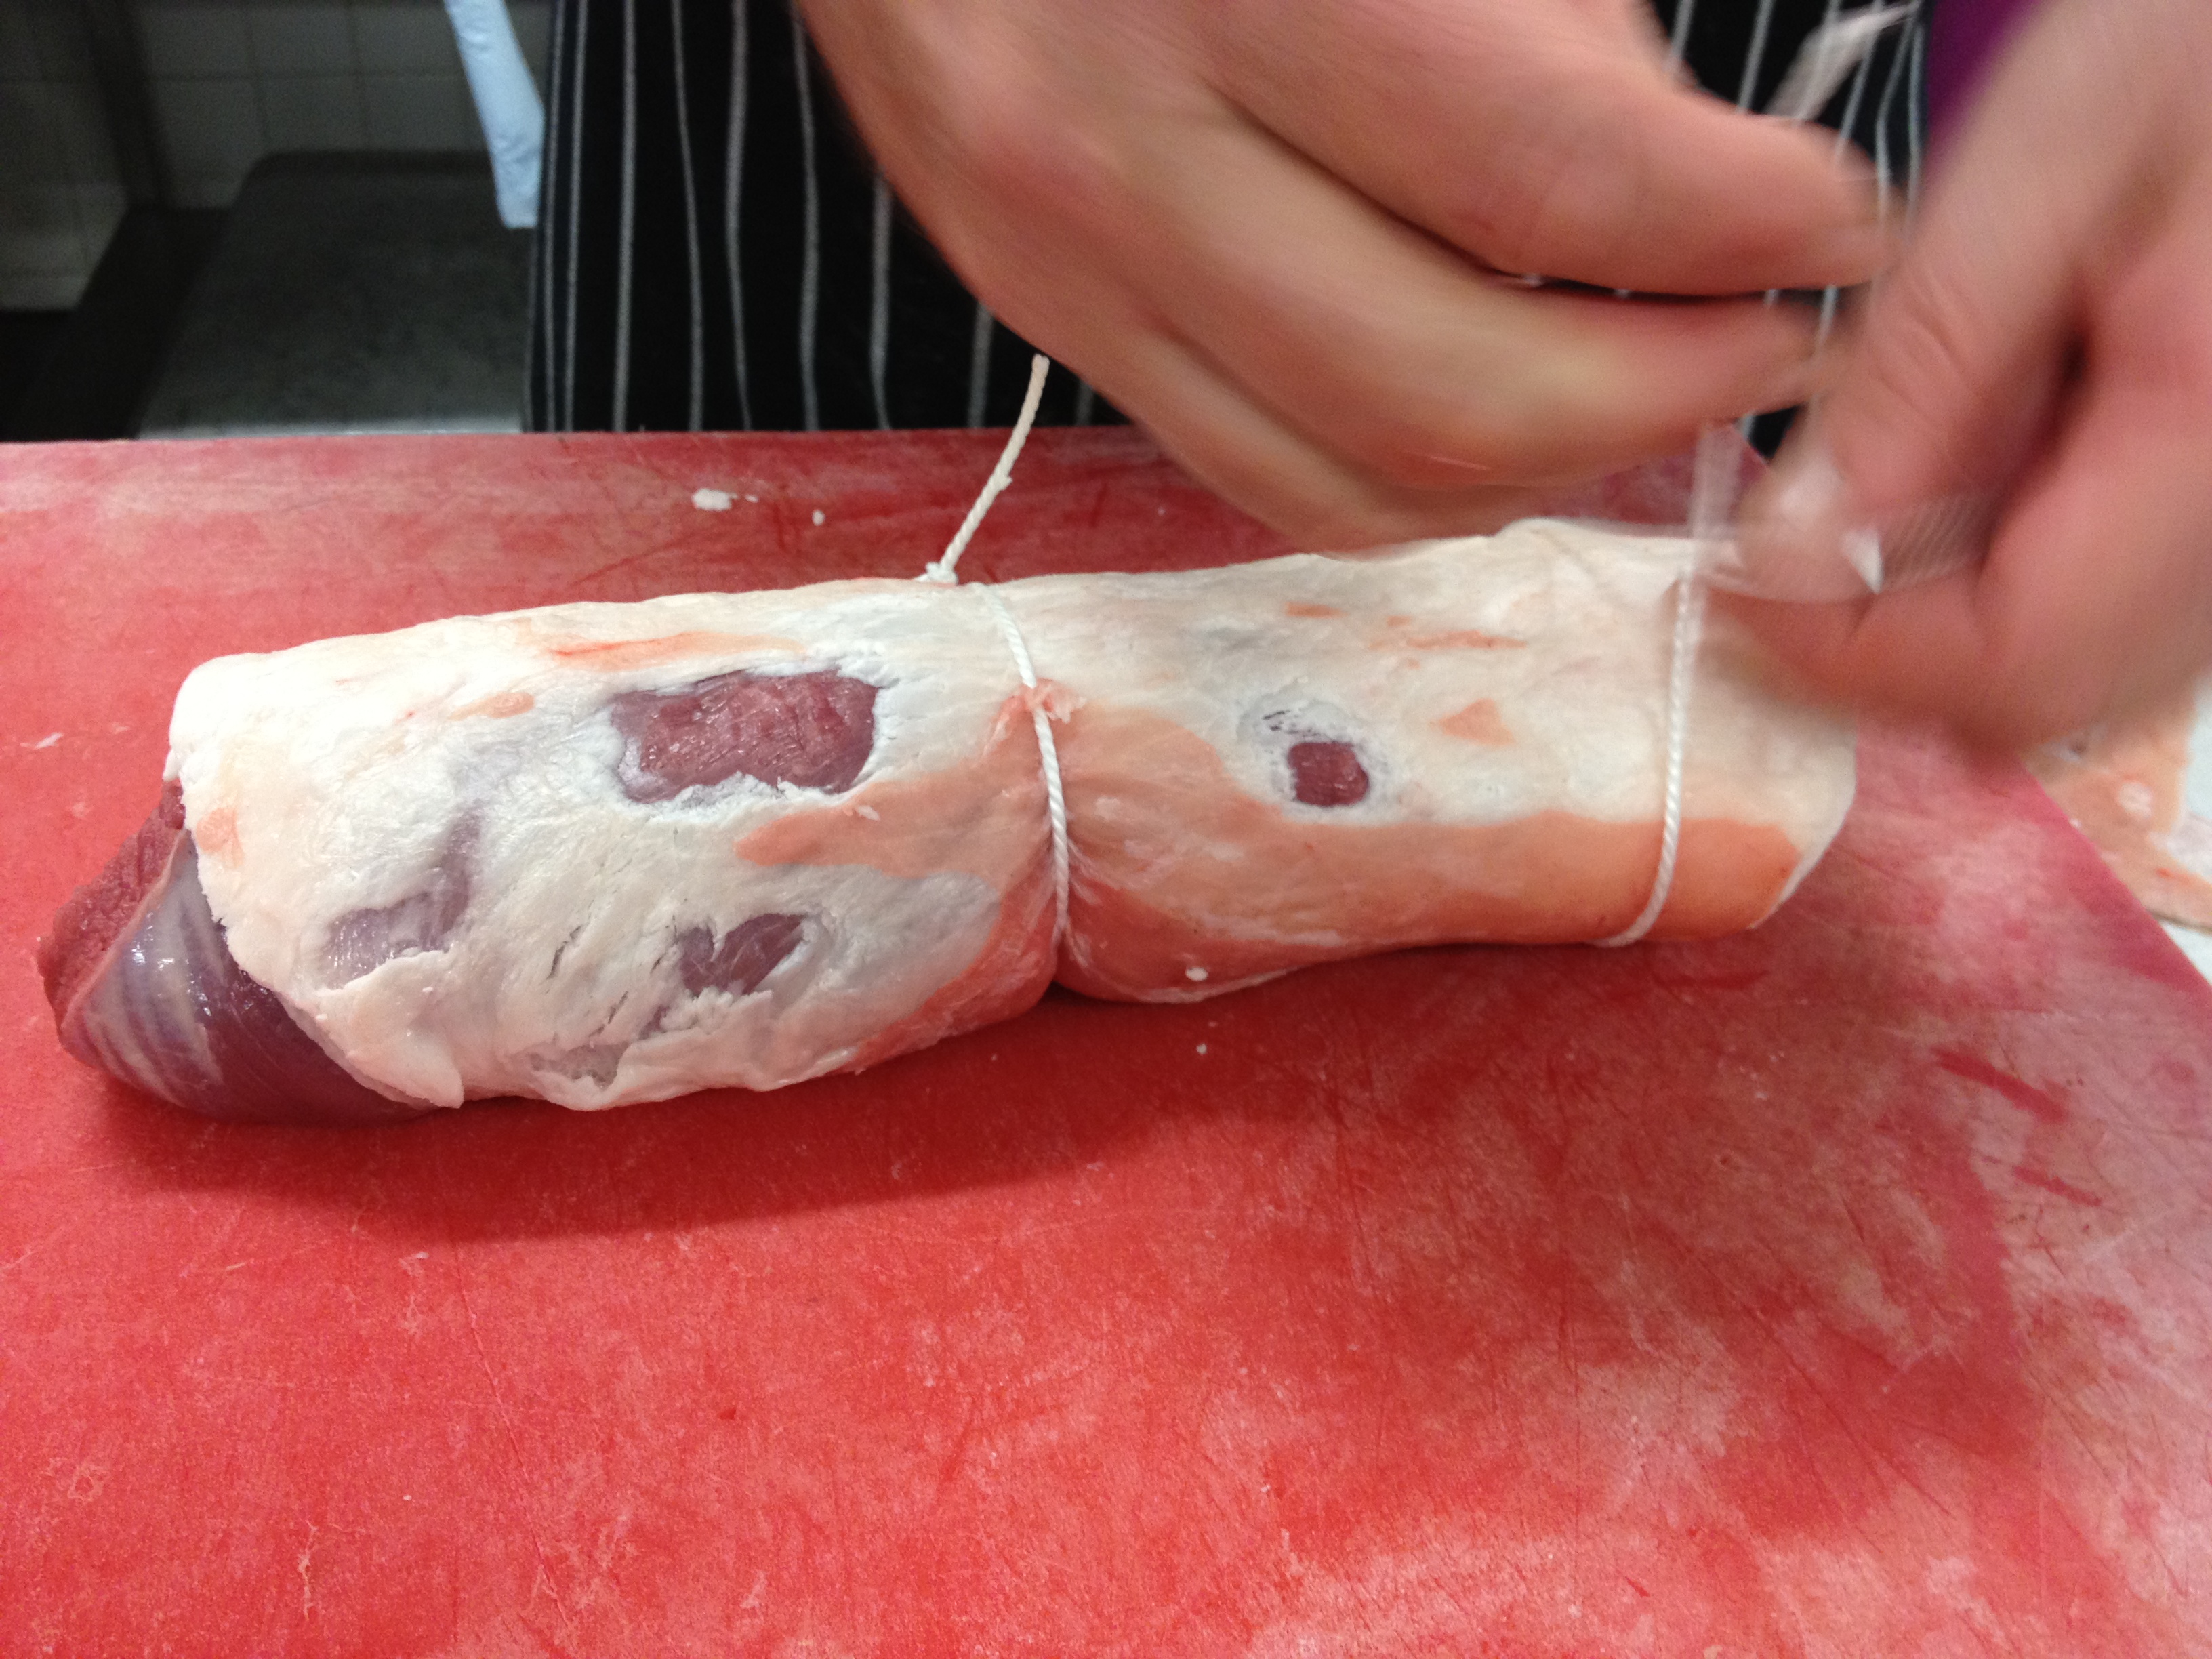 18. Truss the end but not too close to the end or the meat will force it off the ends as it cooks
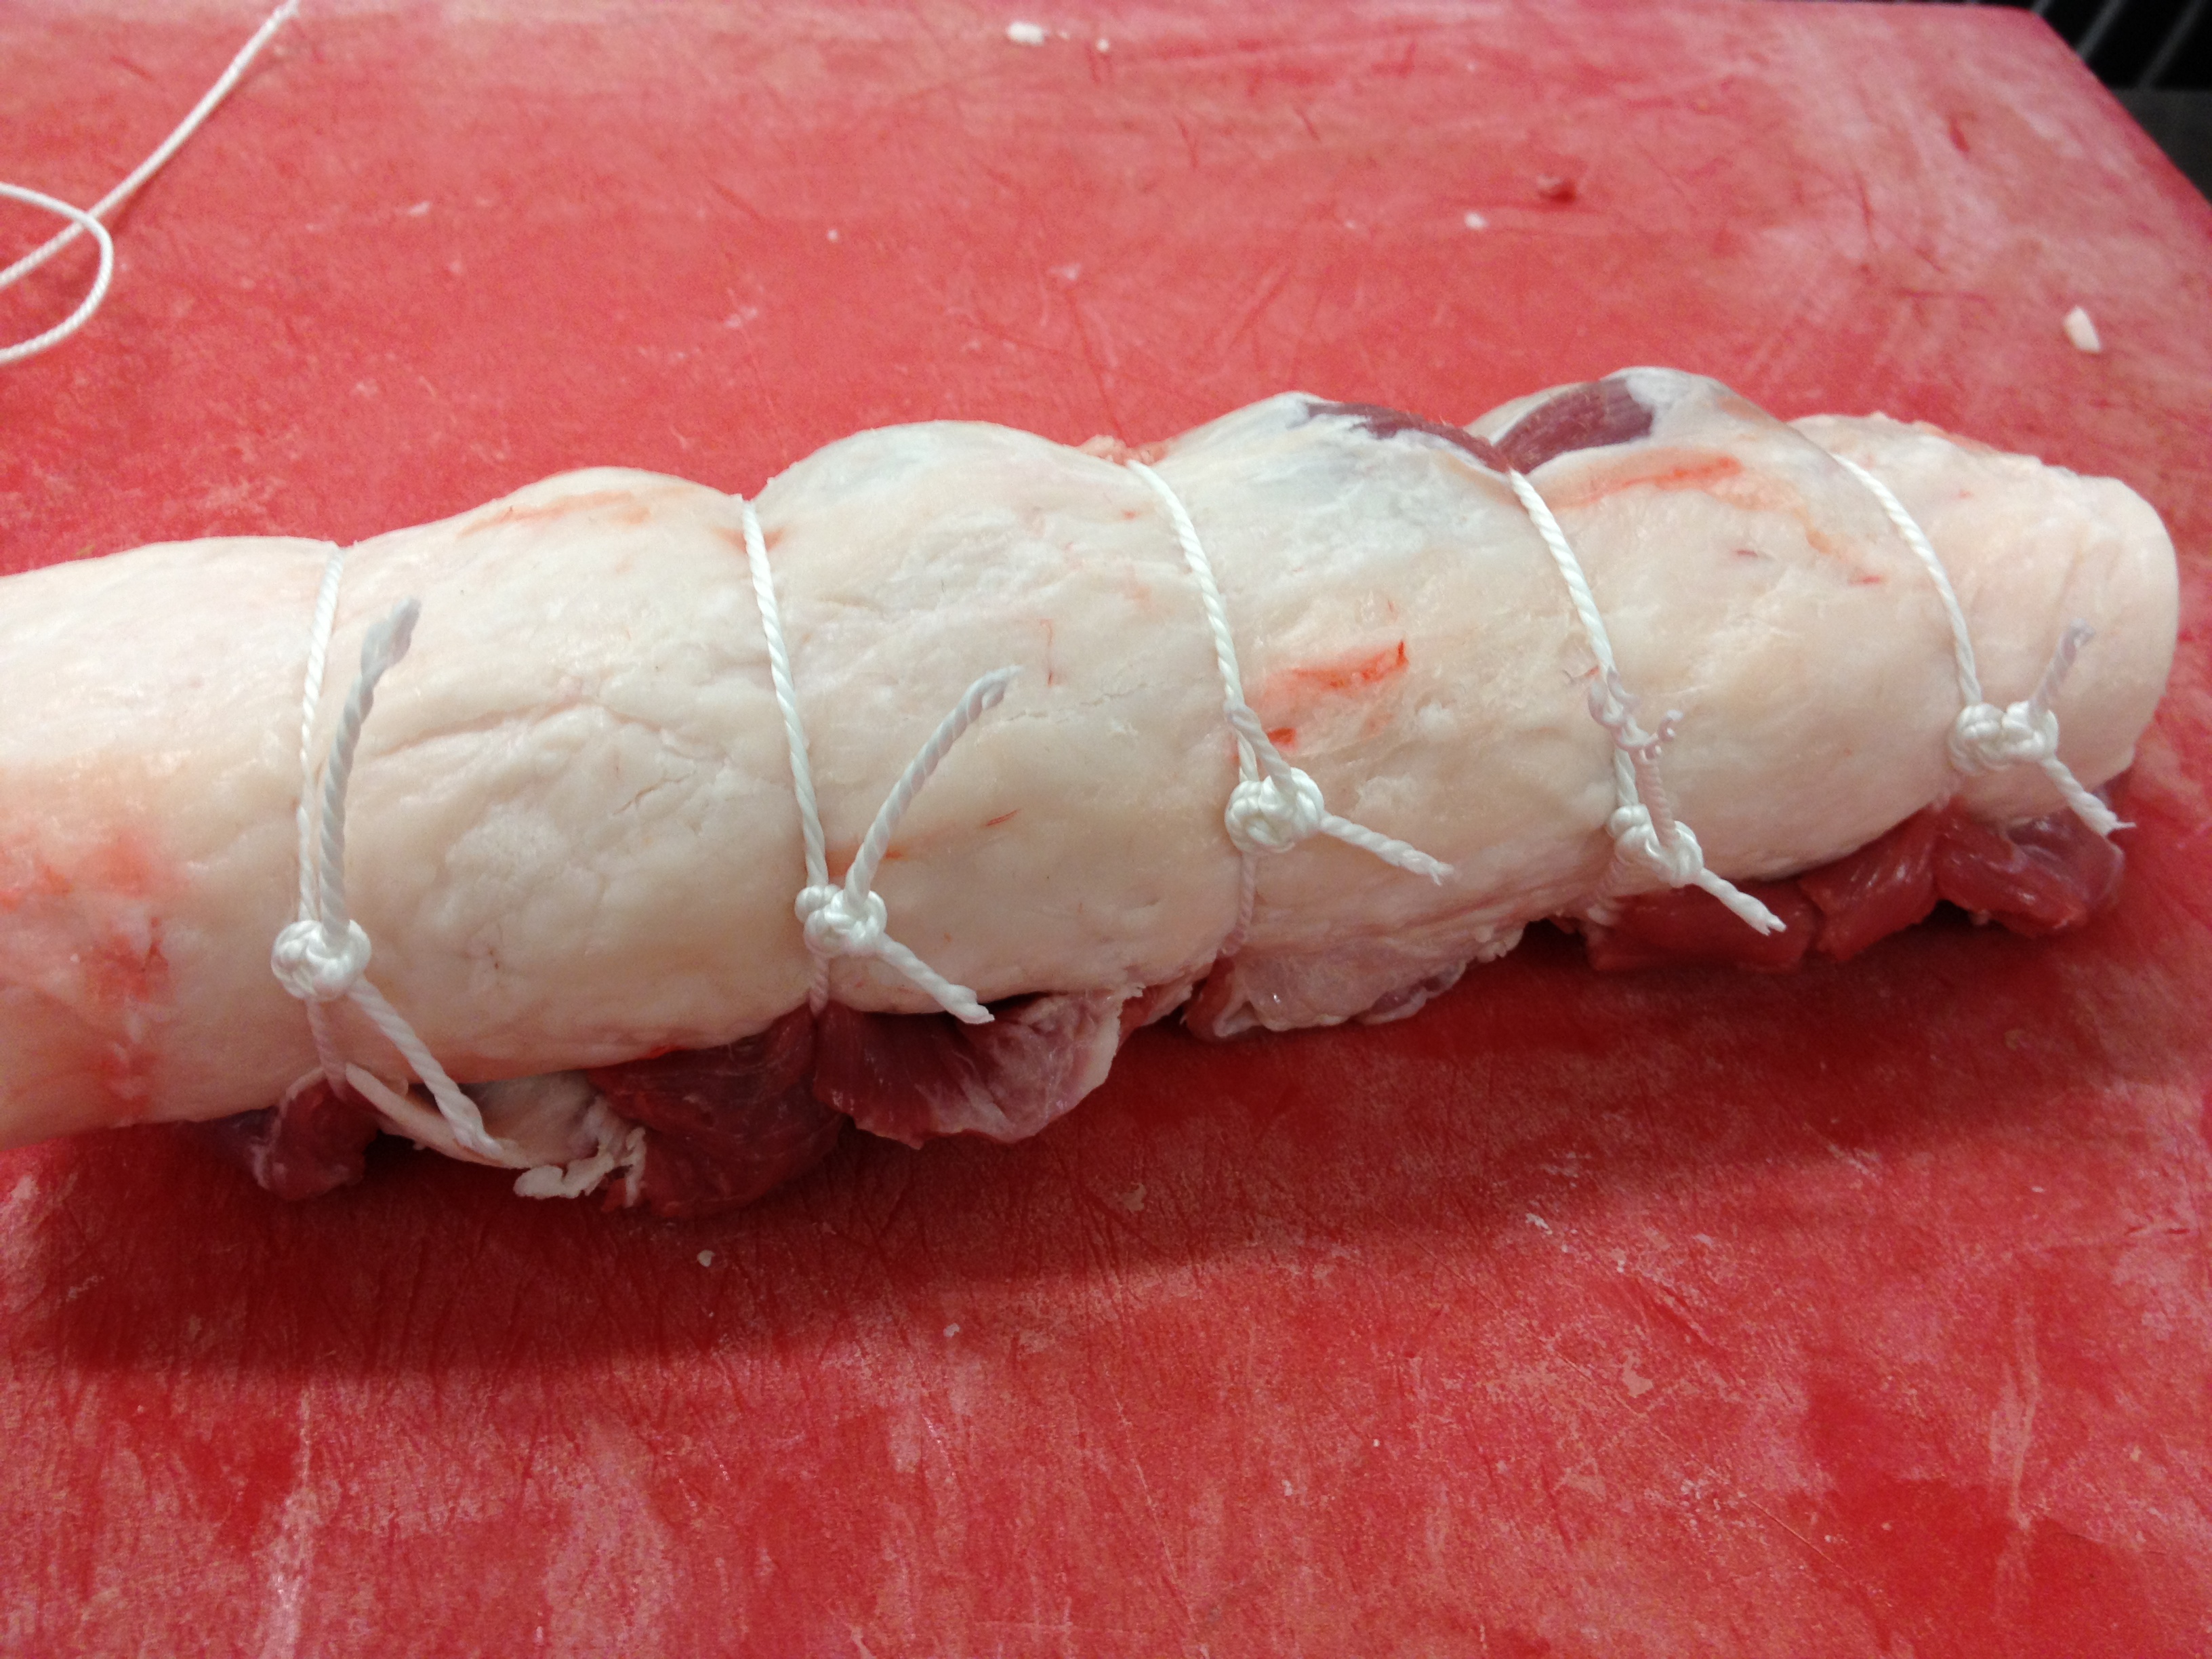
20. Tie in between the end and middle strings
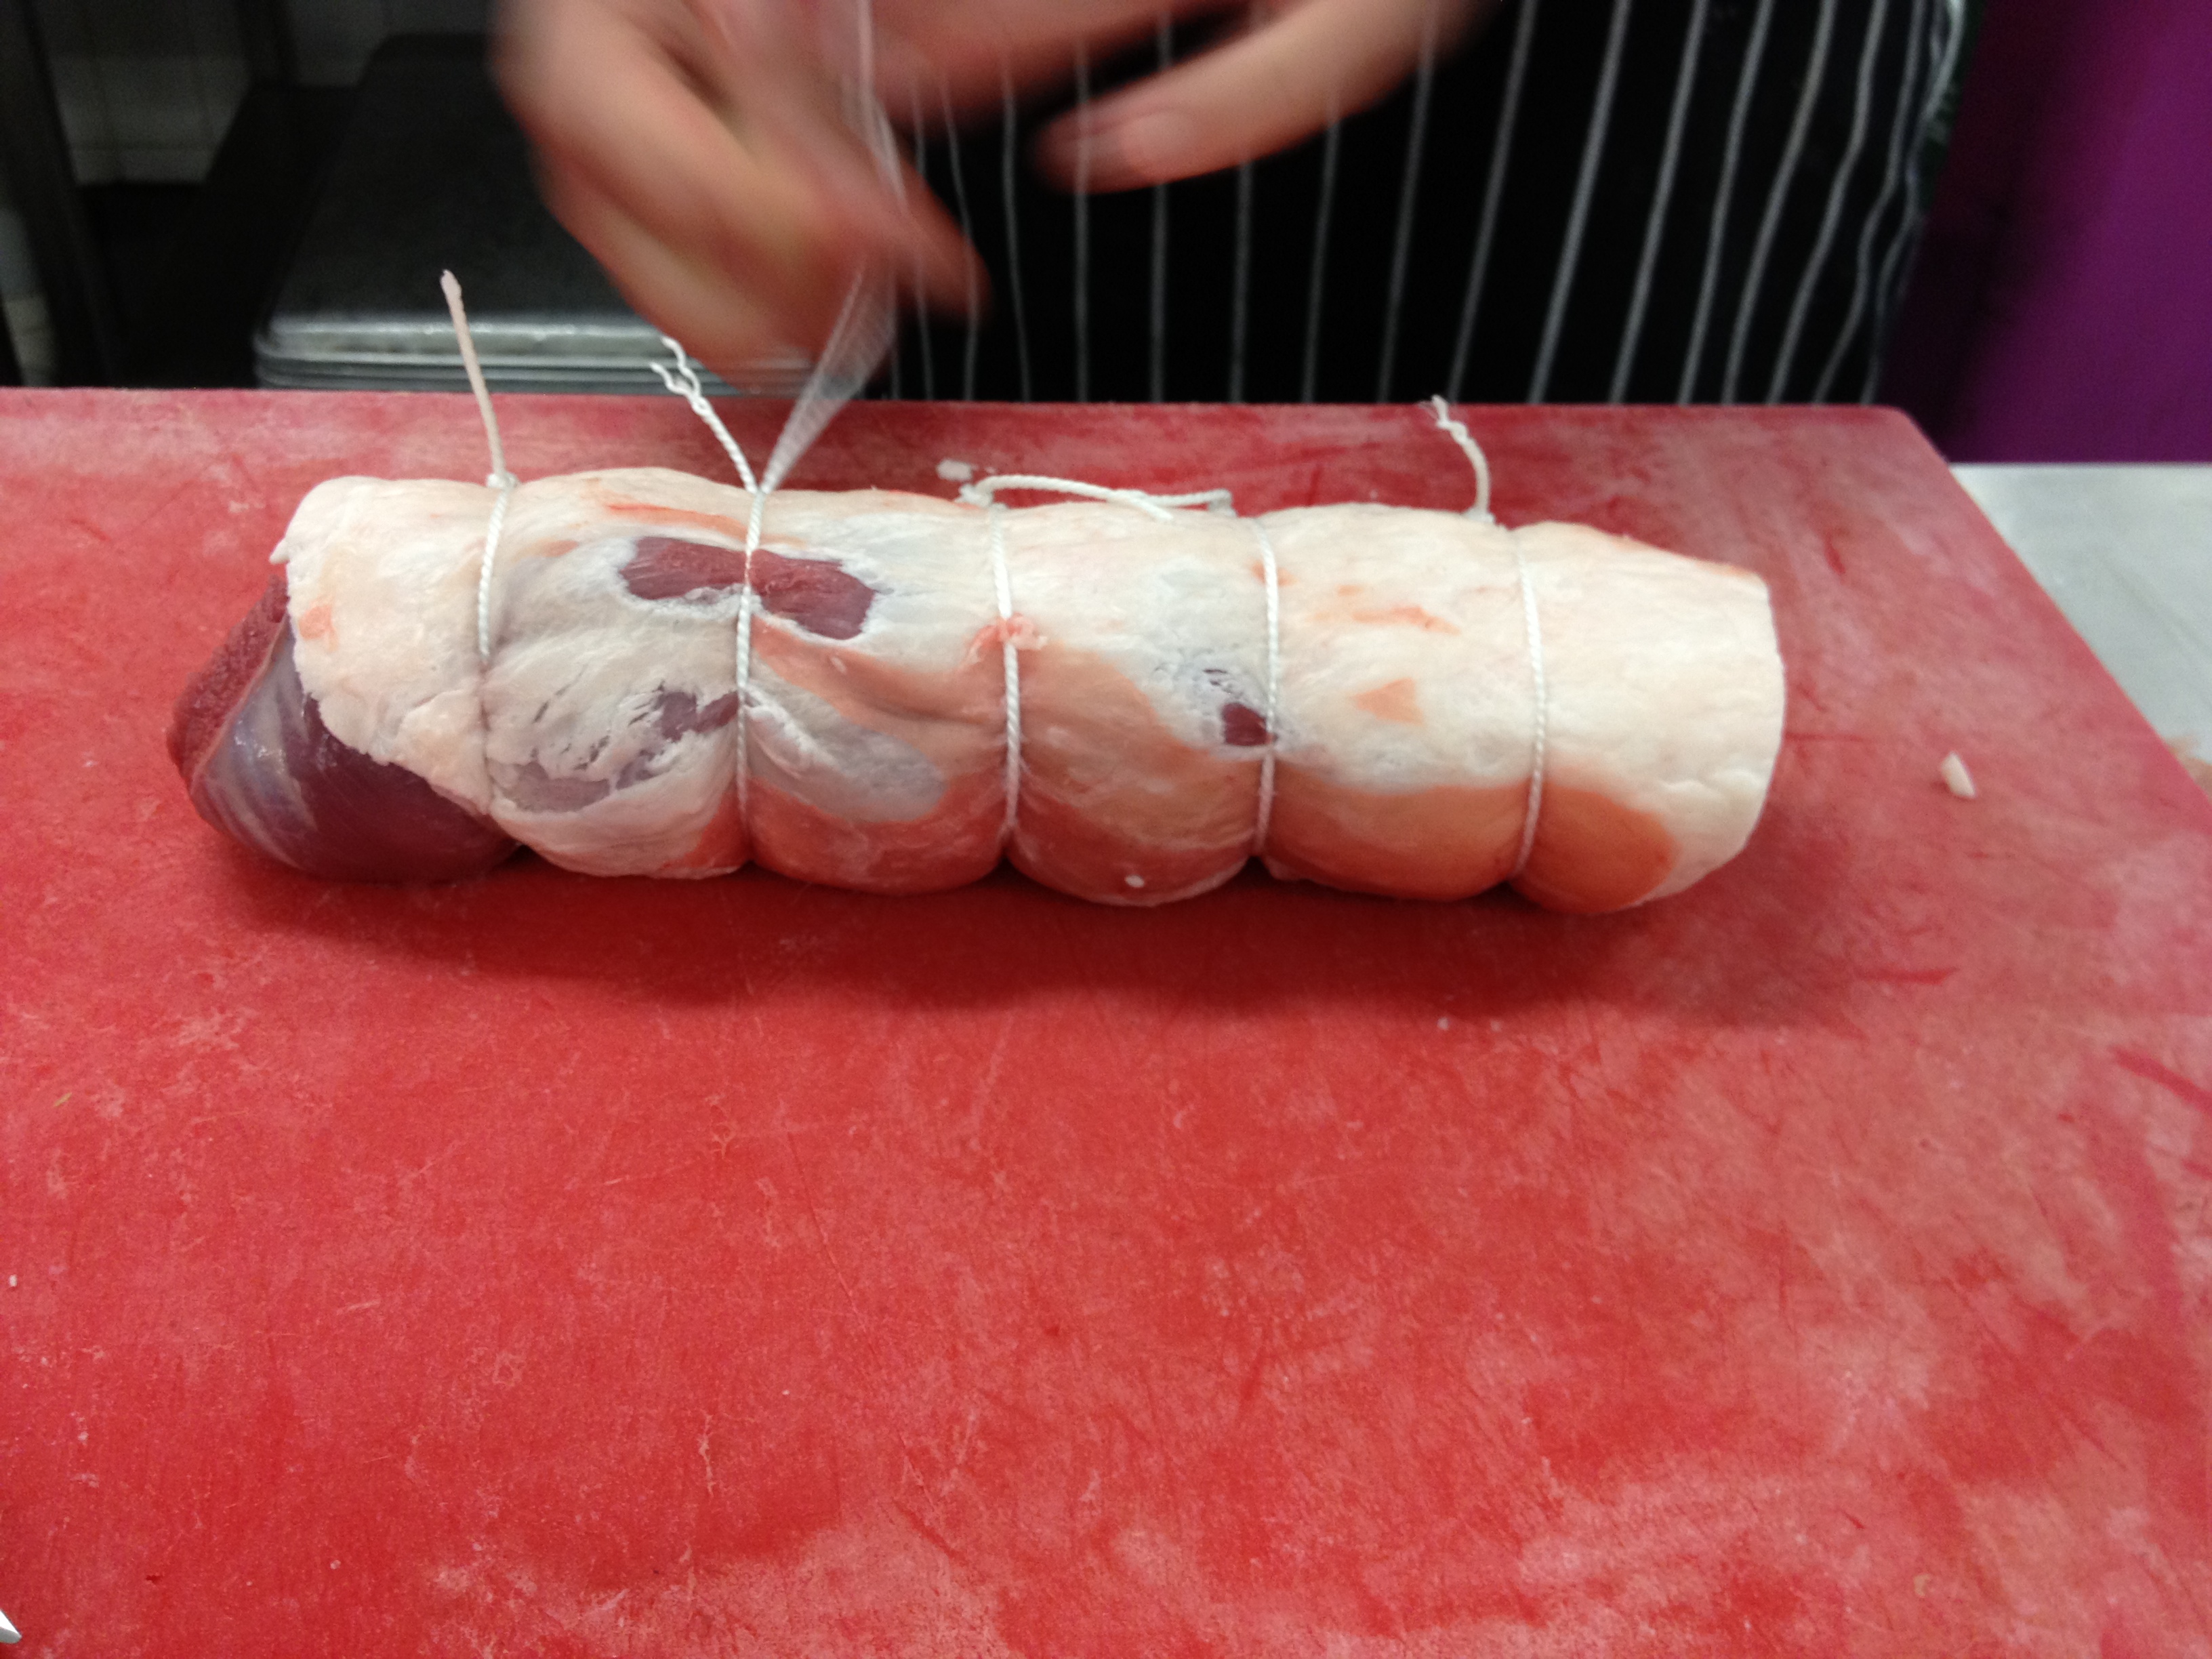 21. Do the same on the opposite side.
22. You have perfectly butchered and trussed lamb loin ready for rendering then roasting
Comment (1)
grant create database link in oracle March 12, 2013
I am not really excellent with English but I line up this really easy to translate.